

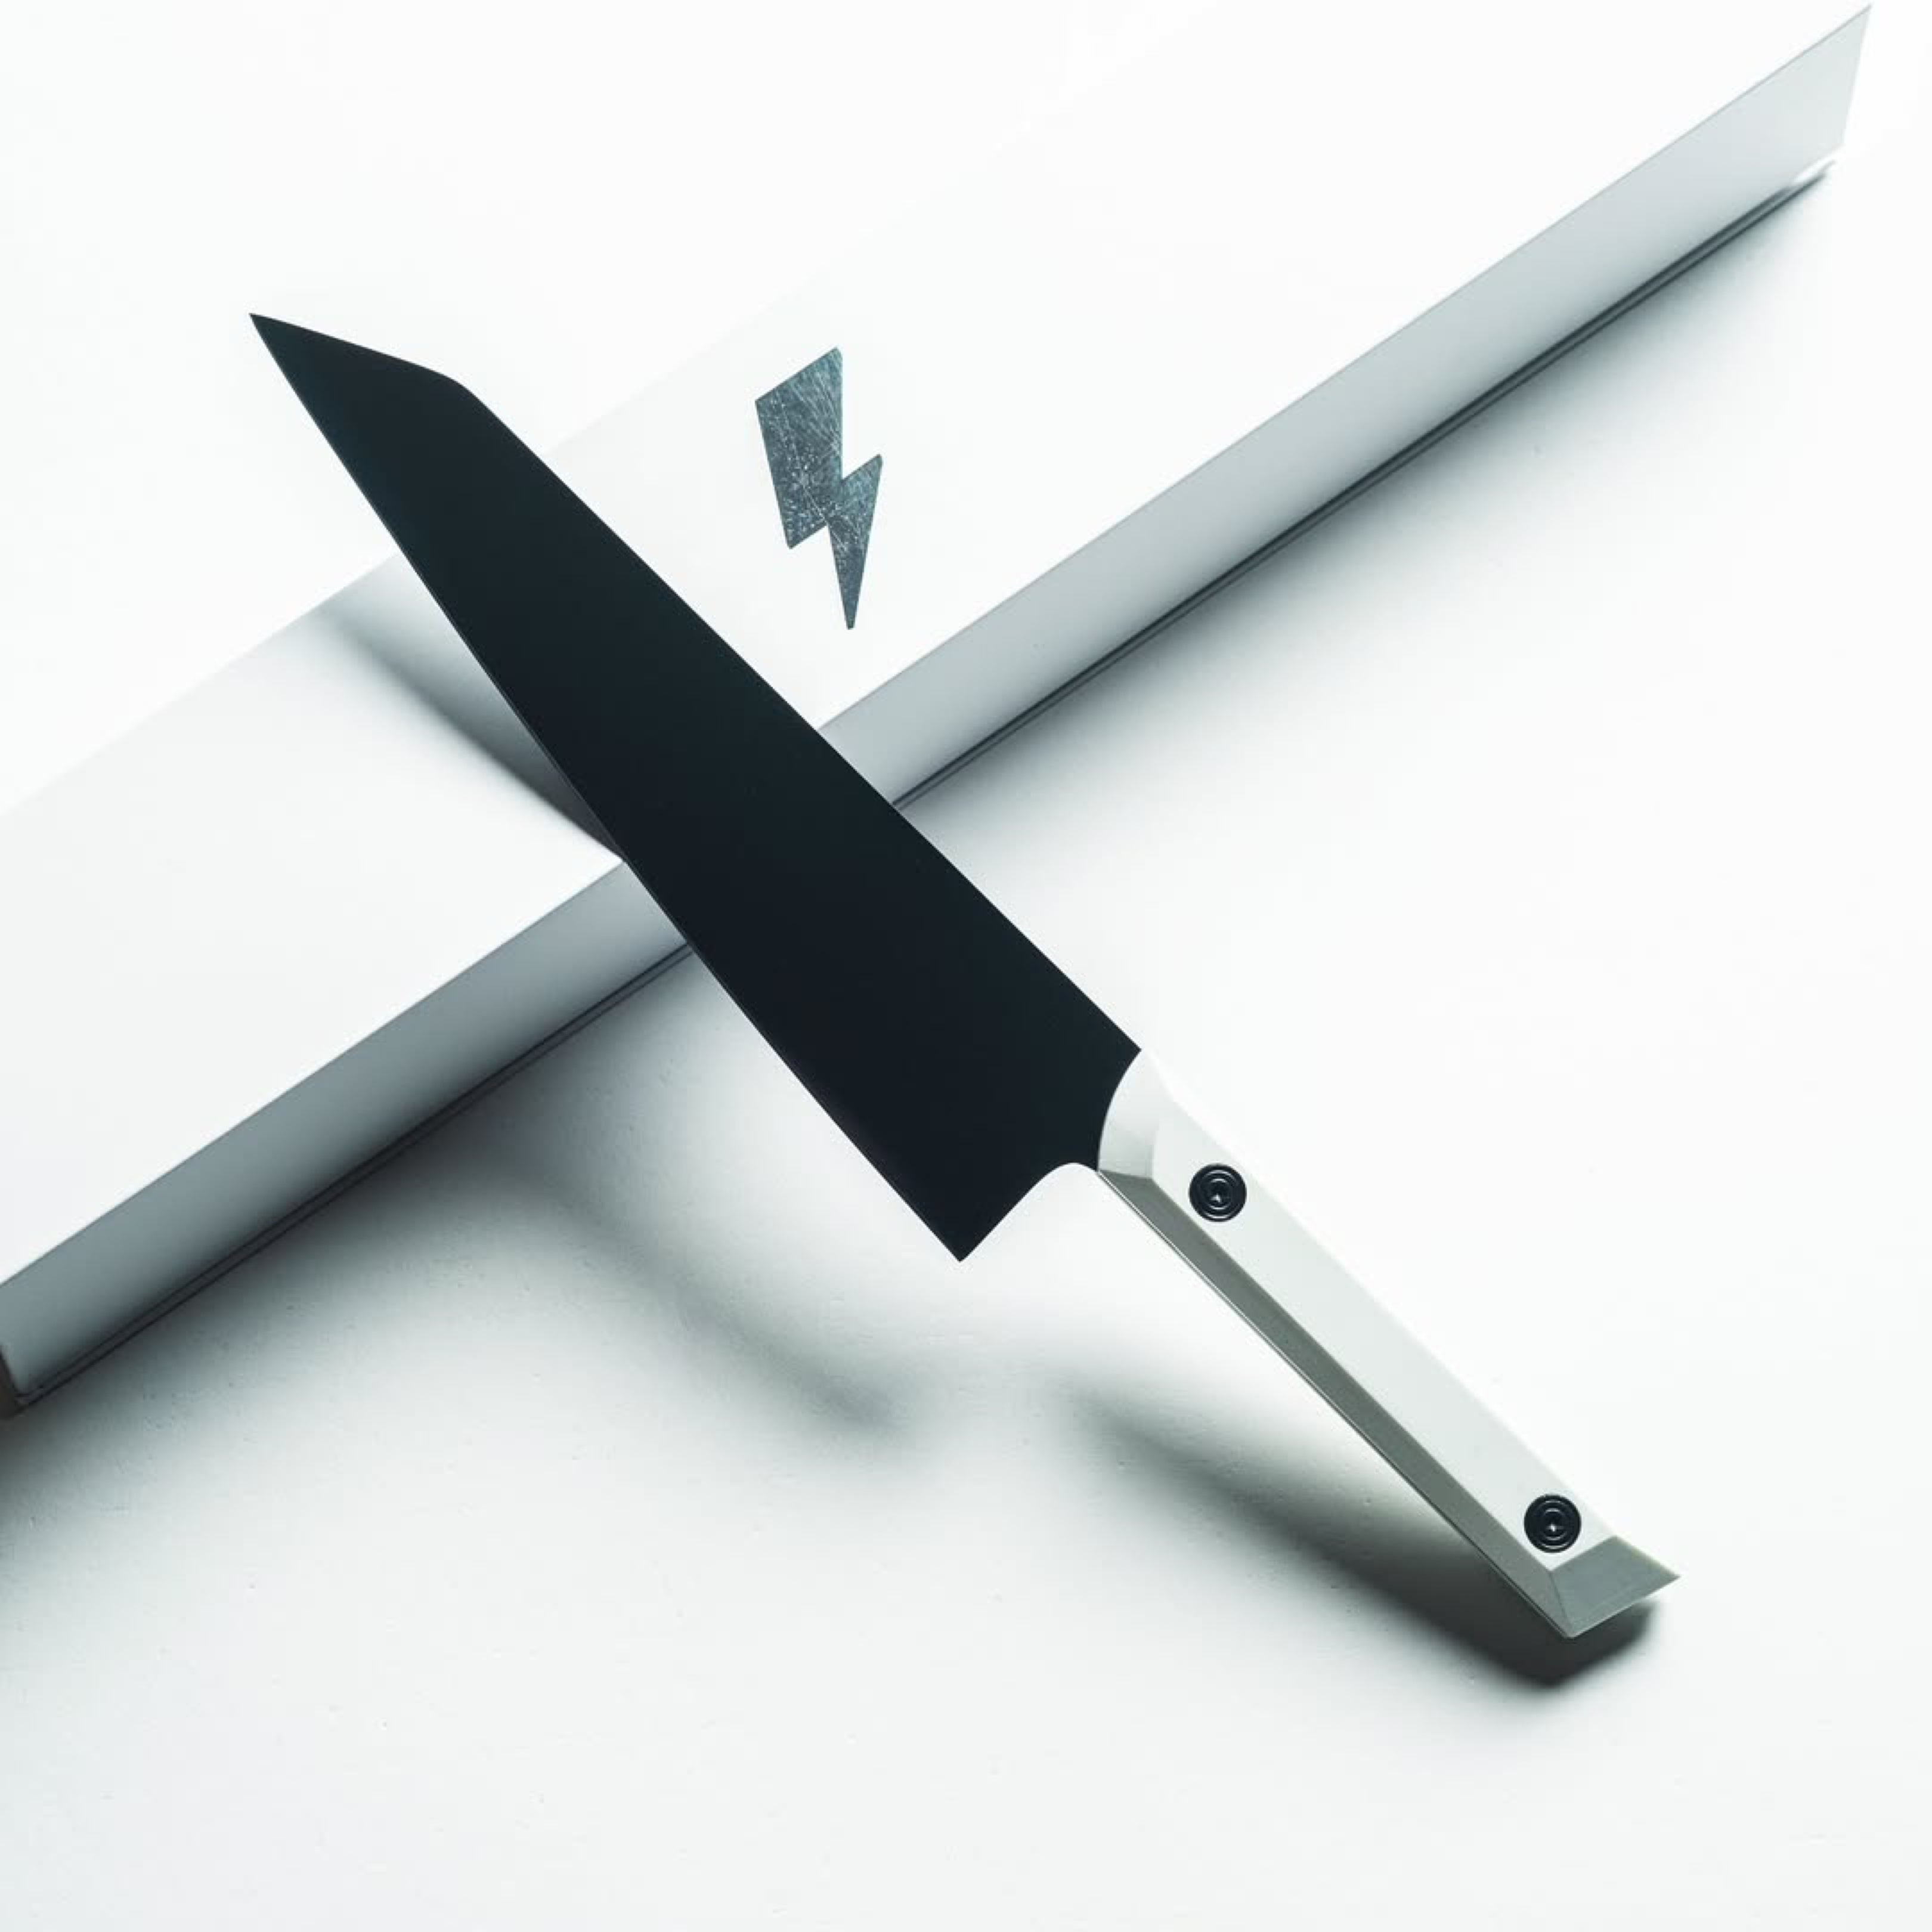


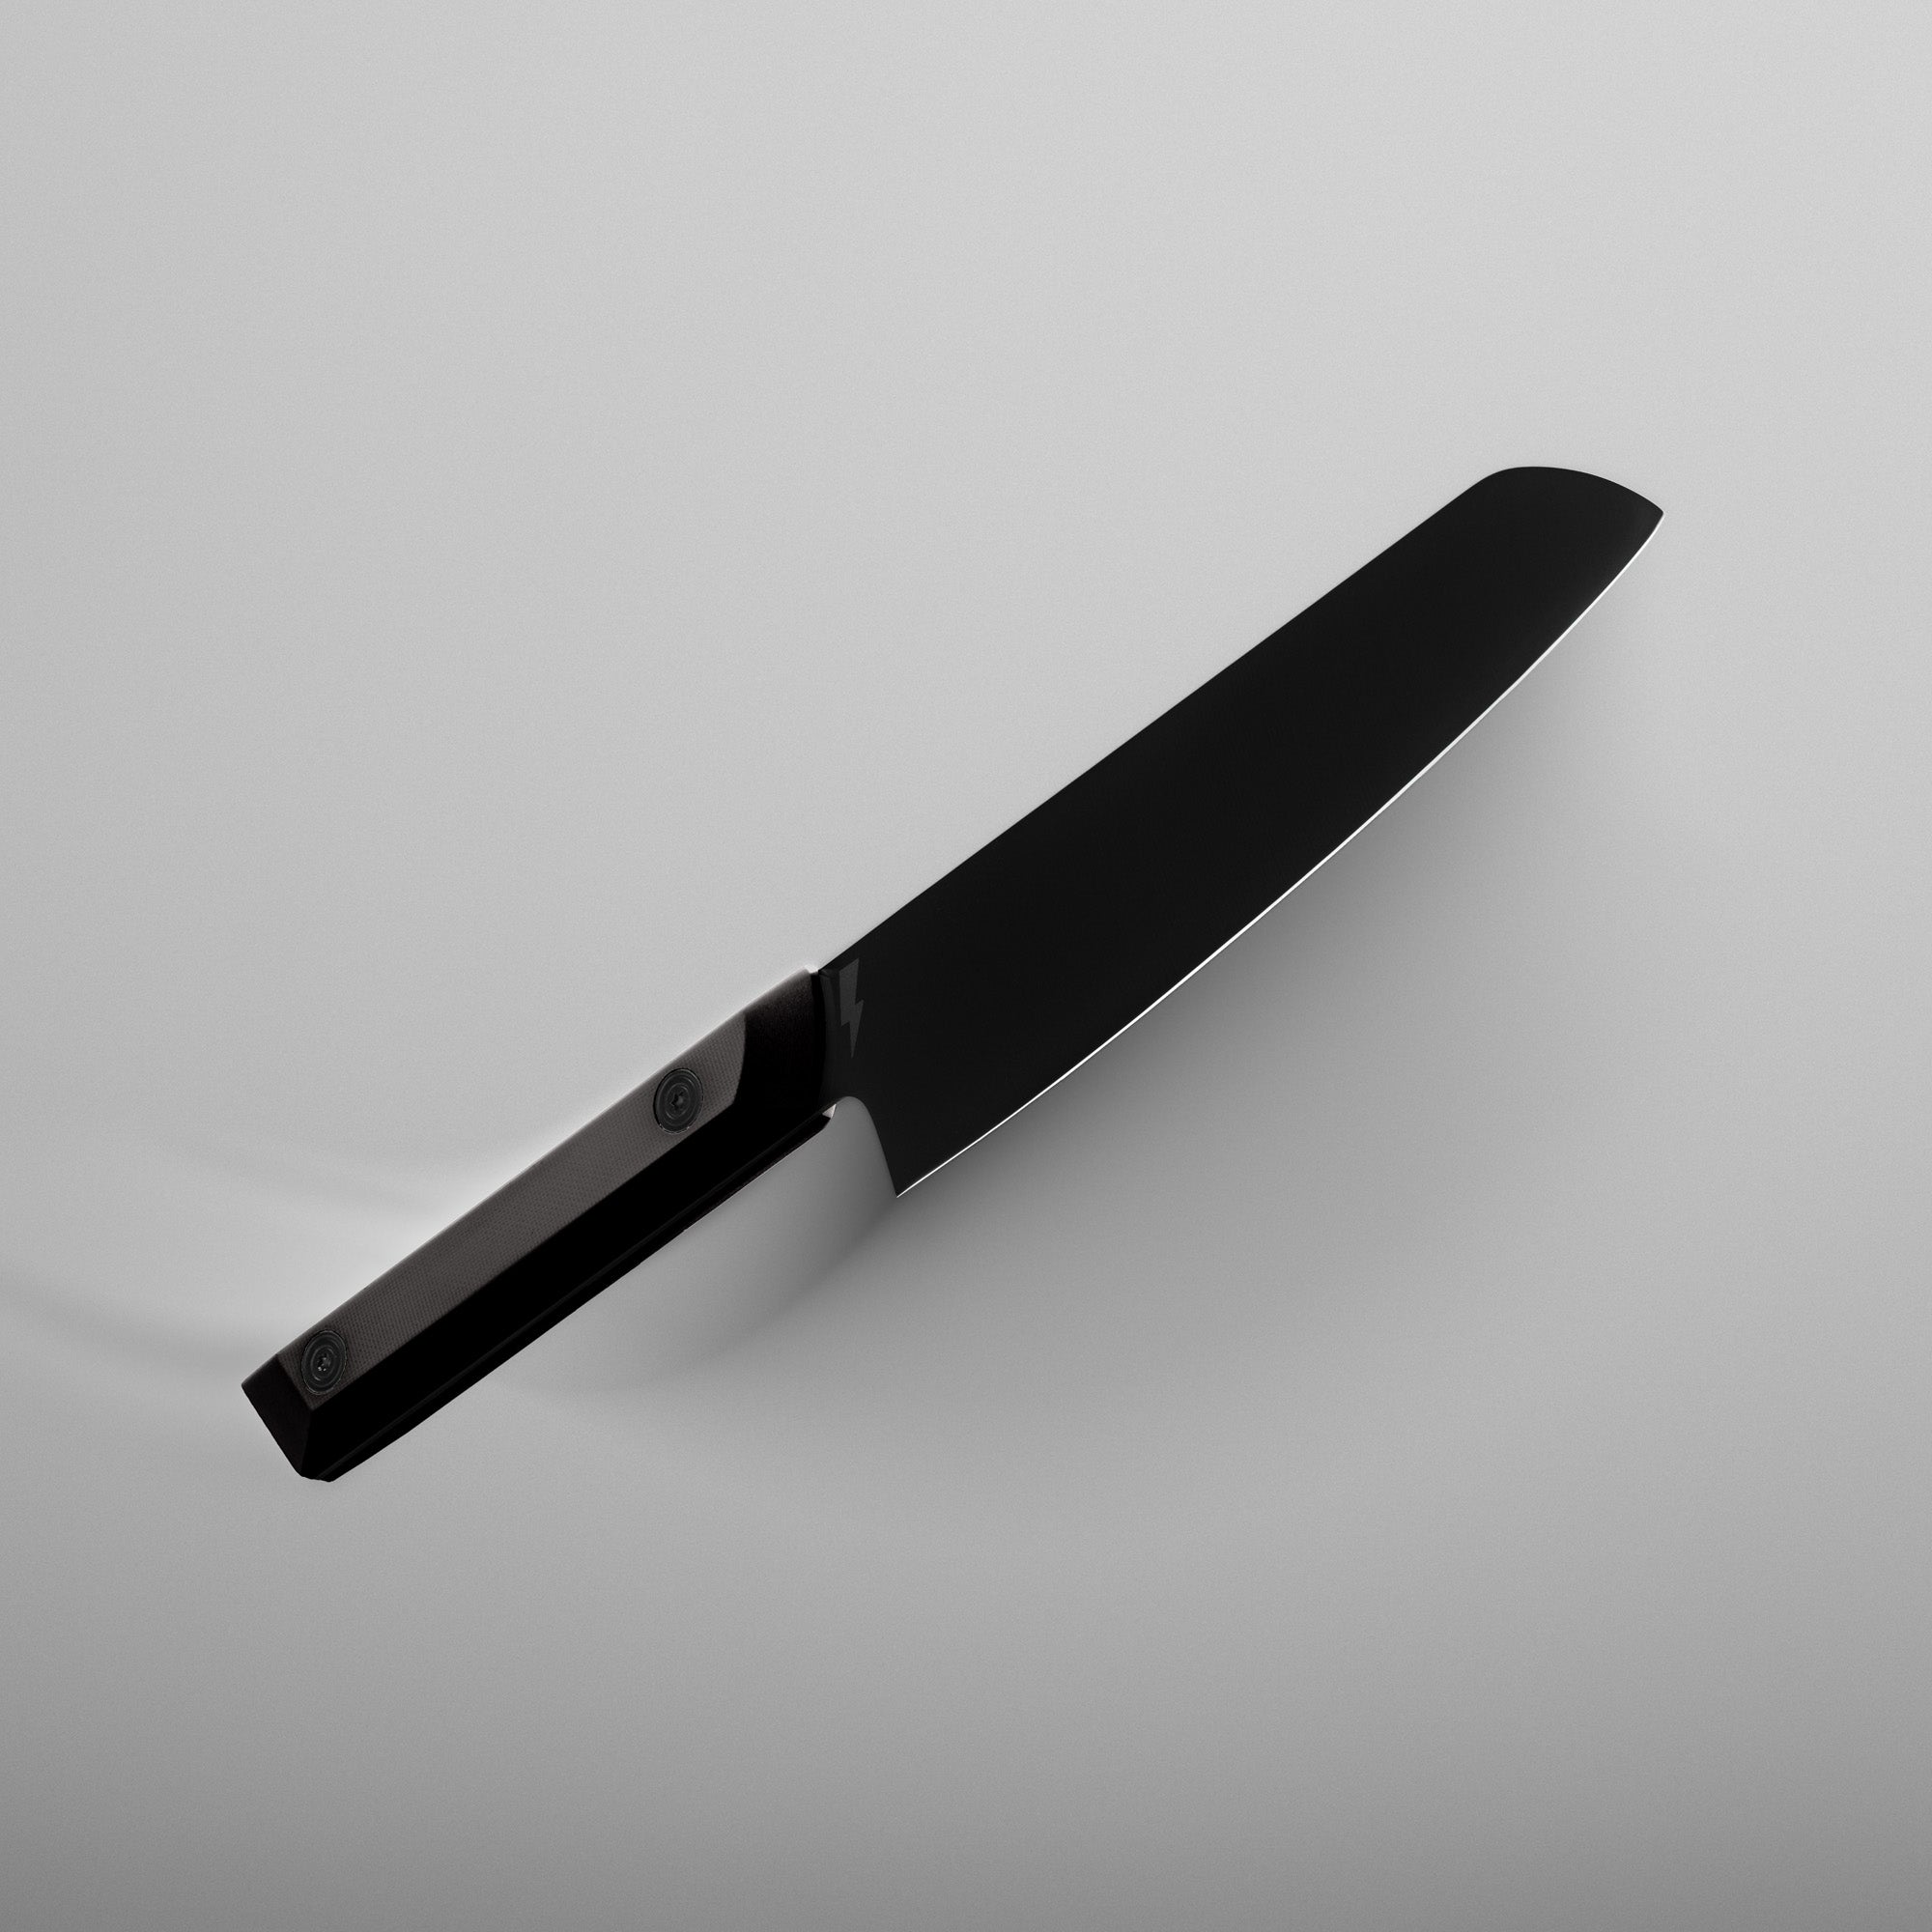


Smarter Coating - Cleaner Blade
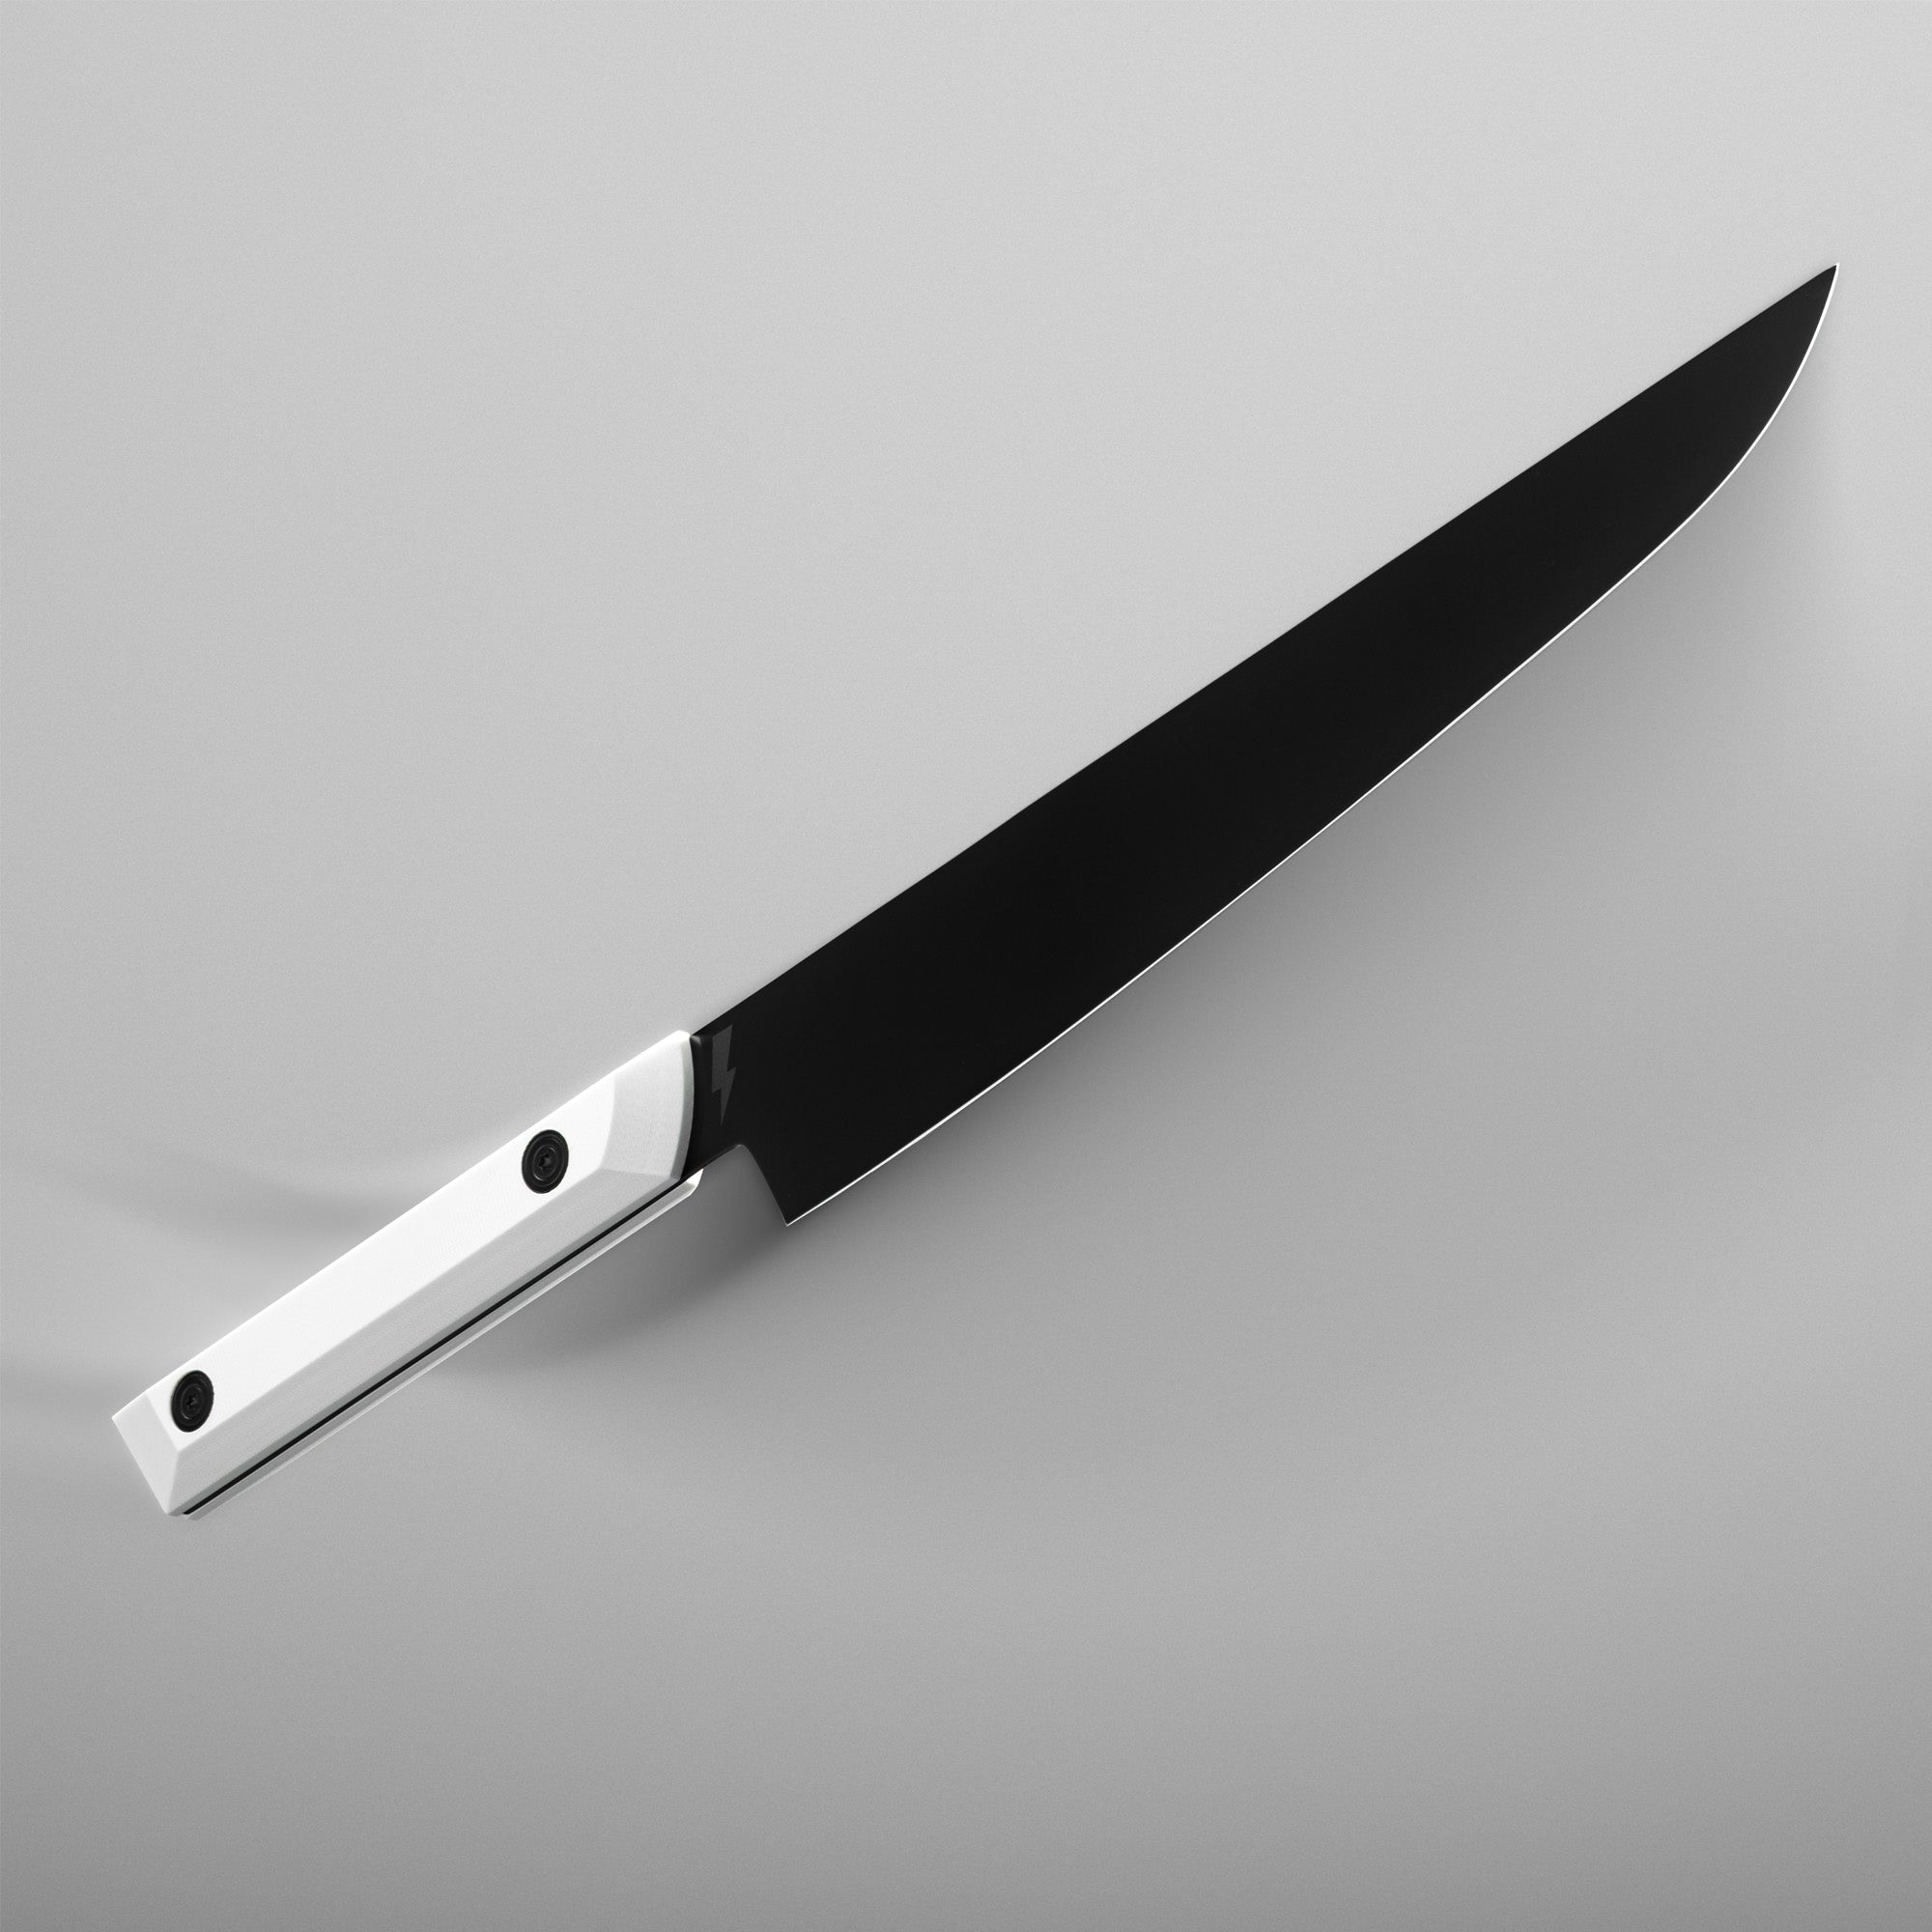
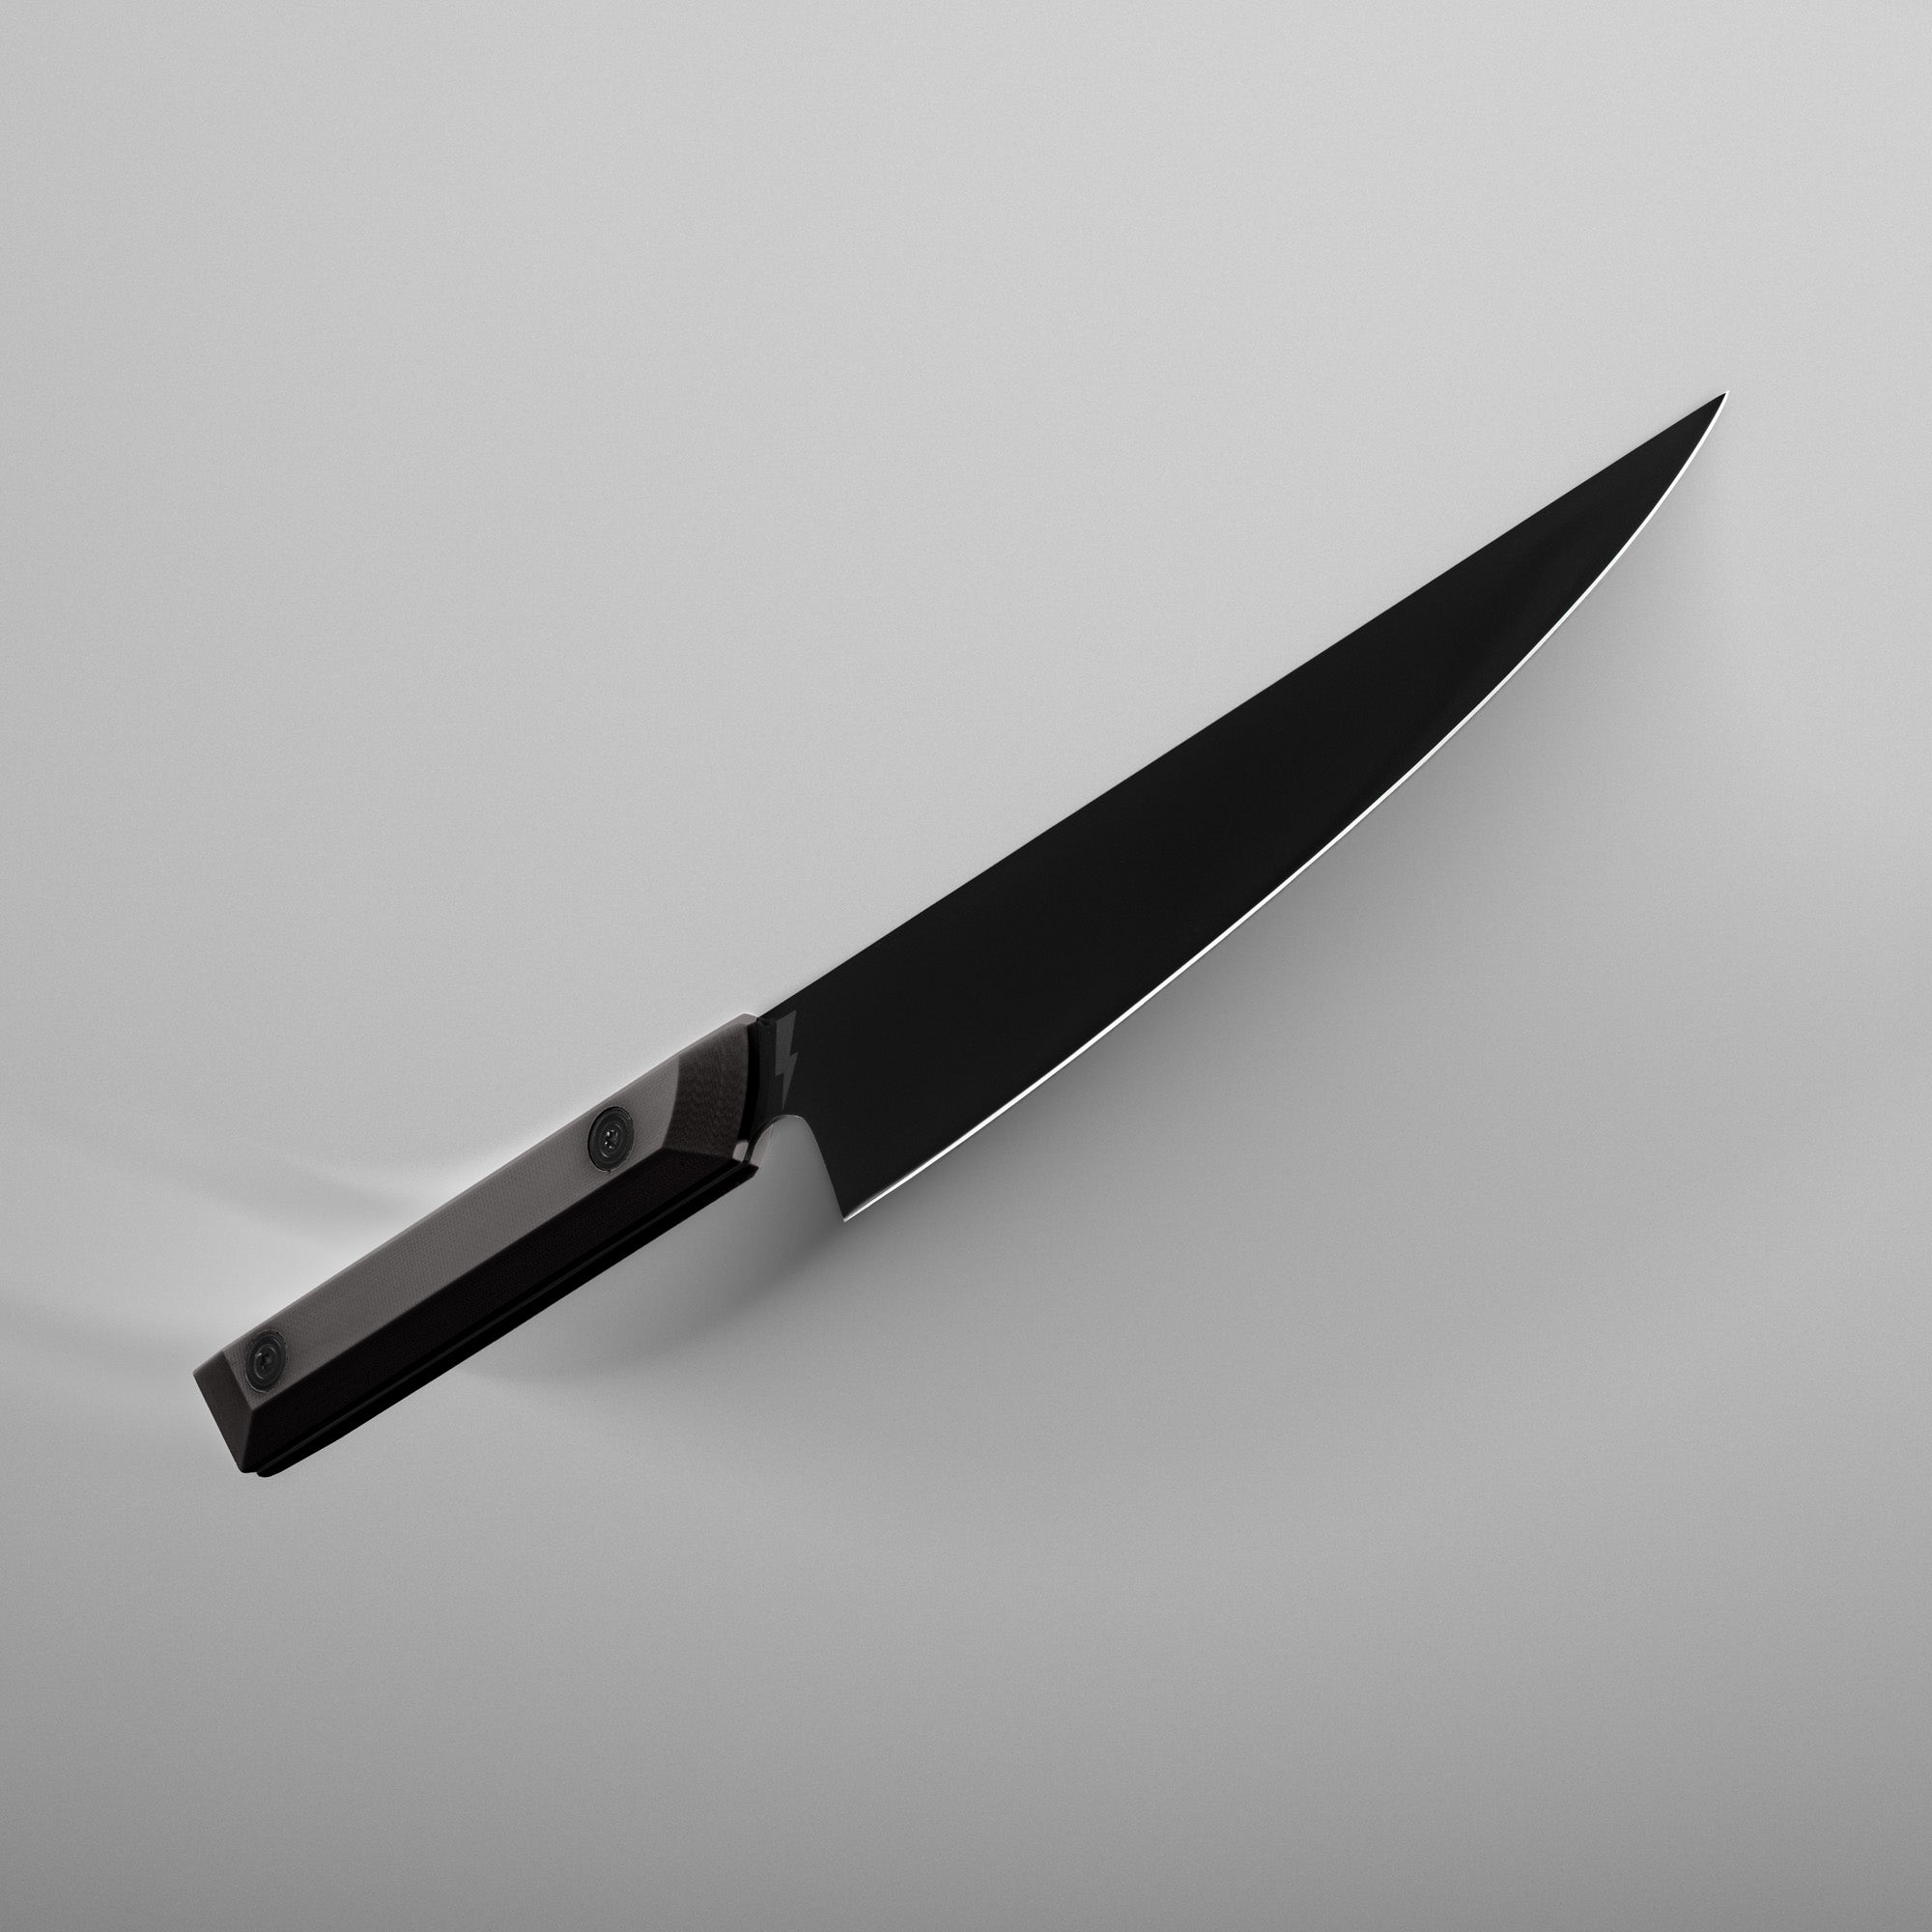
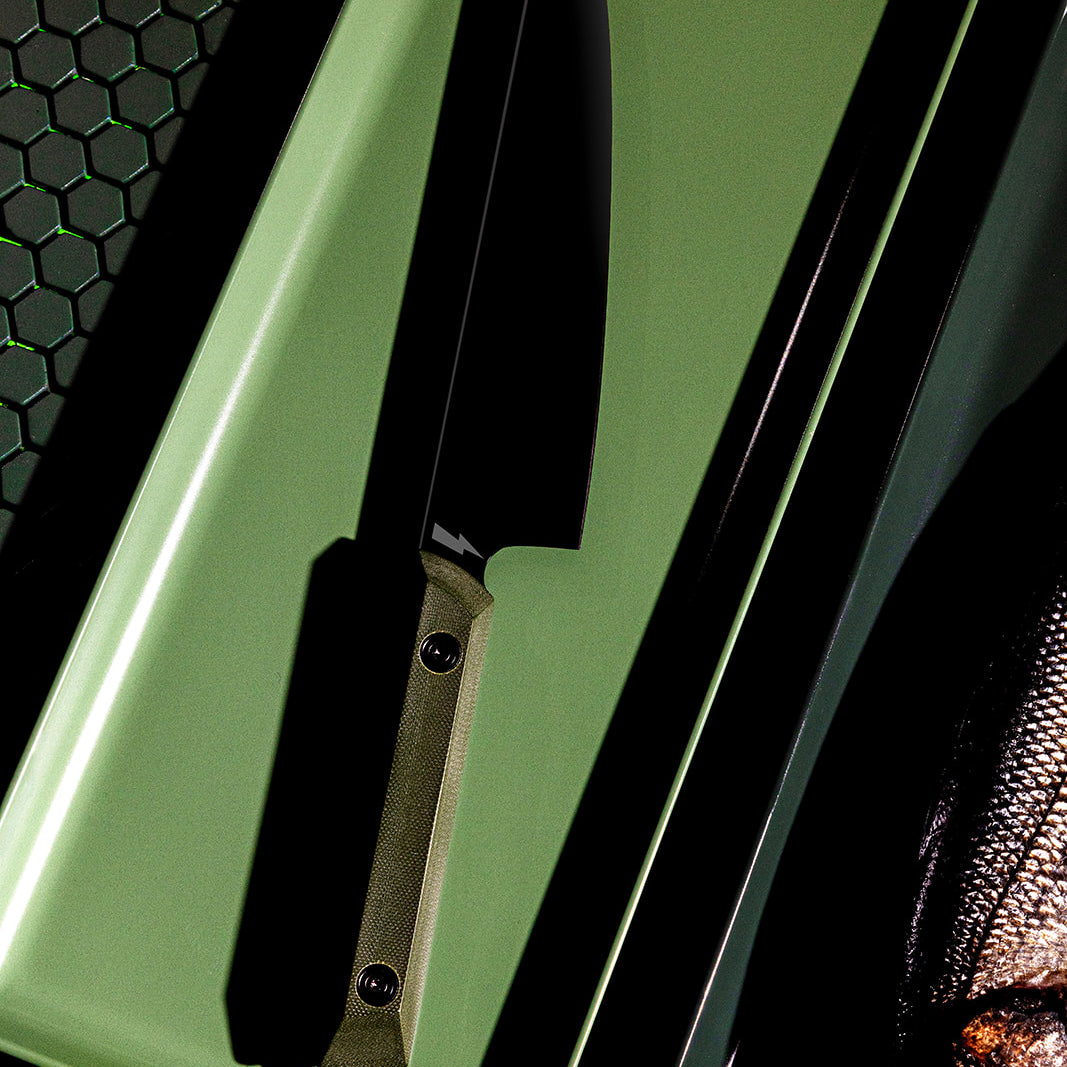
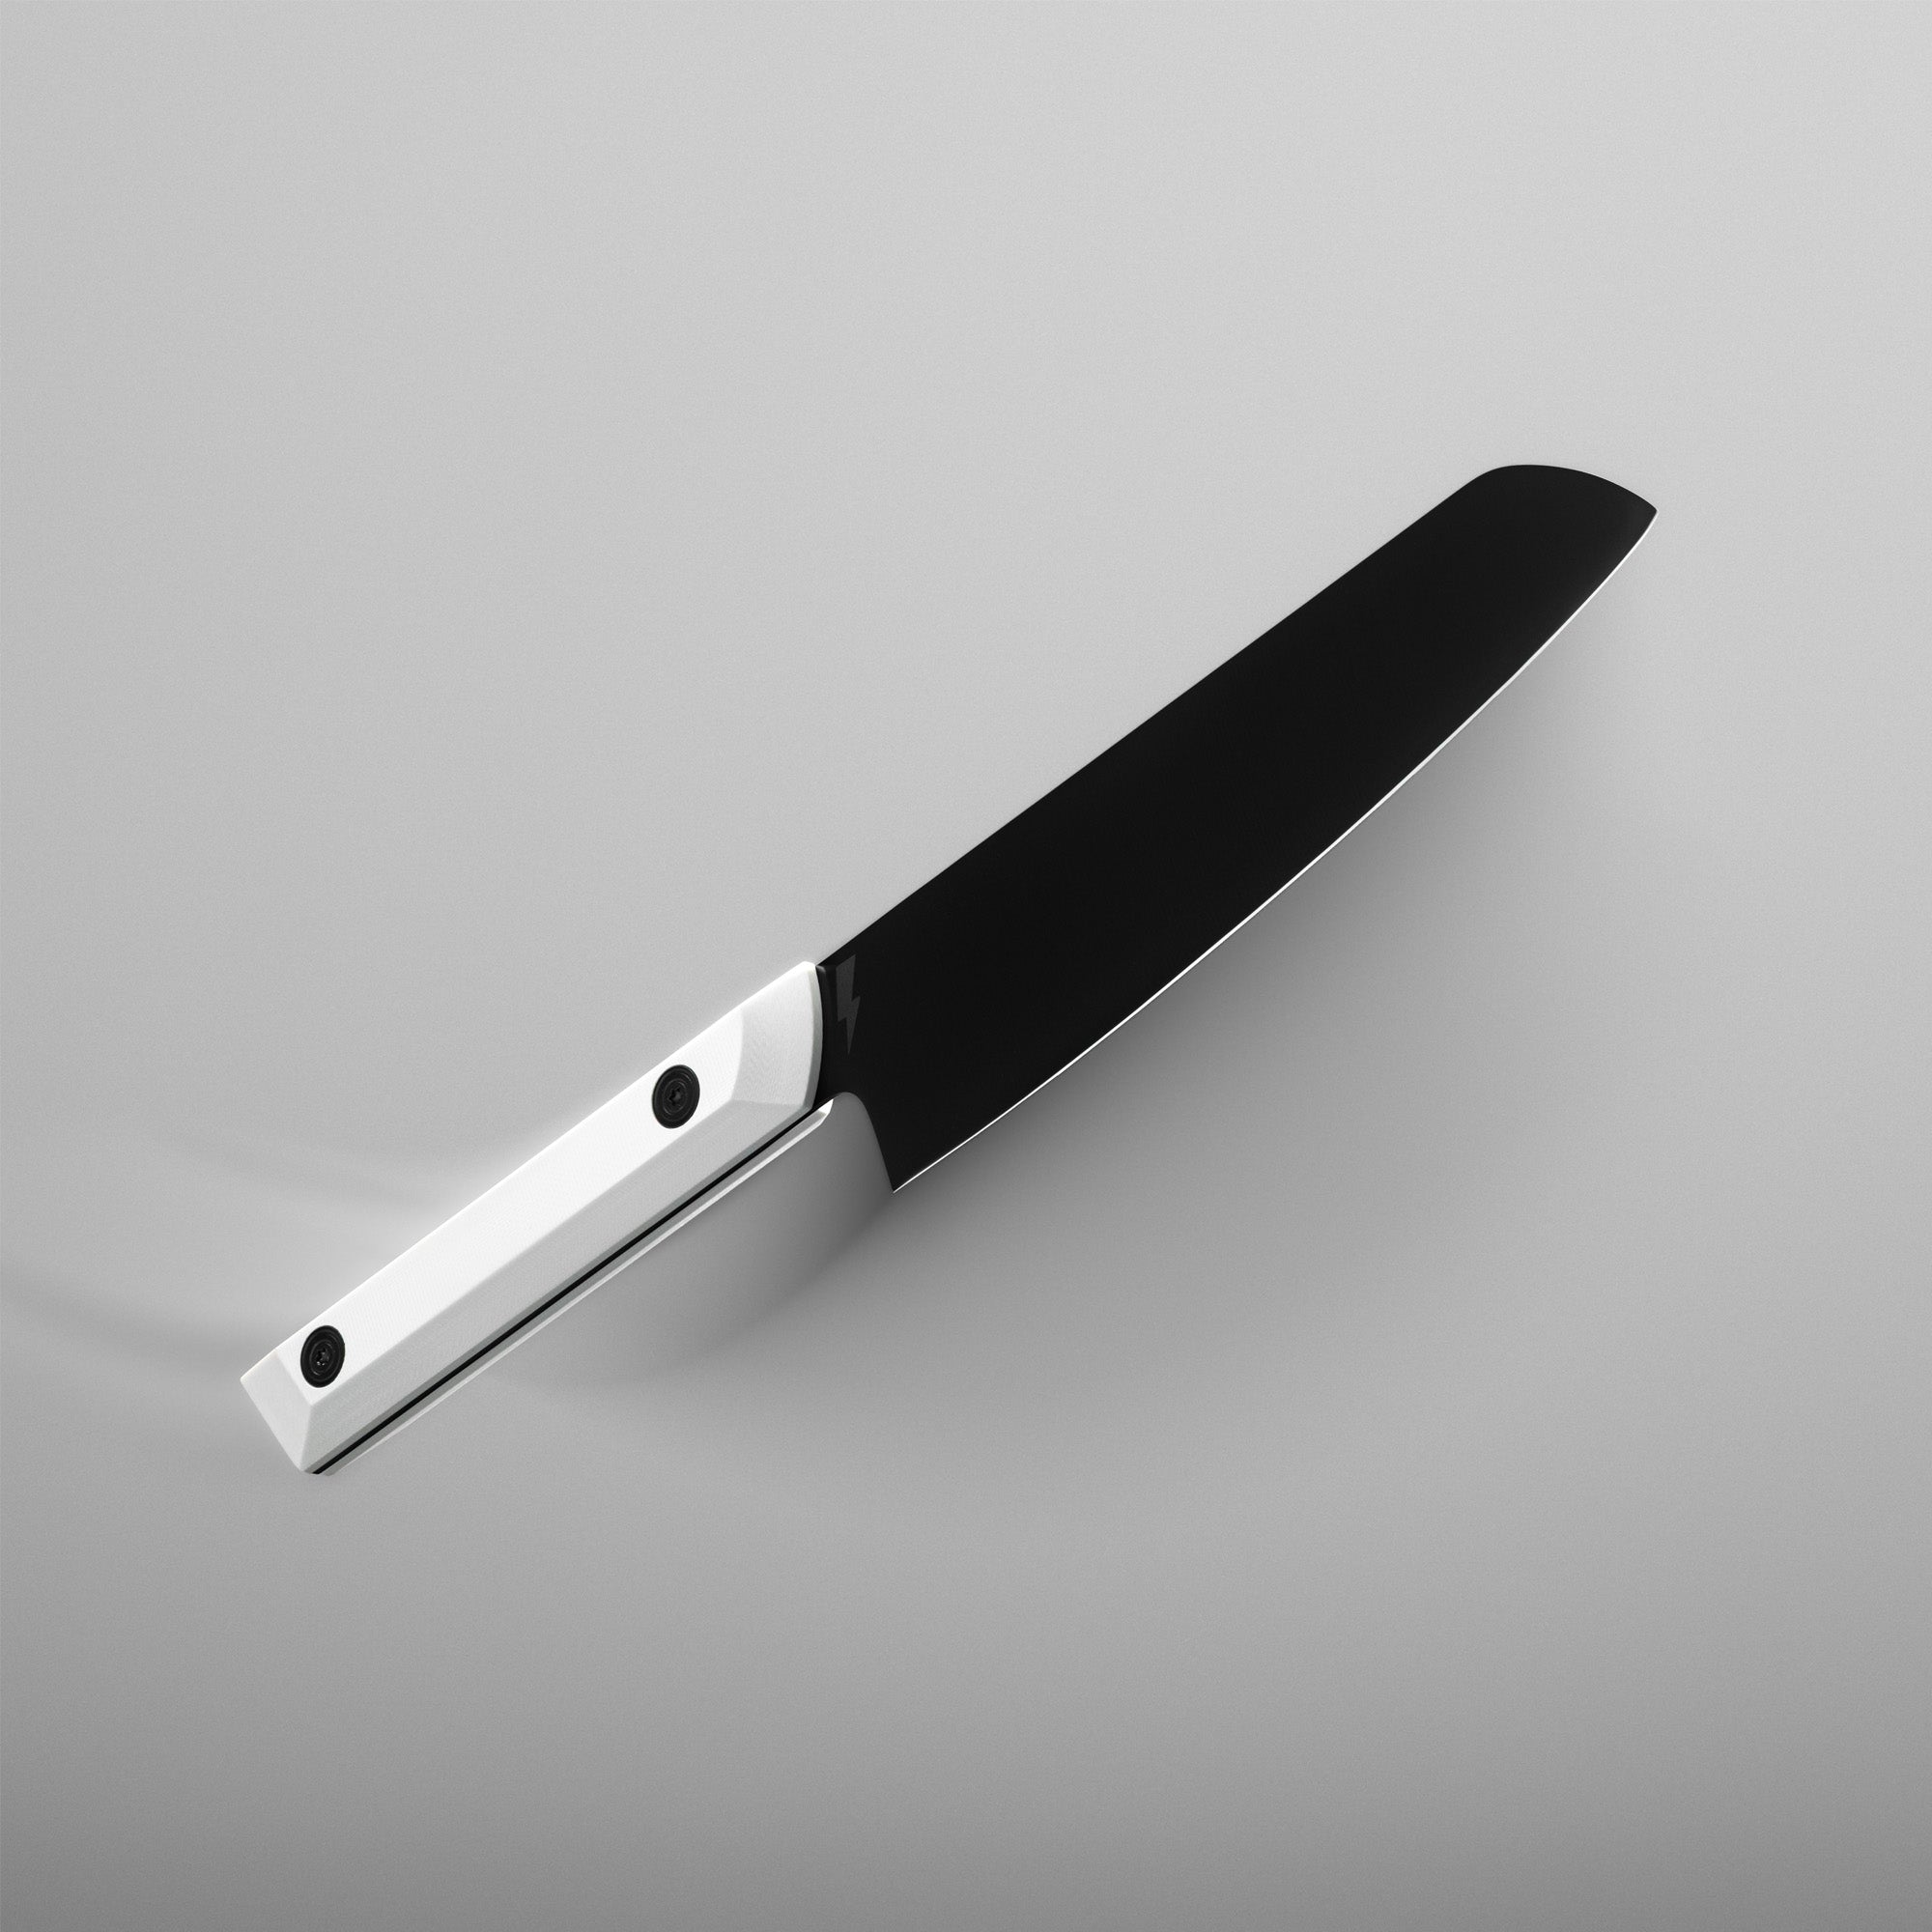
Our titanium nitride coating adds surface hardness, improves corrosion resistance, and helps reduce surface-level bacterial buildup. This is a proprietary process we named TITANOX.
While not a disinfectant, titanium and titanium-based compounds have been shown in laboratory settings to limit bacterial adhesion compared to uncoated stainless steel. This contributes to cleaner handling and slower material degradation — especially in high-use, moisture-heavy environments like the kitchen.
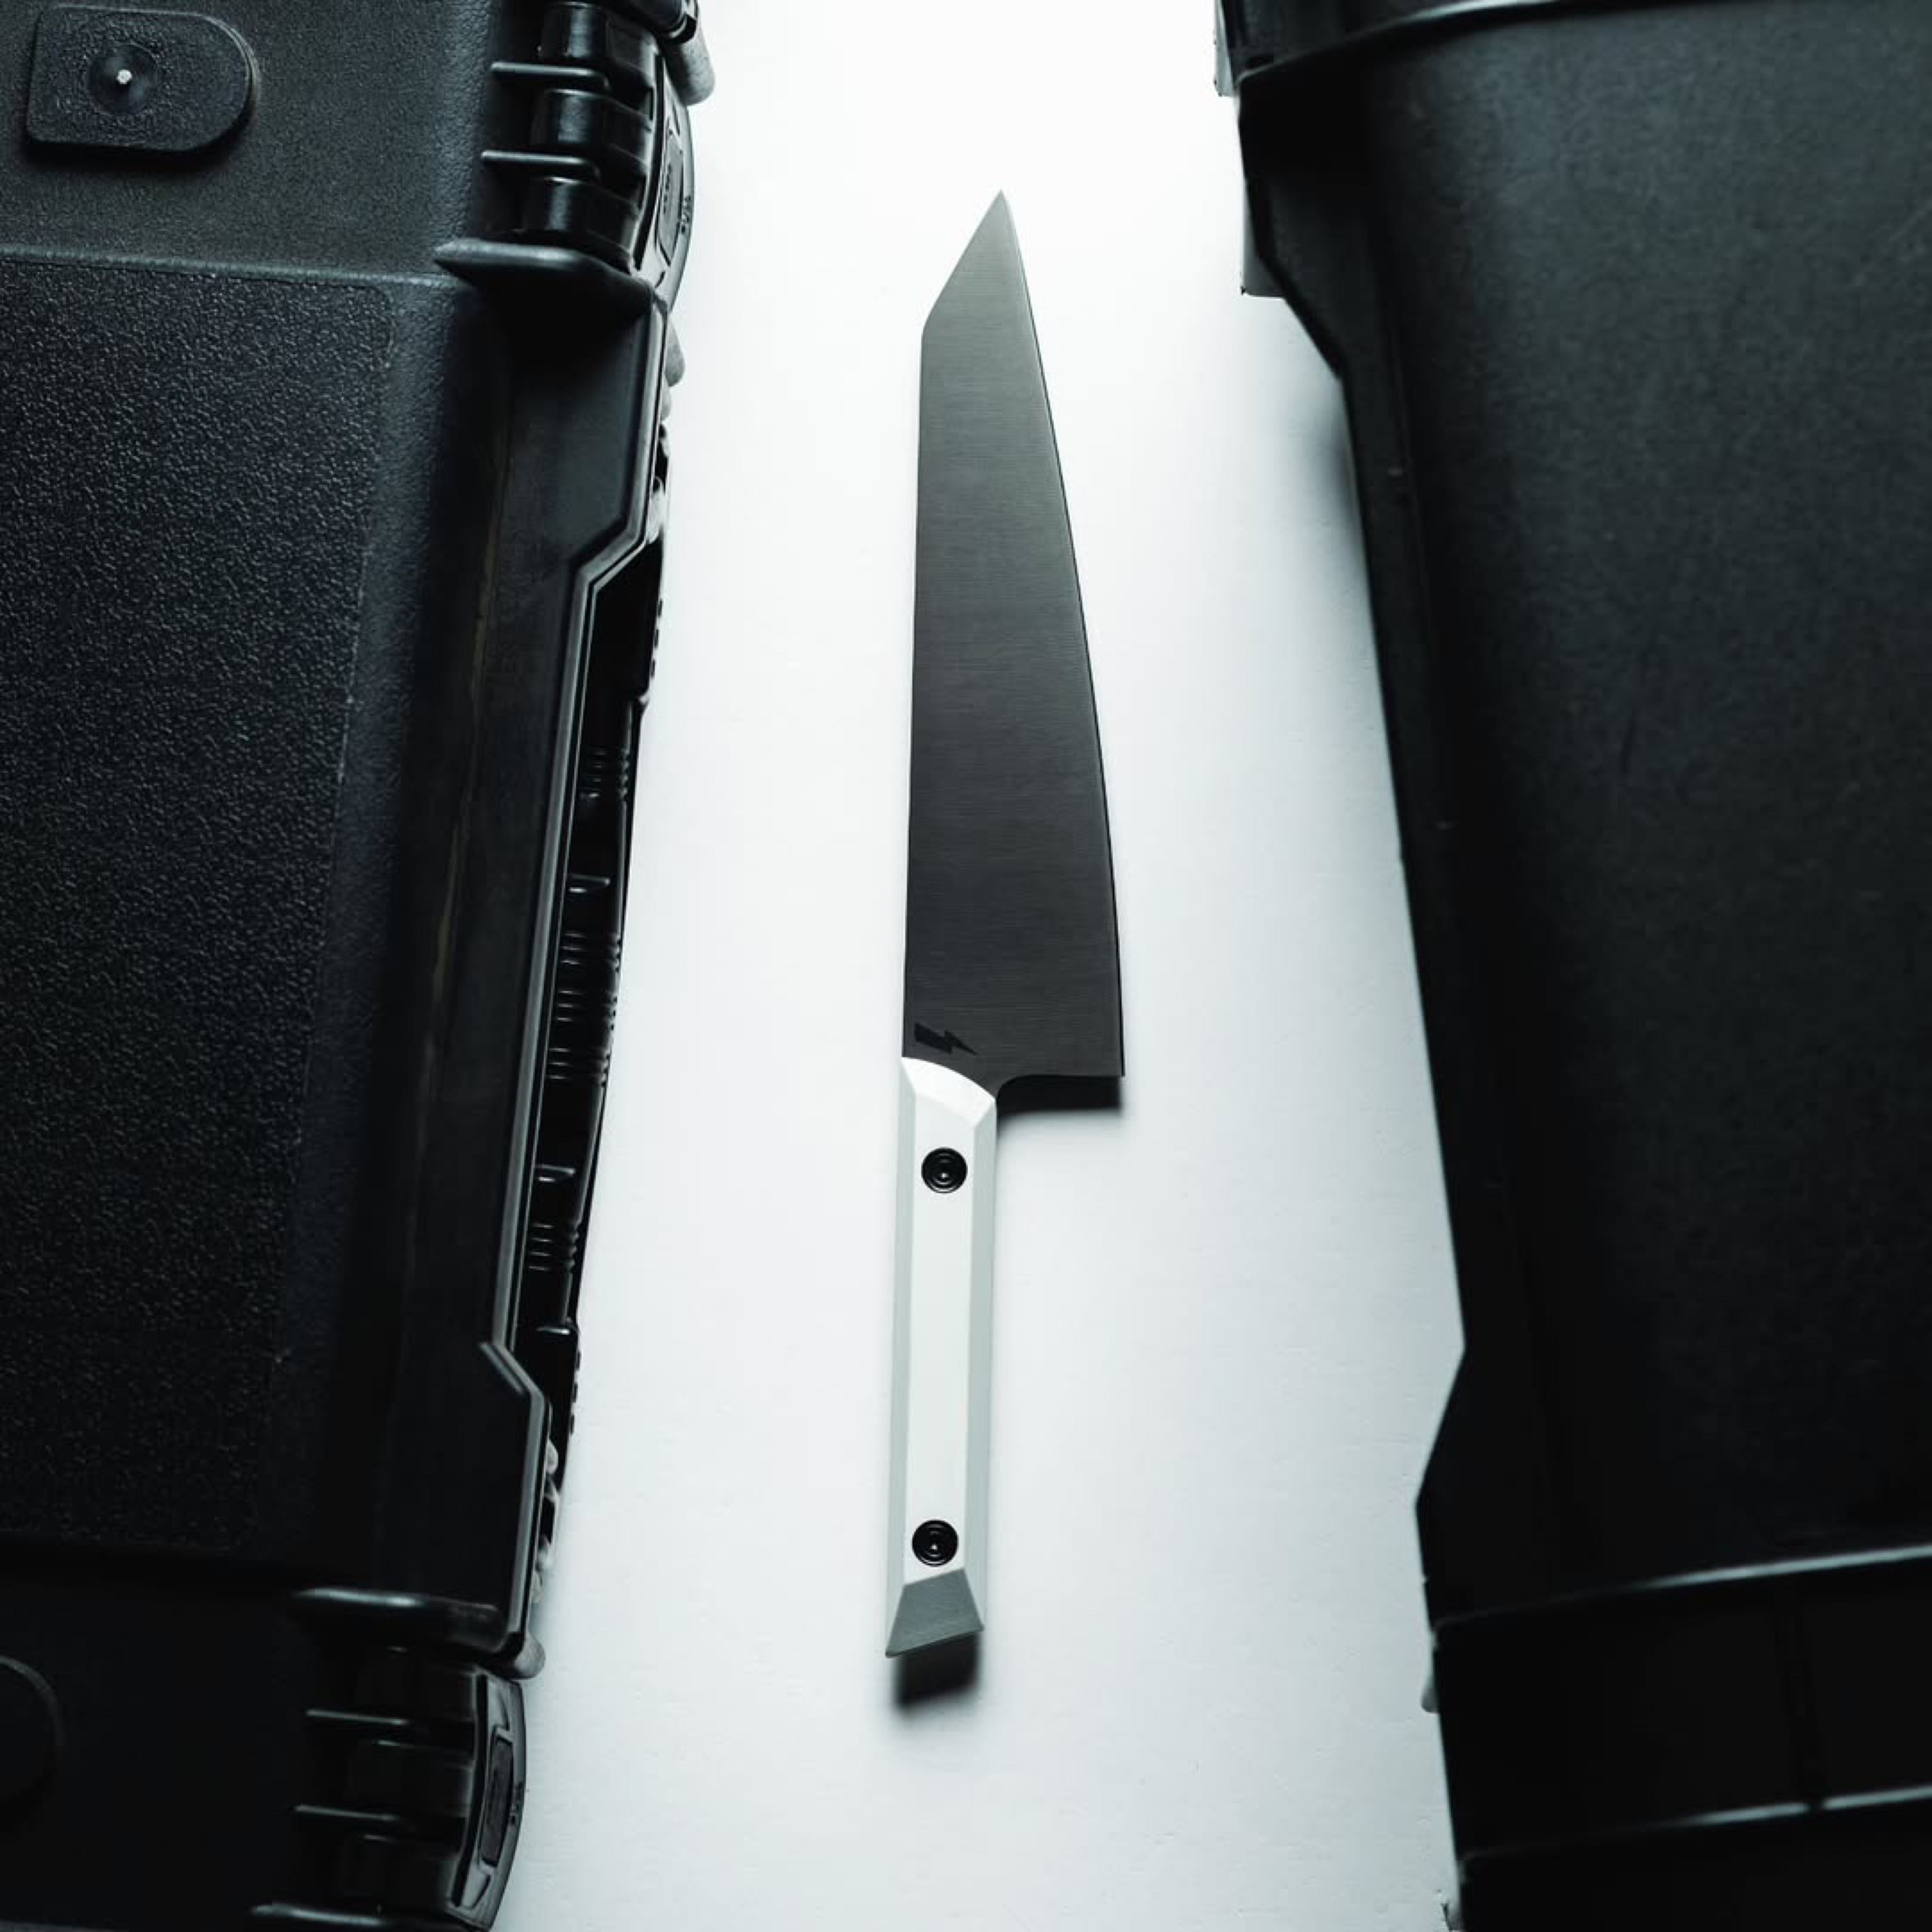
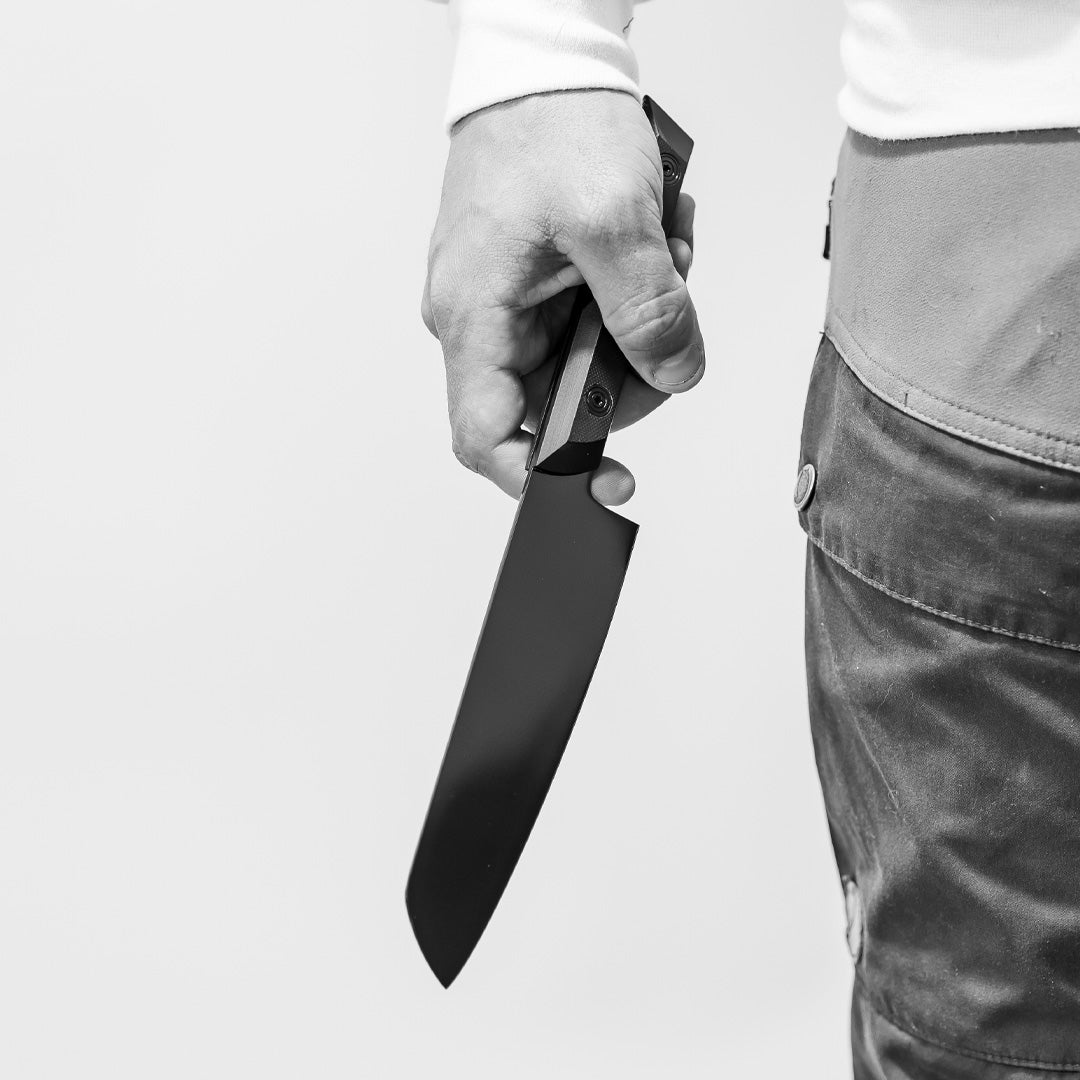
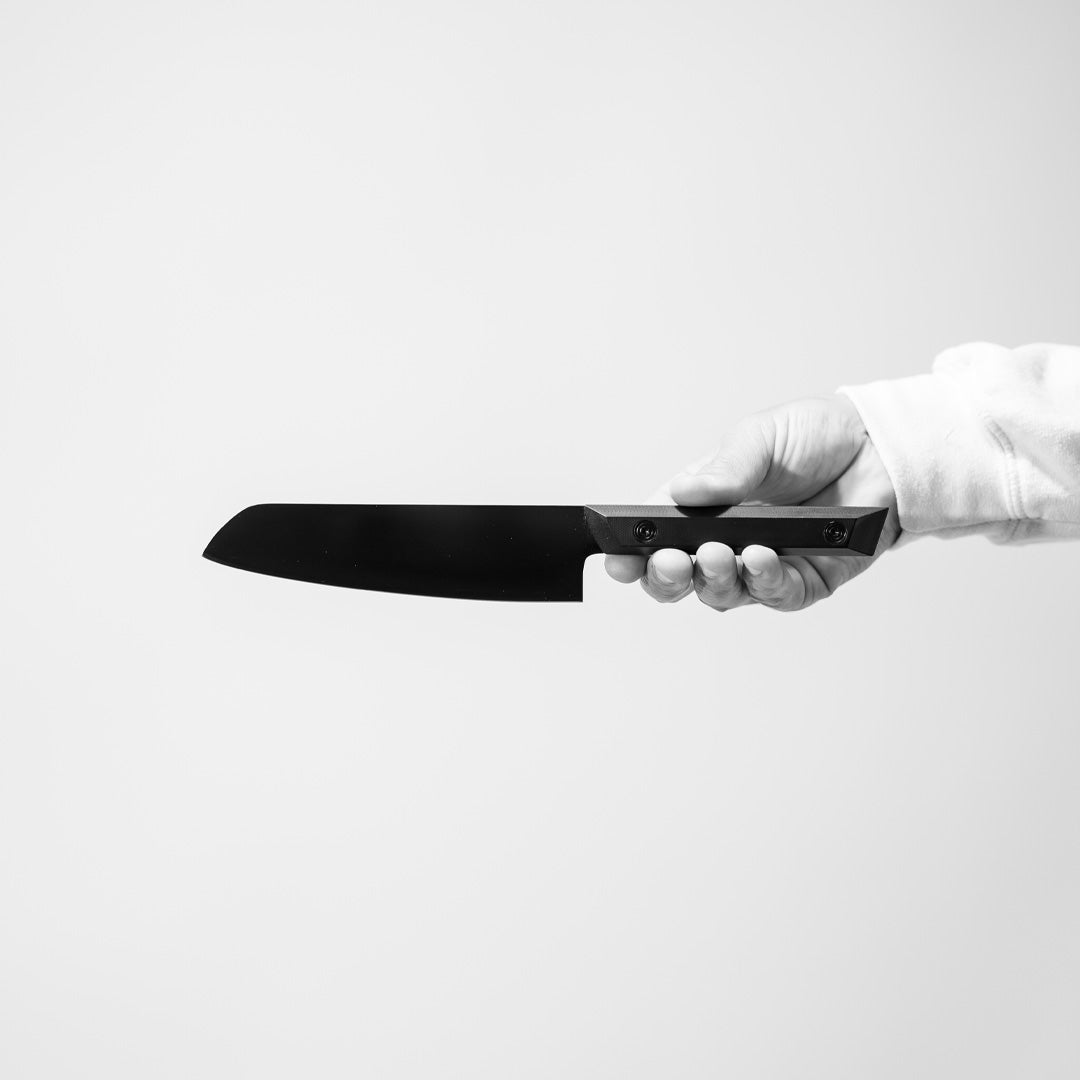
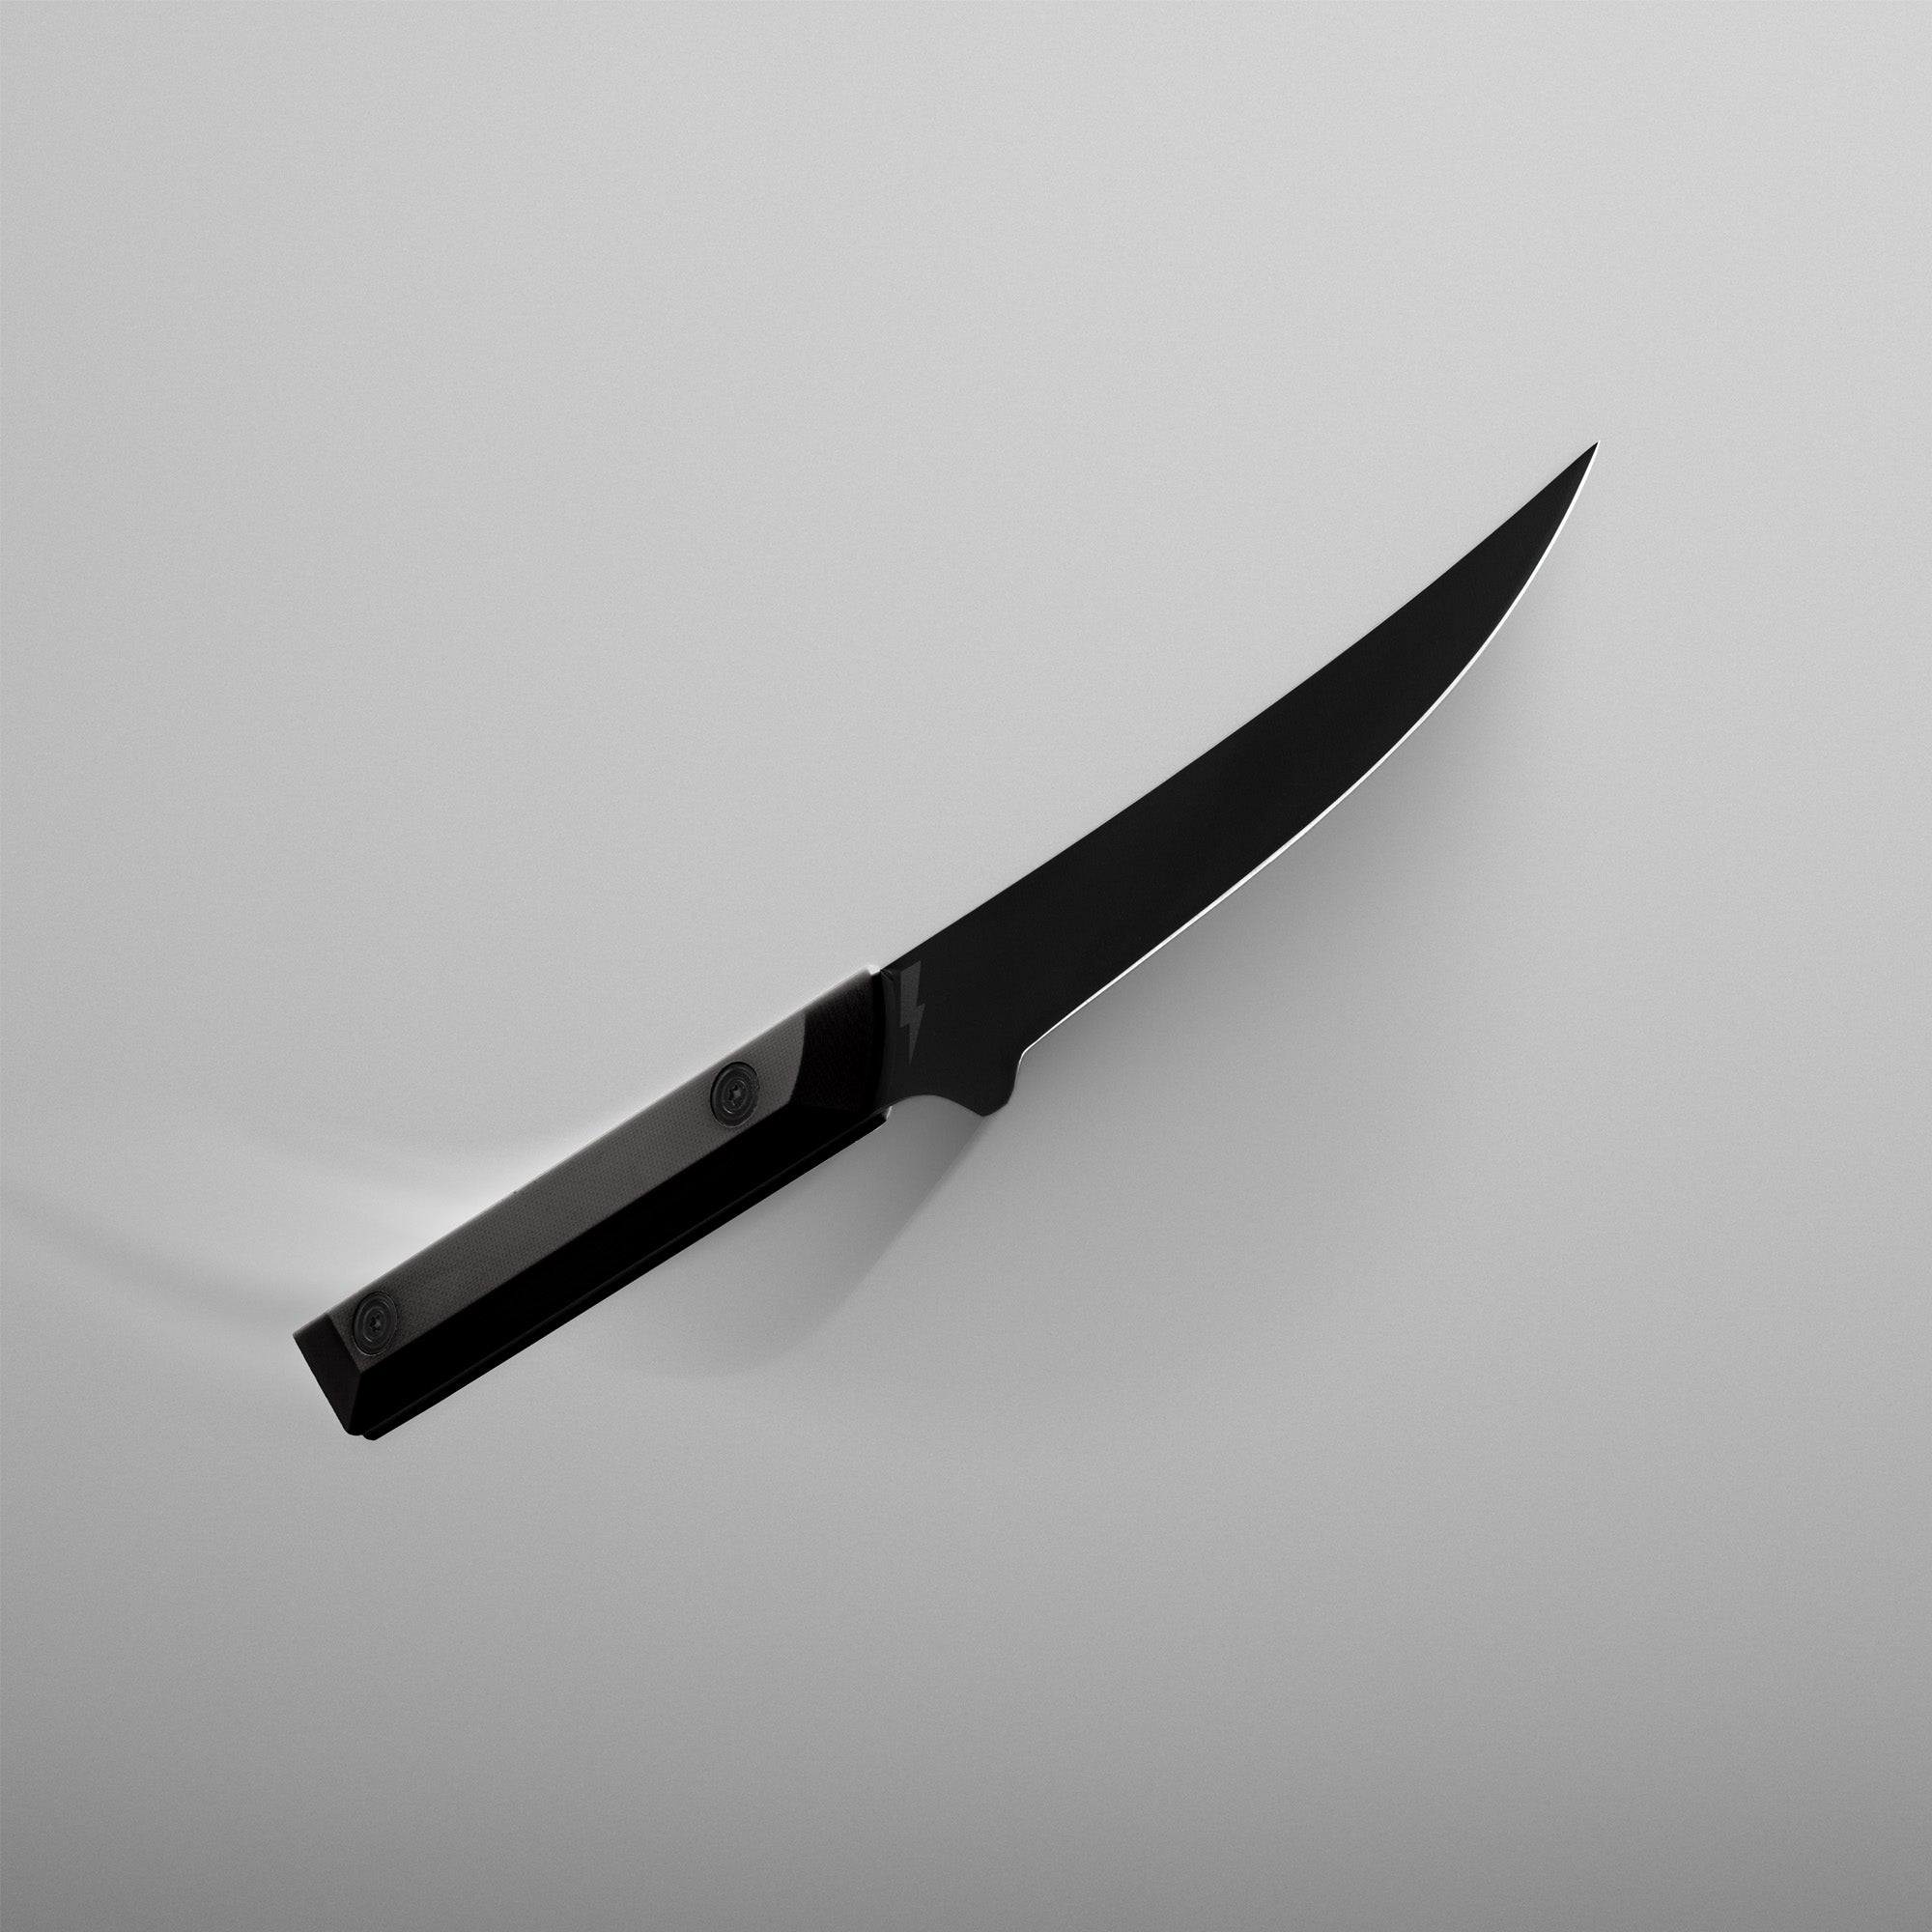
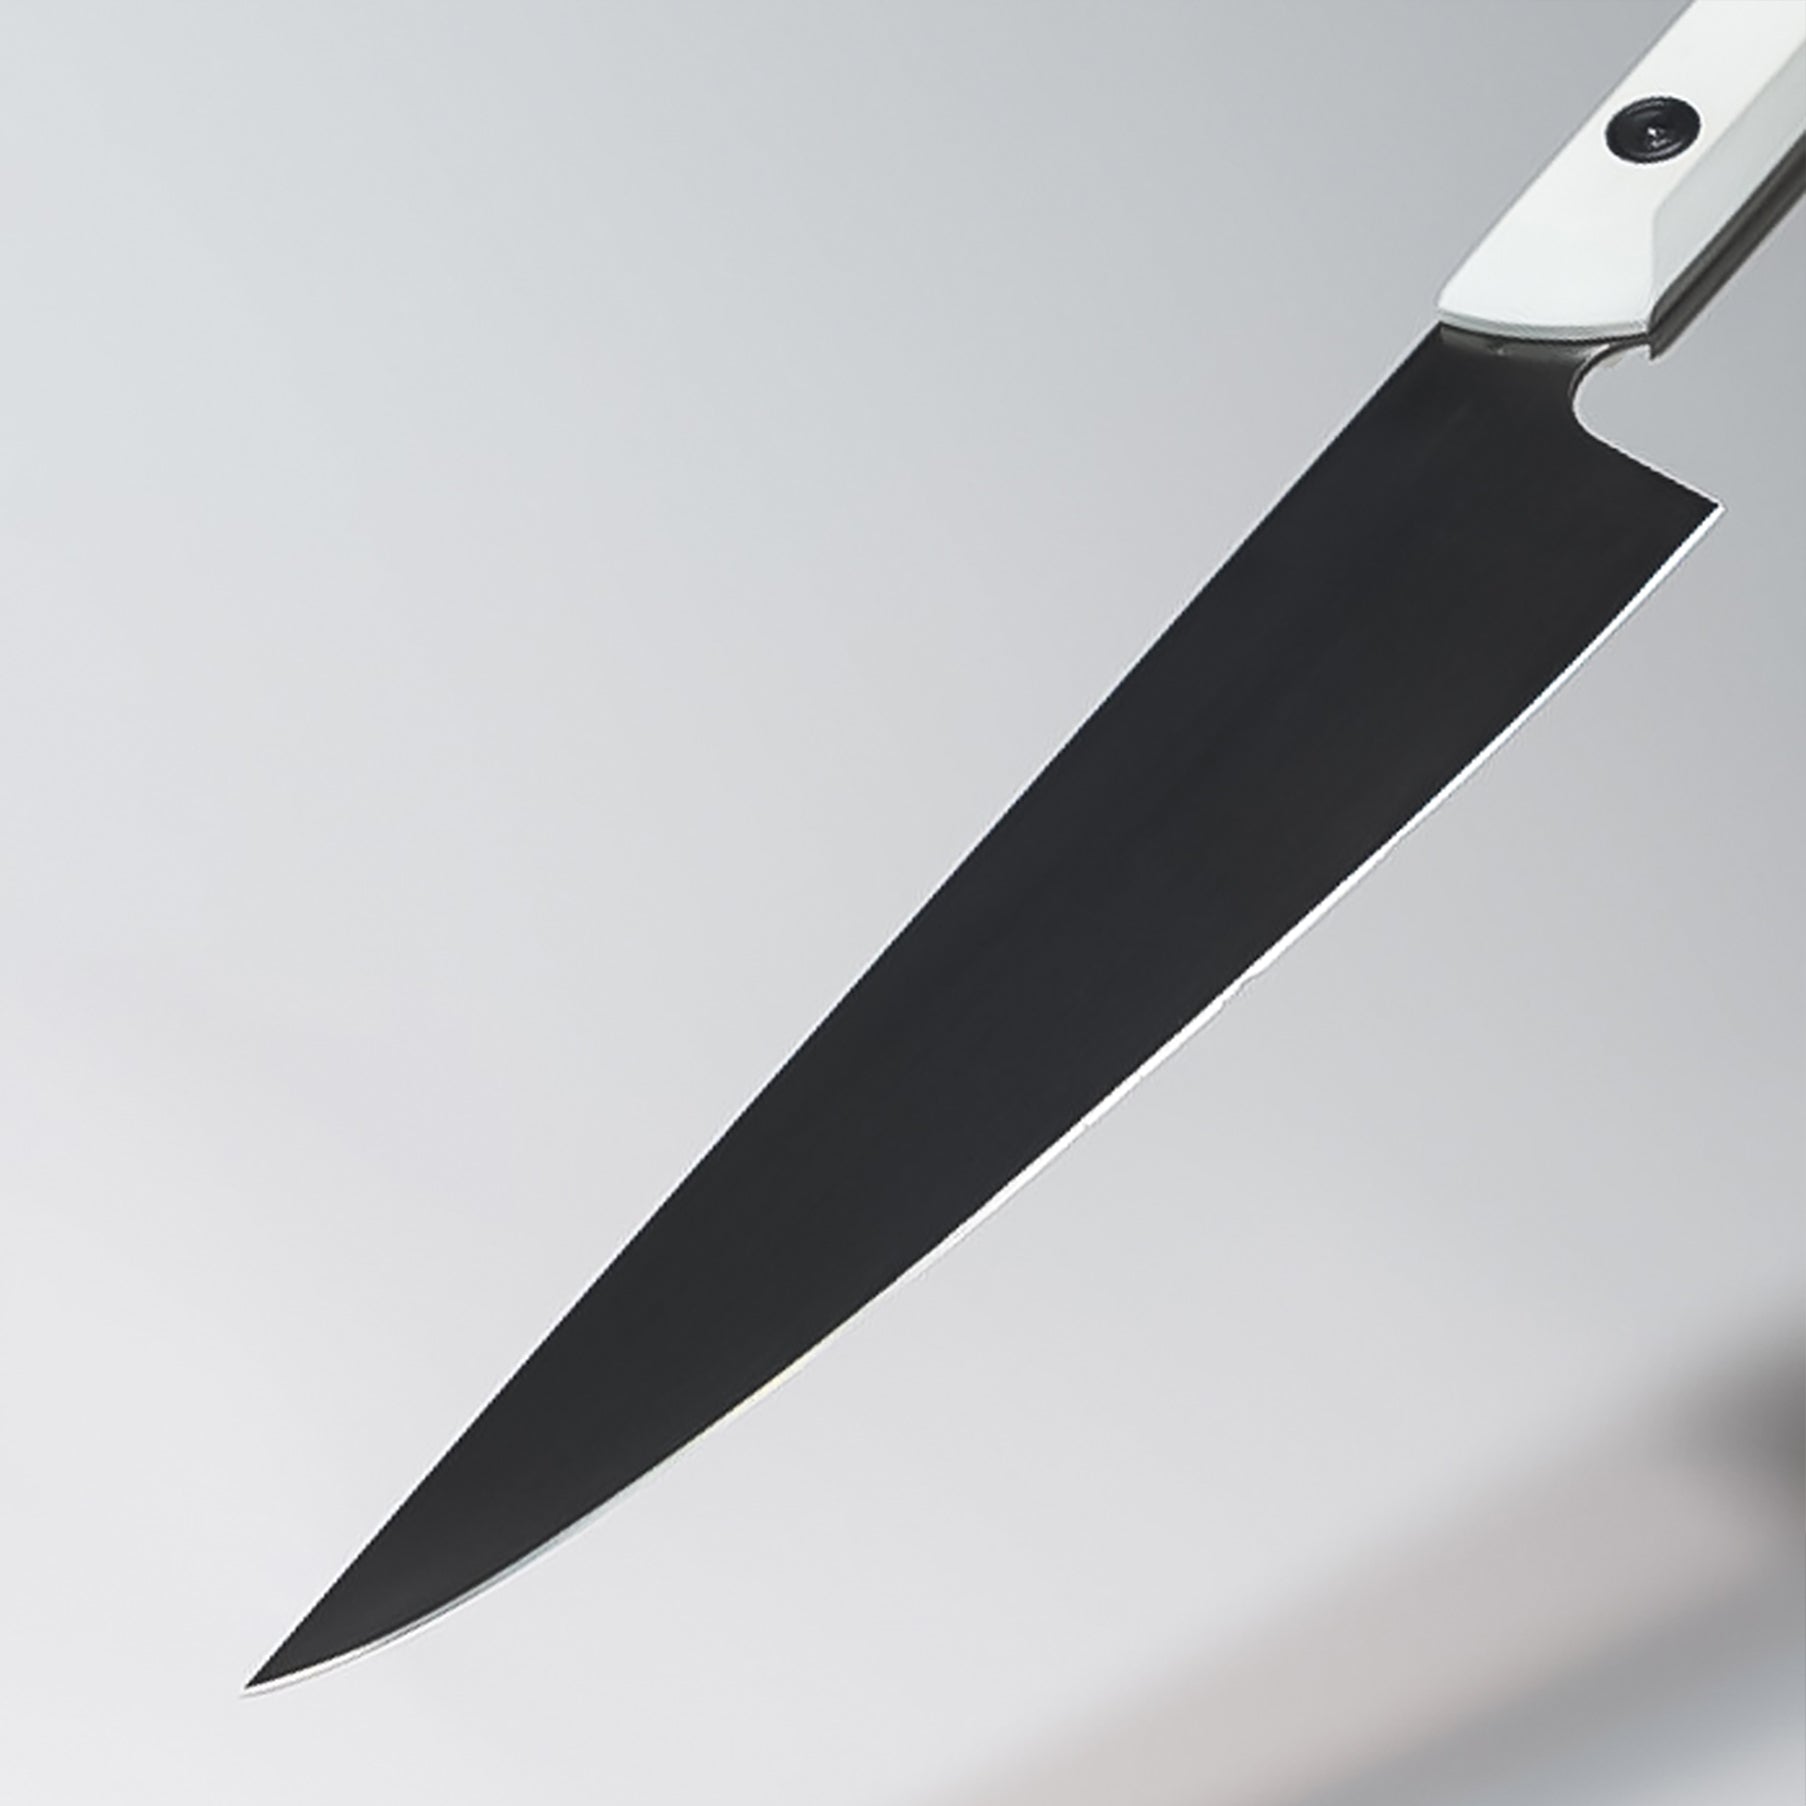
Designed to Stay Sharp Longer
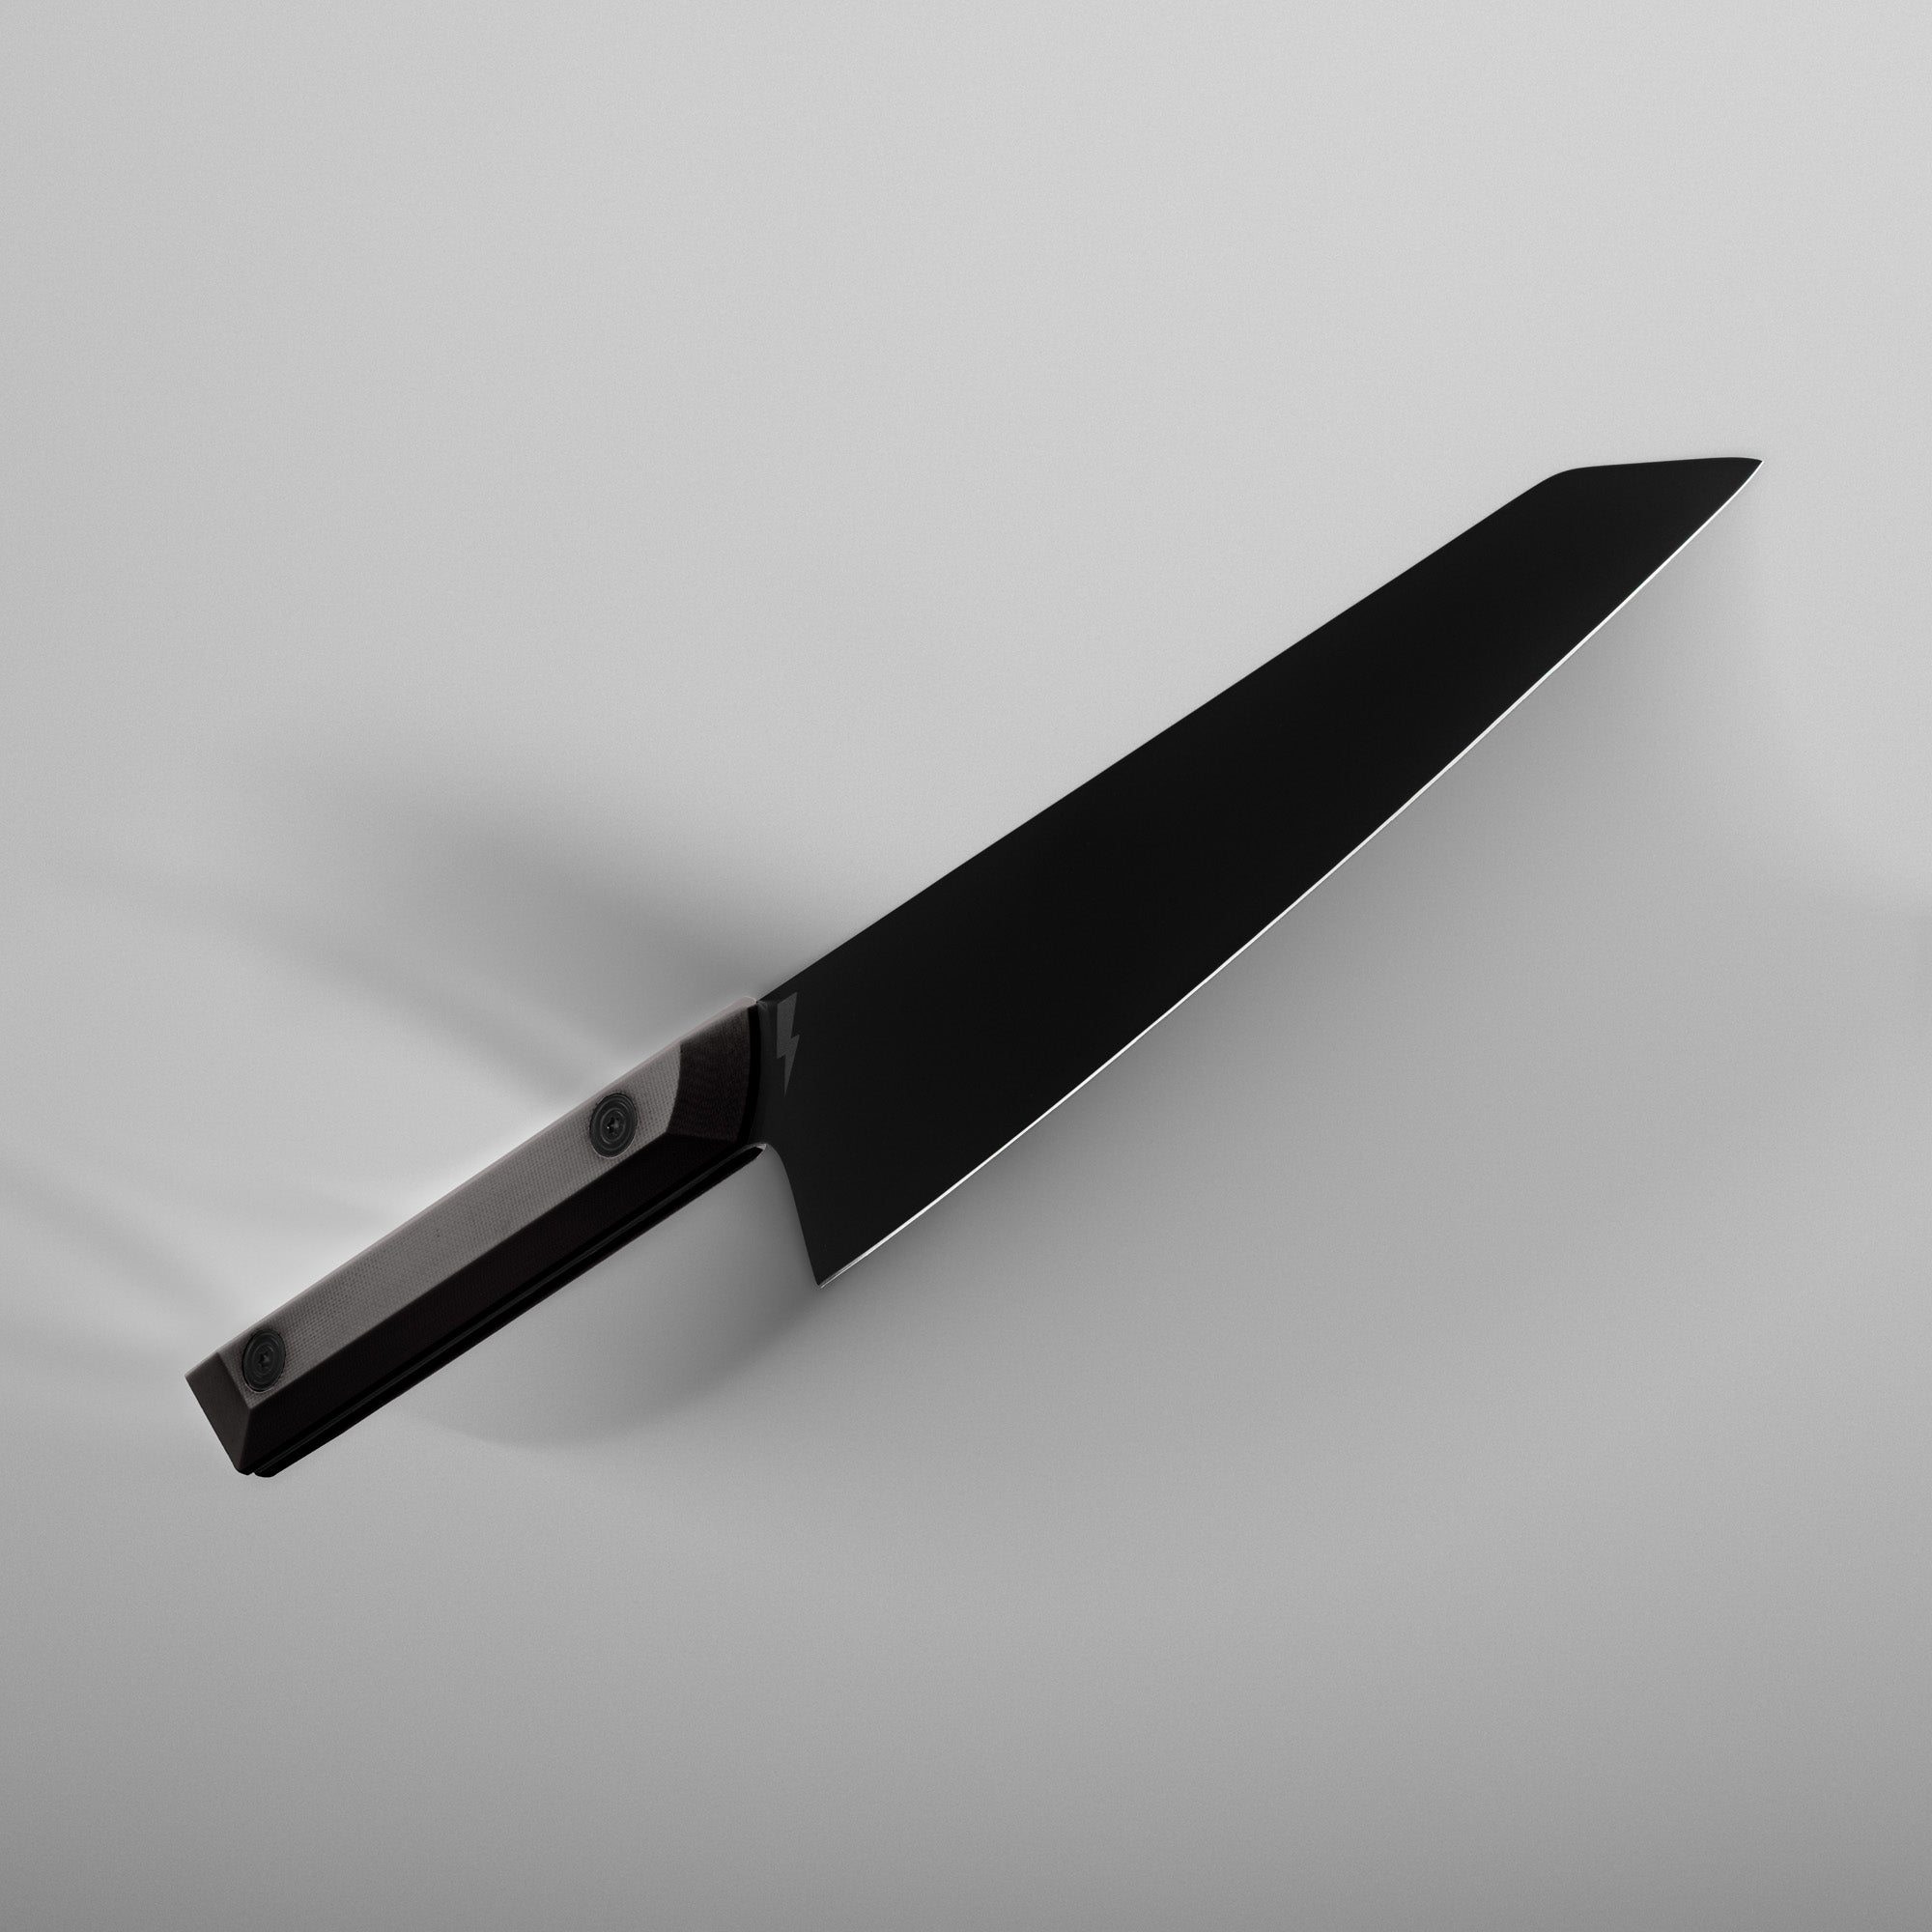
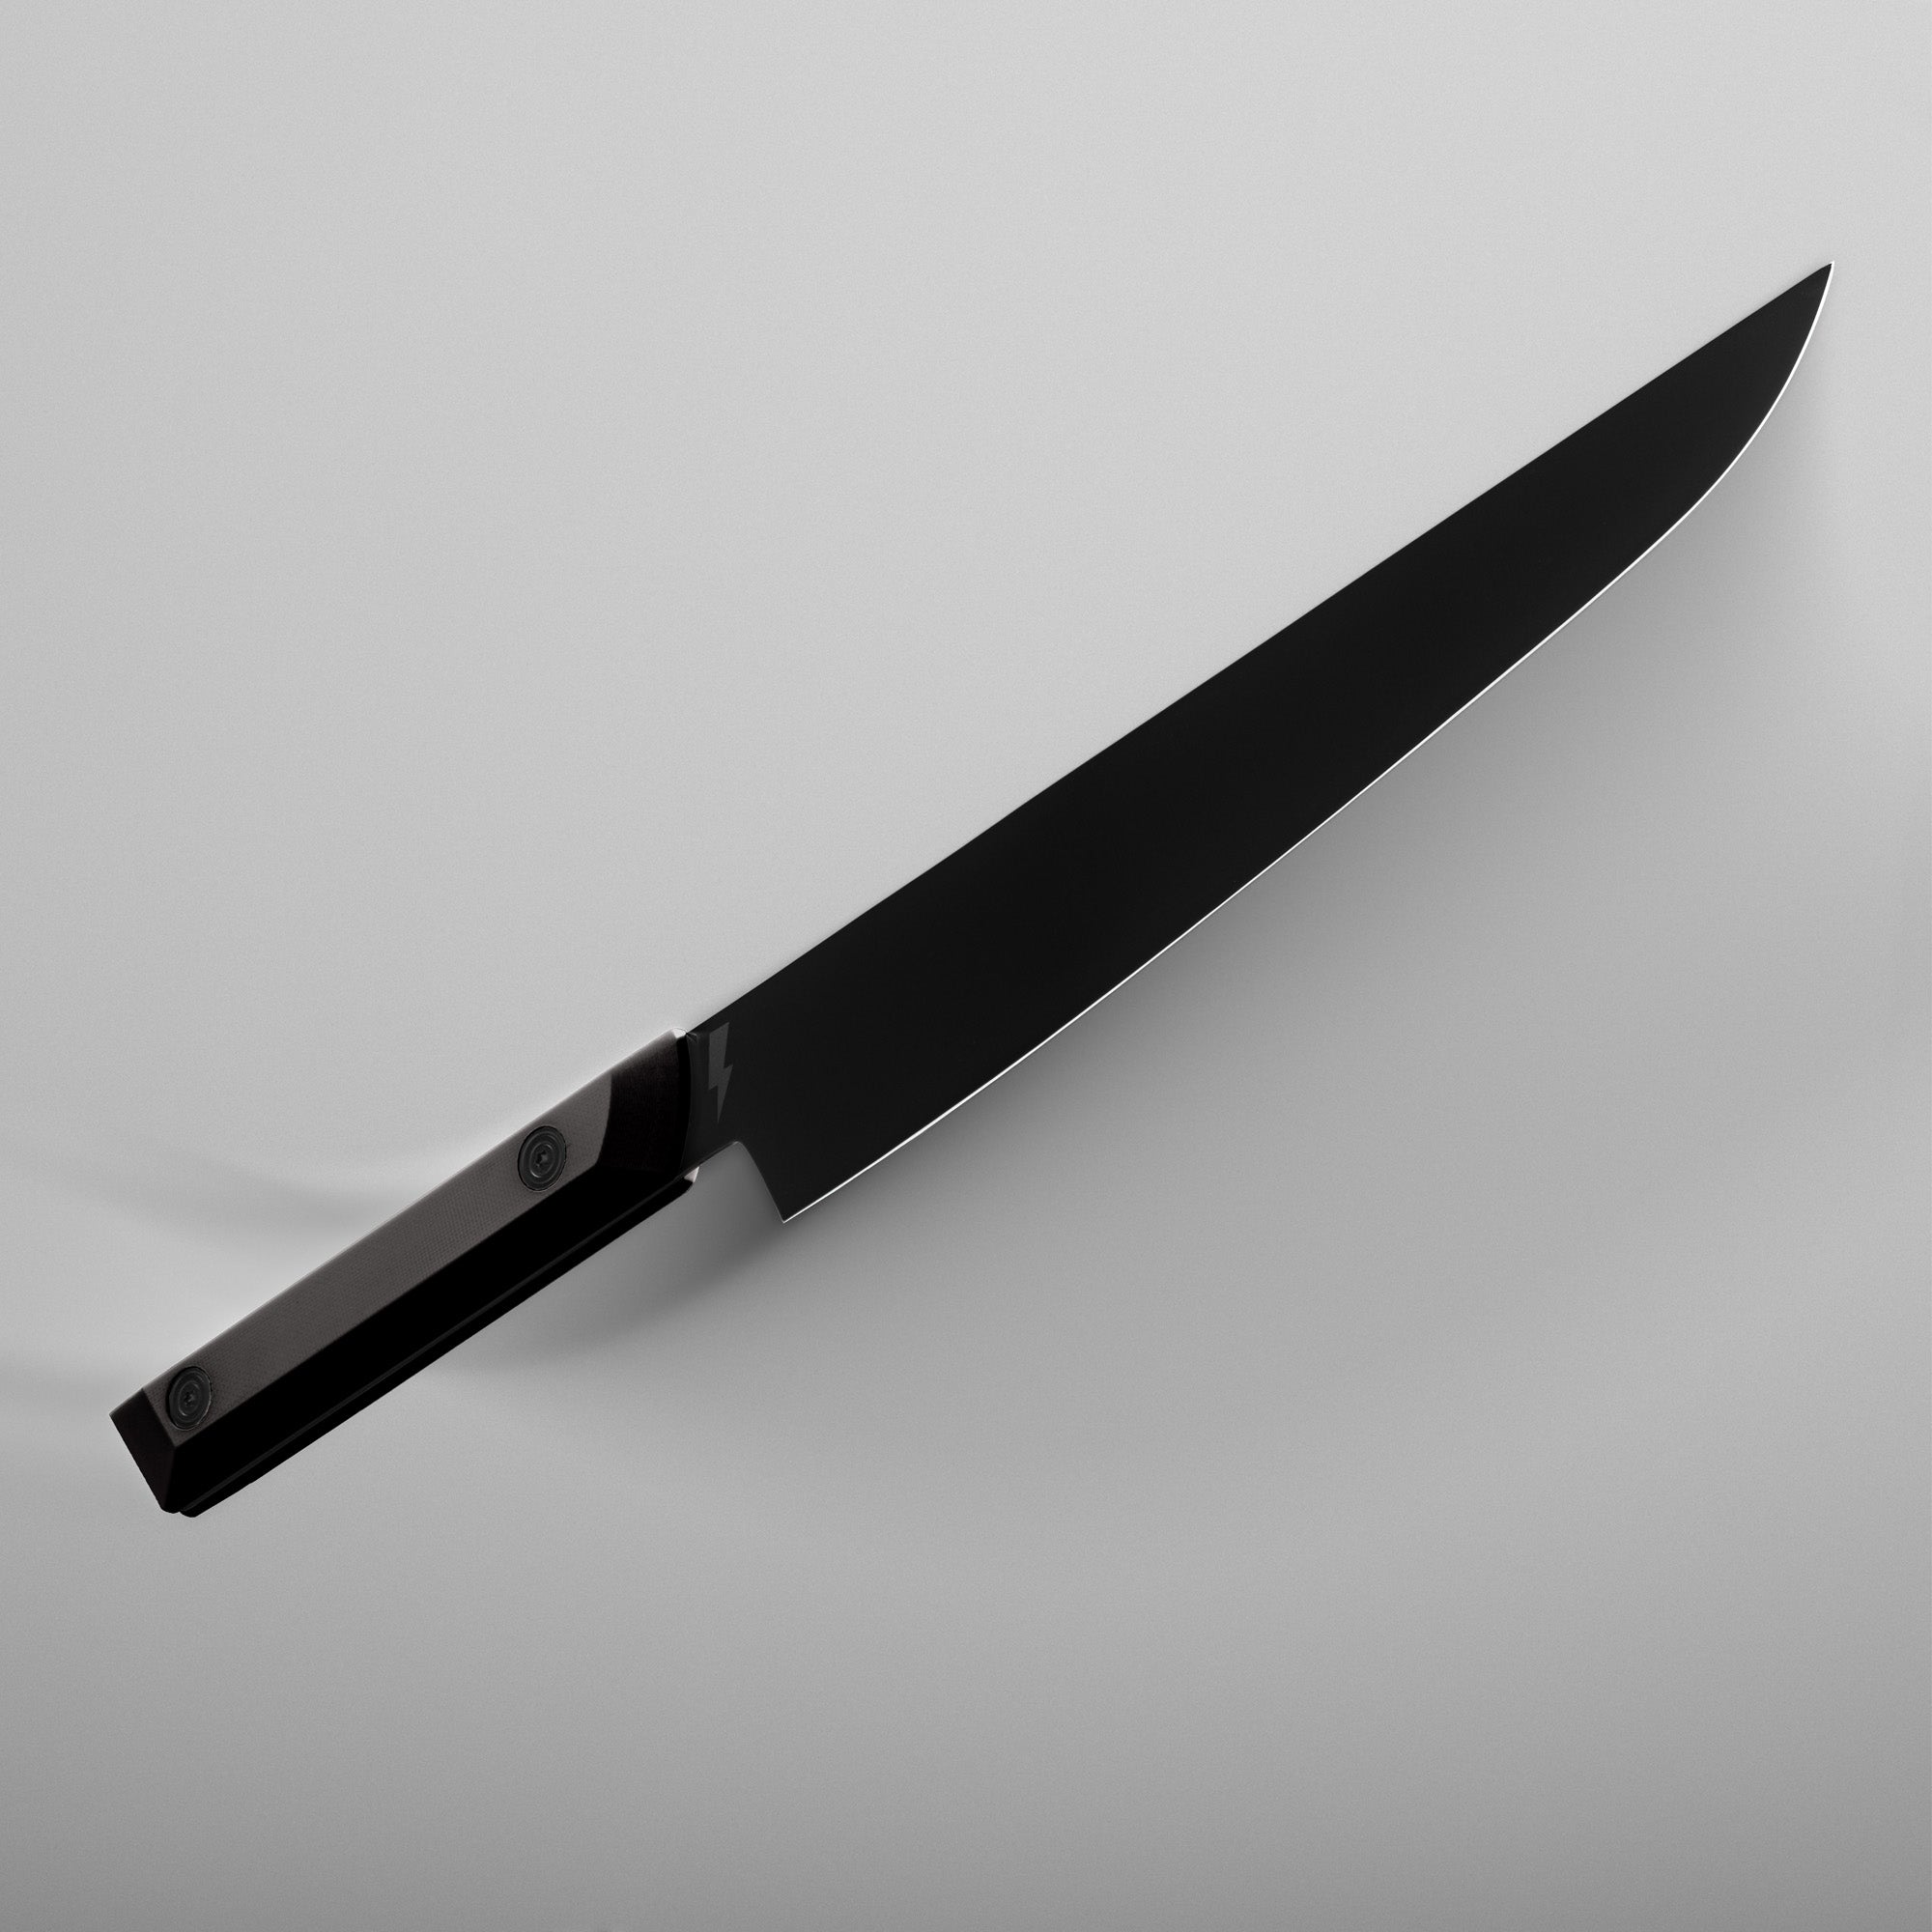
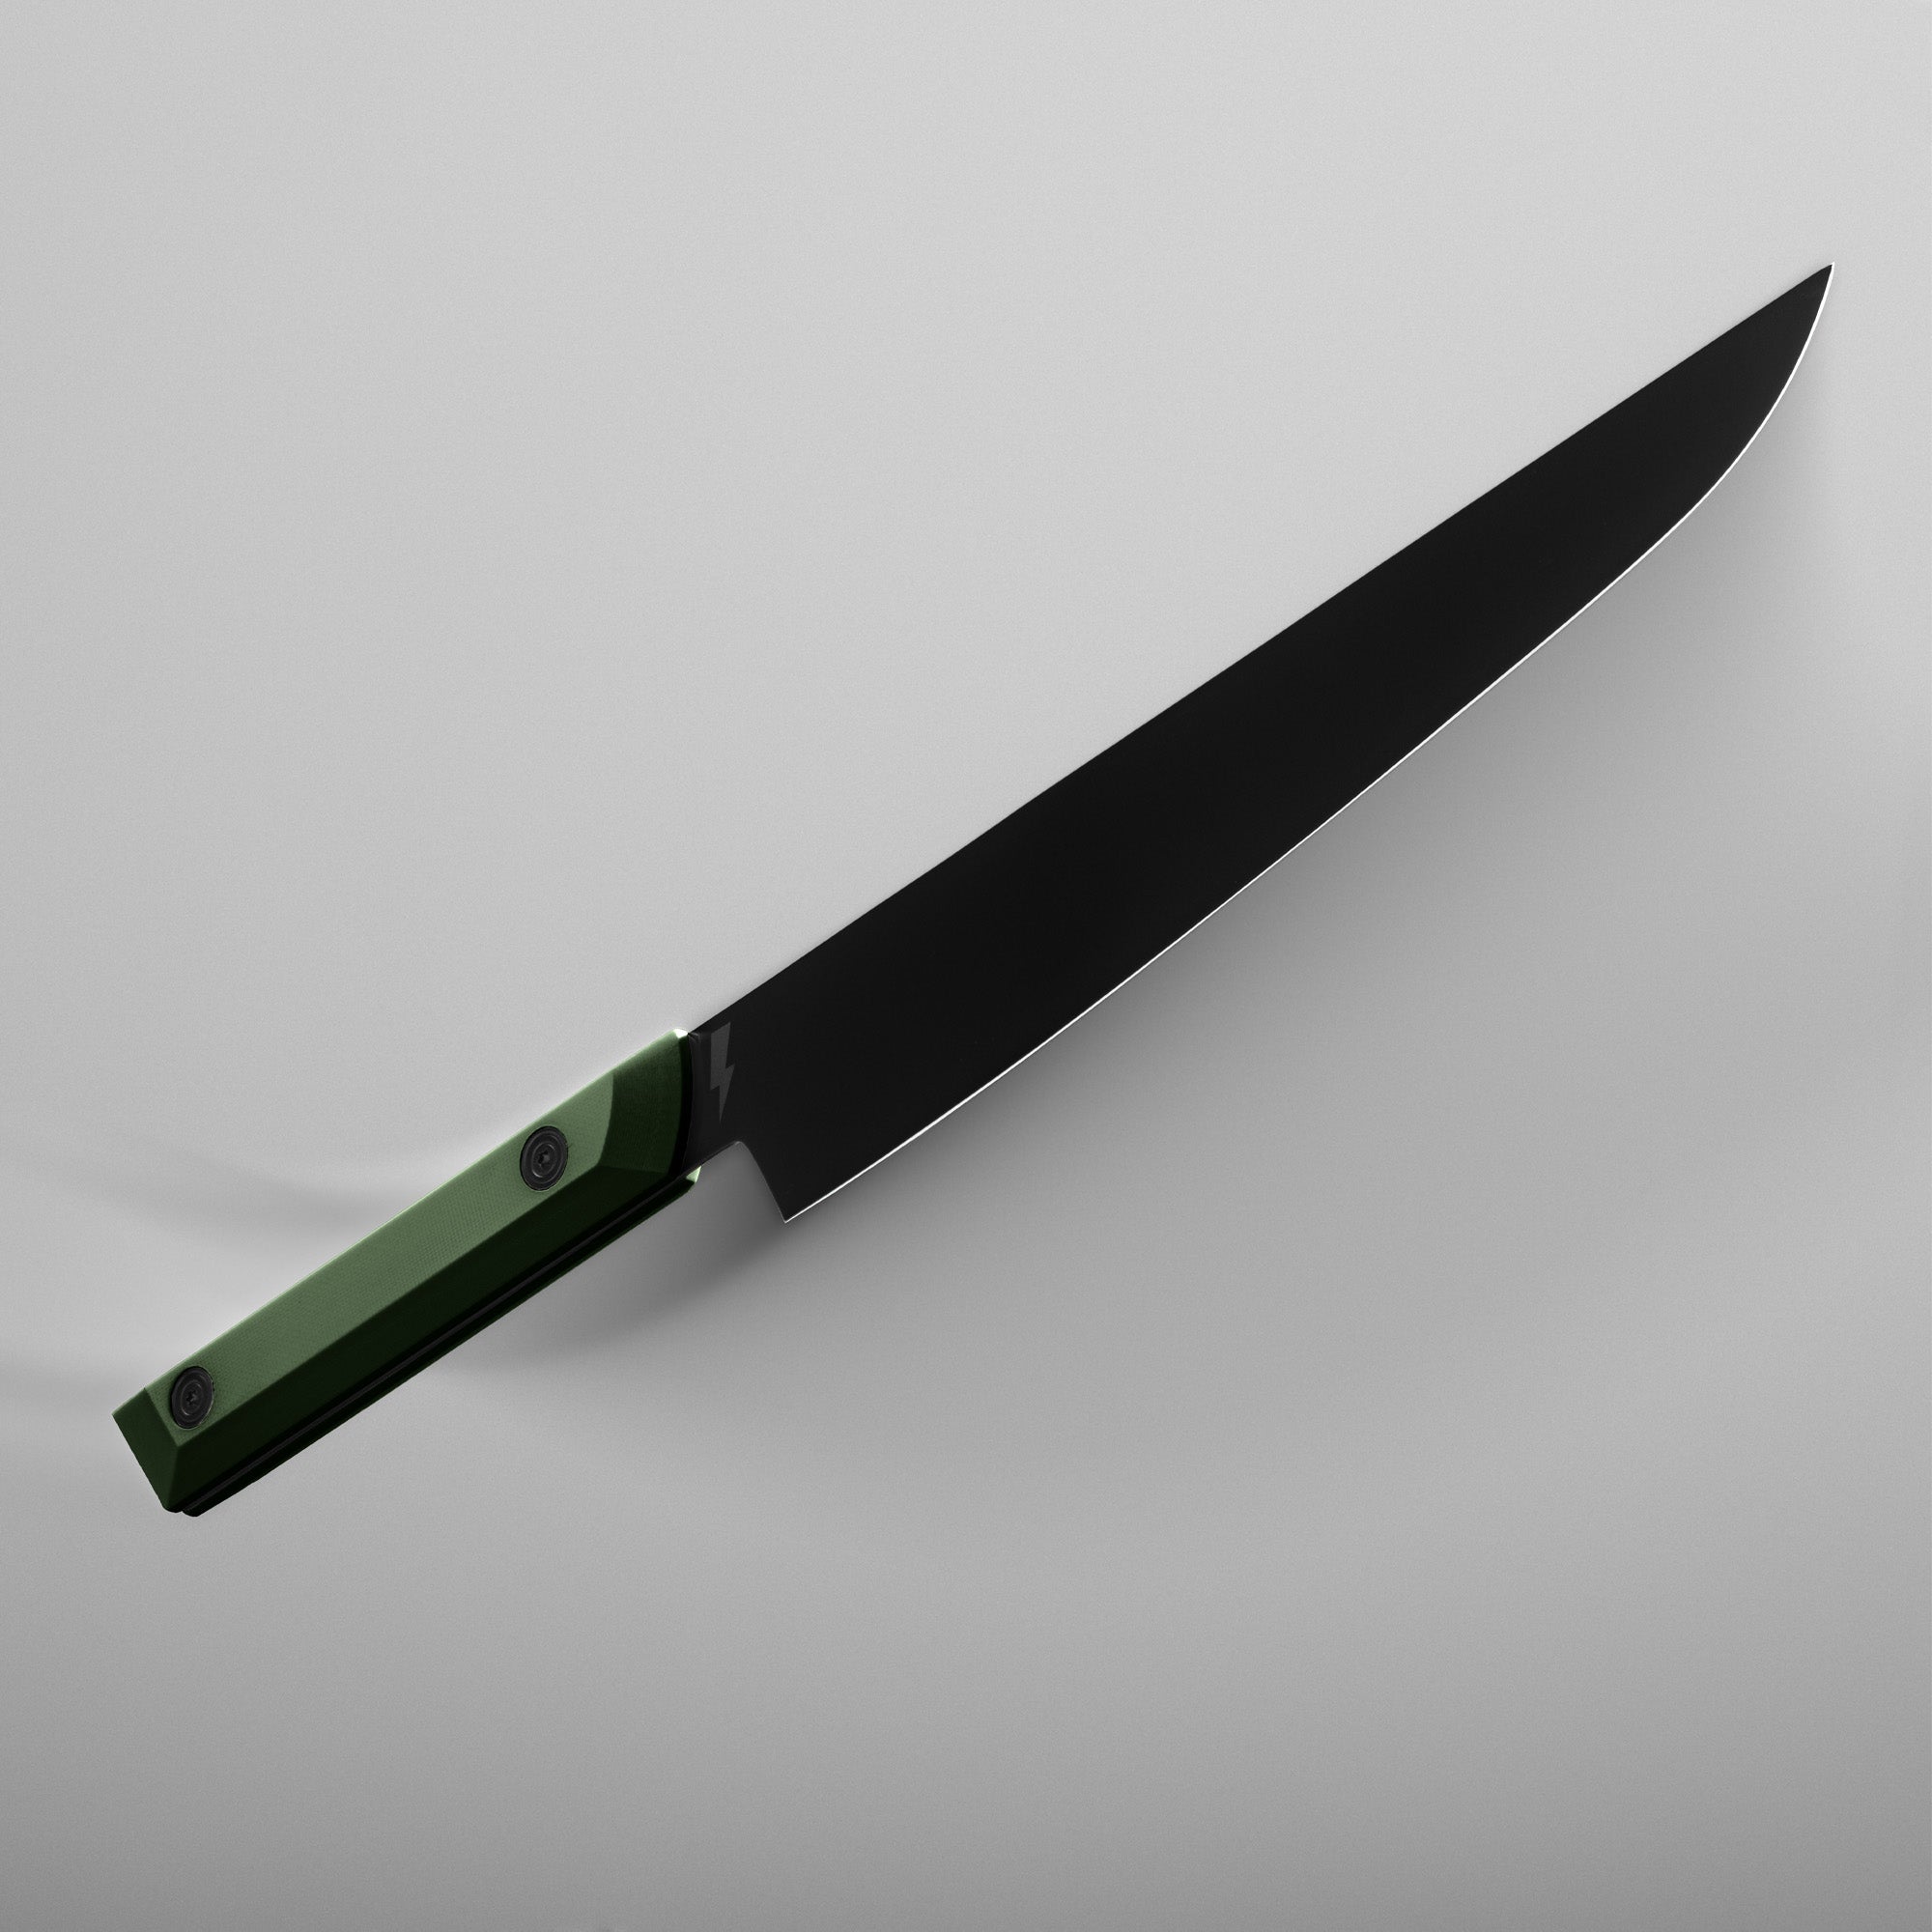
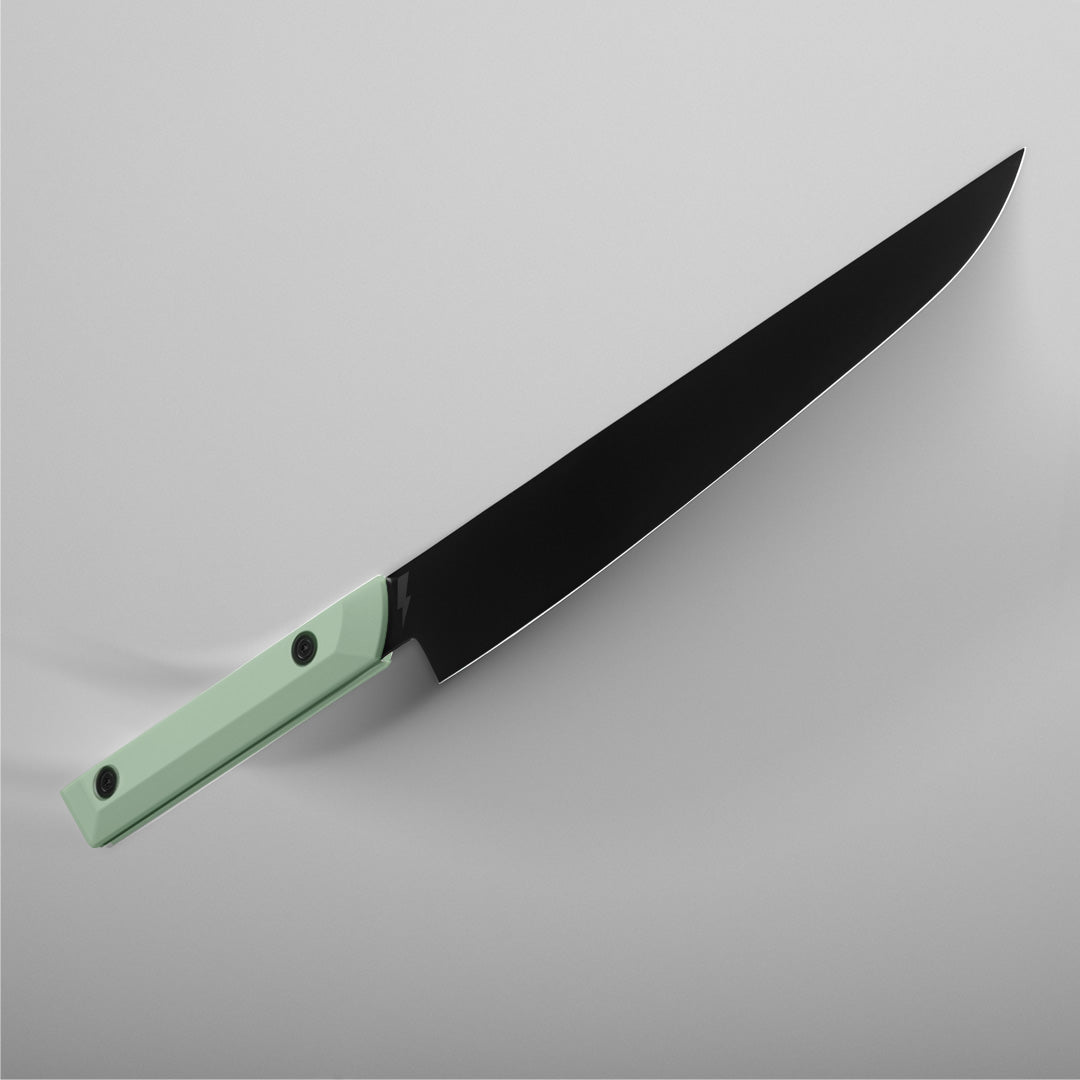
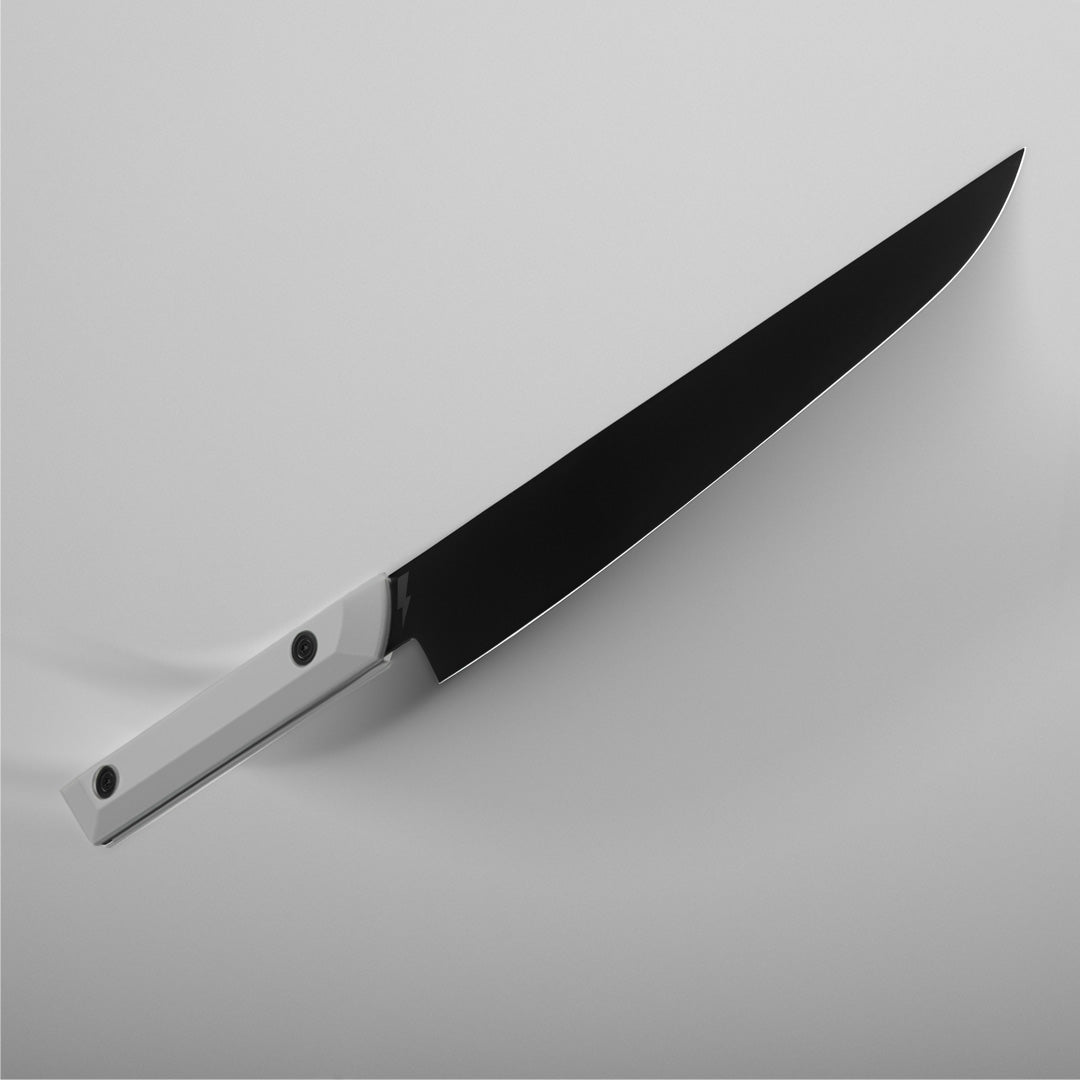
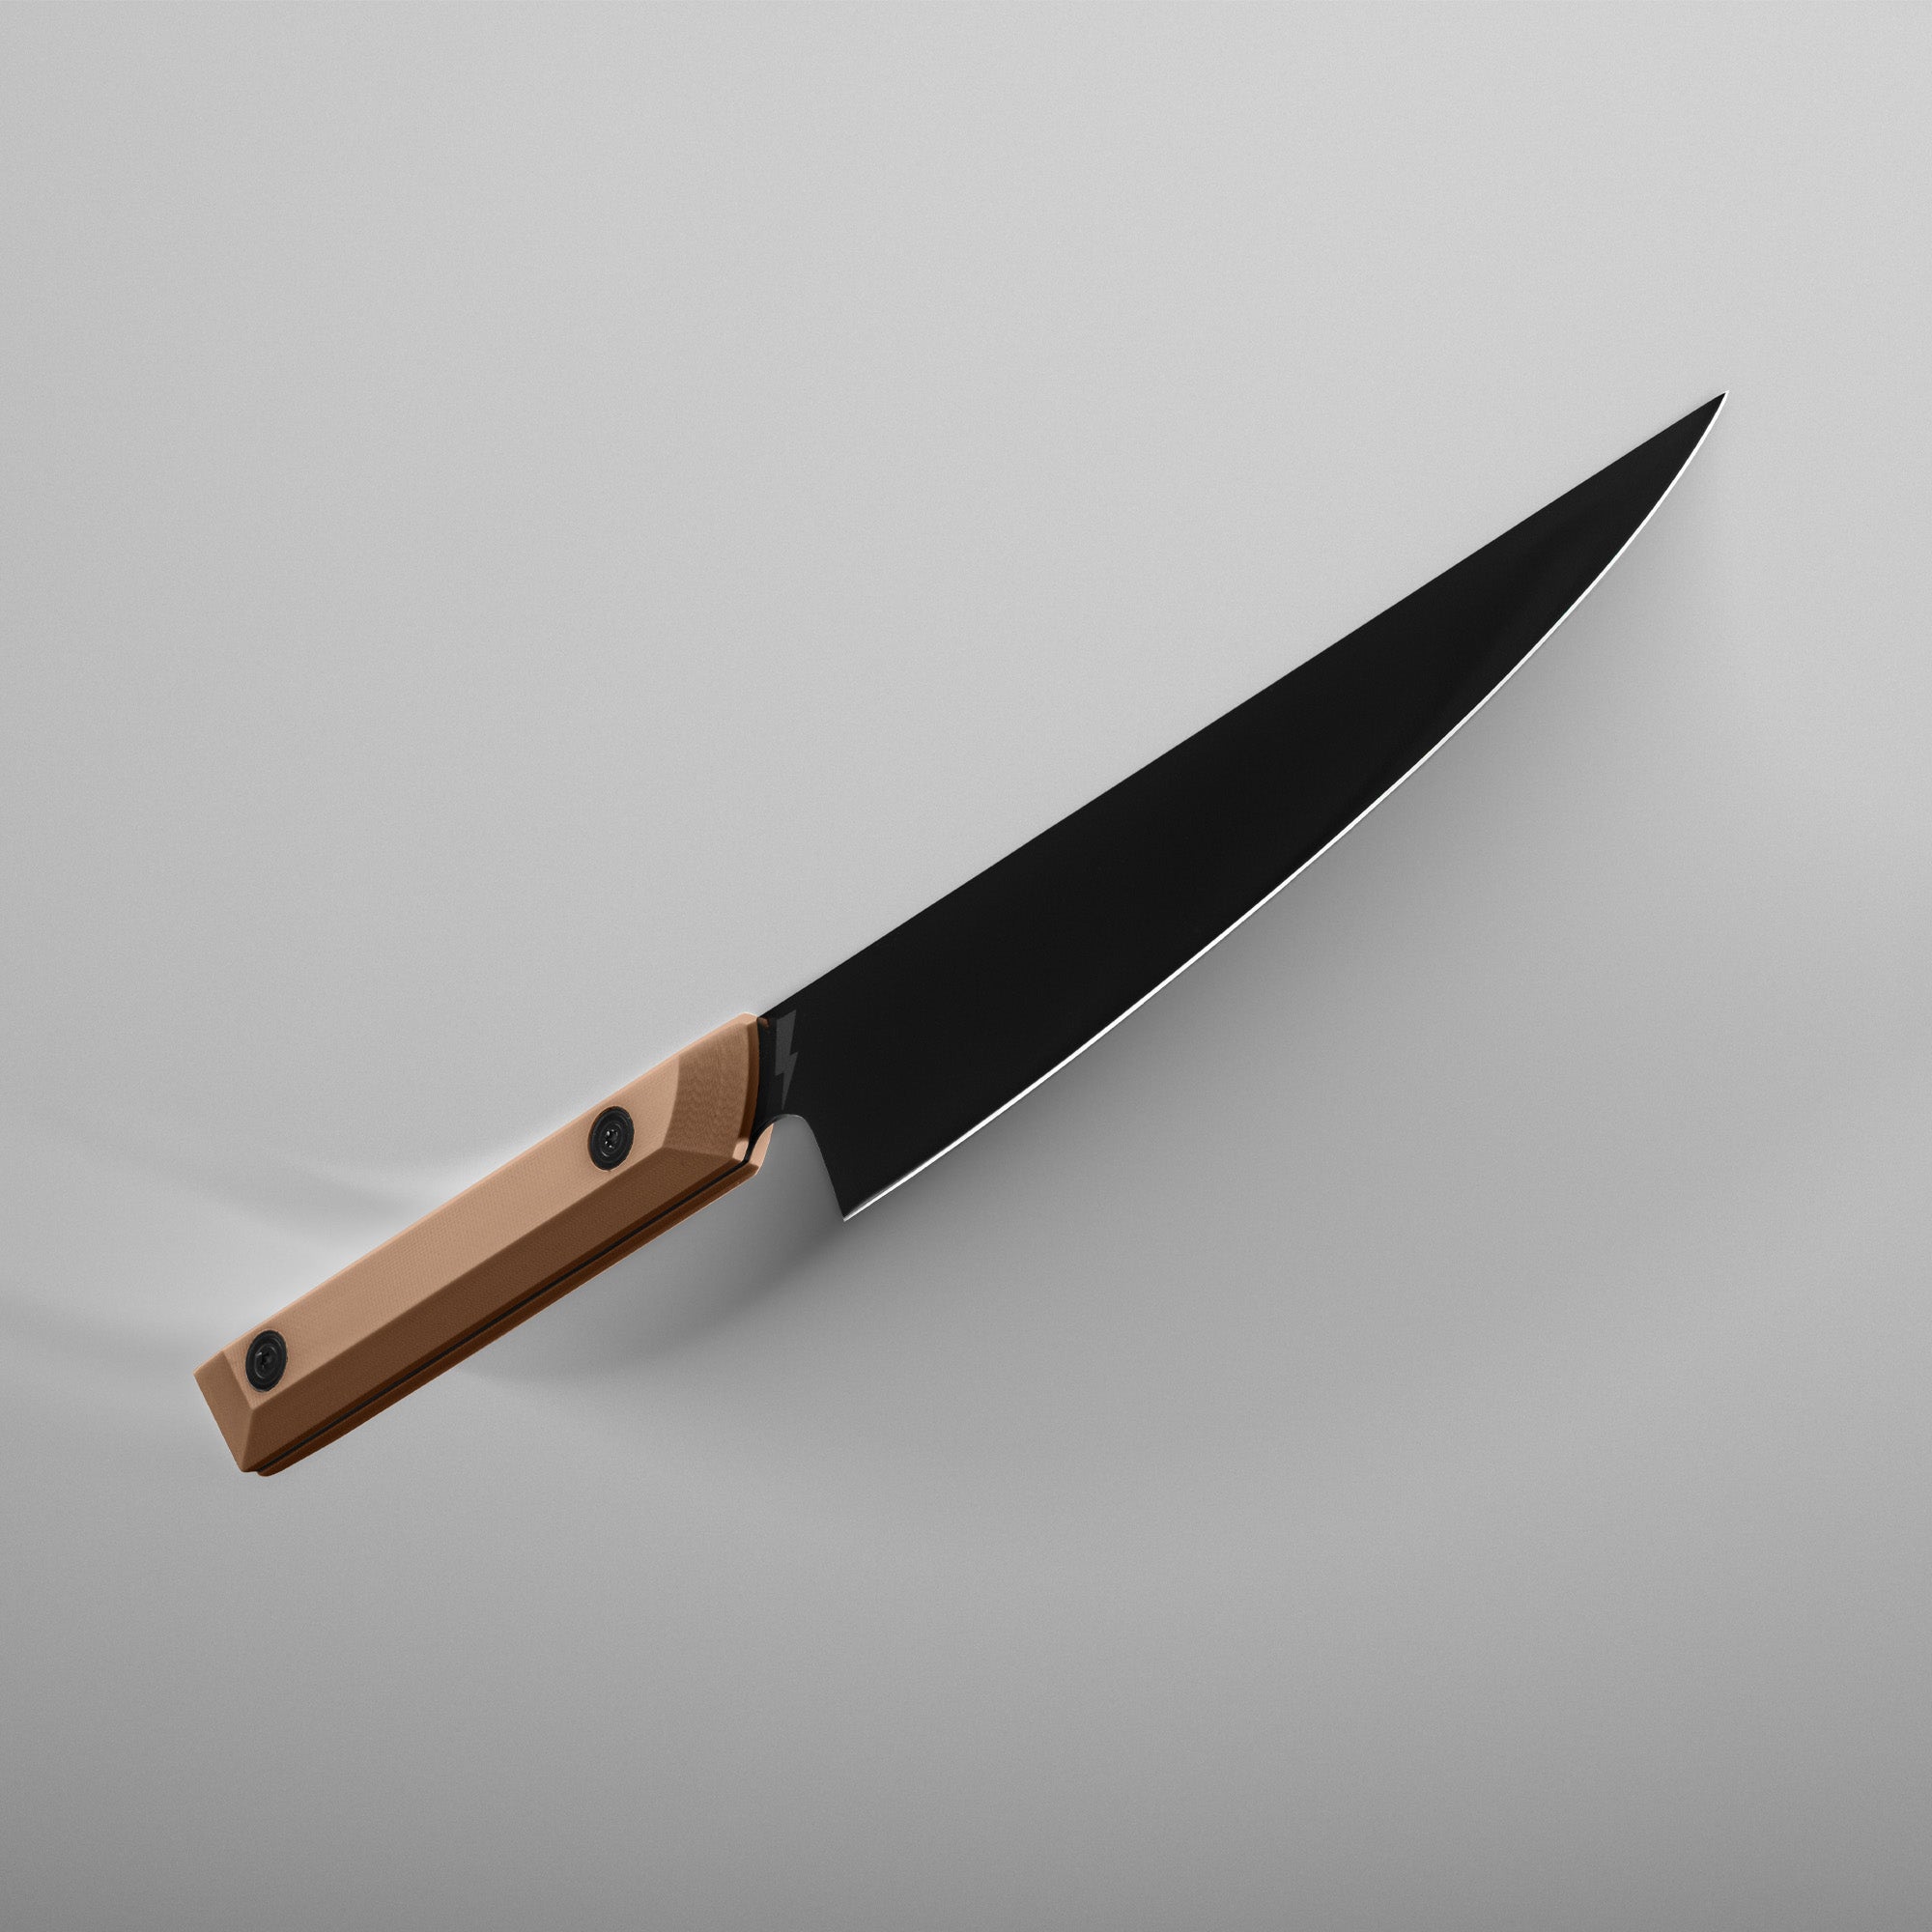
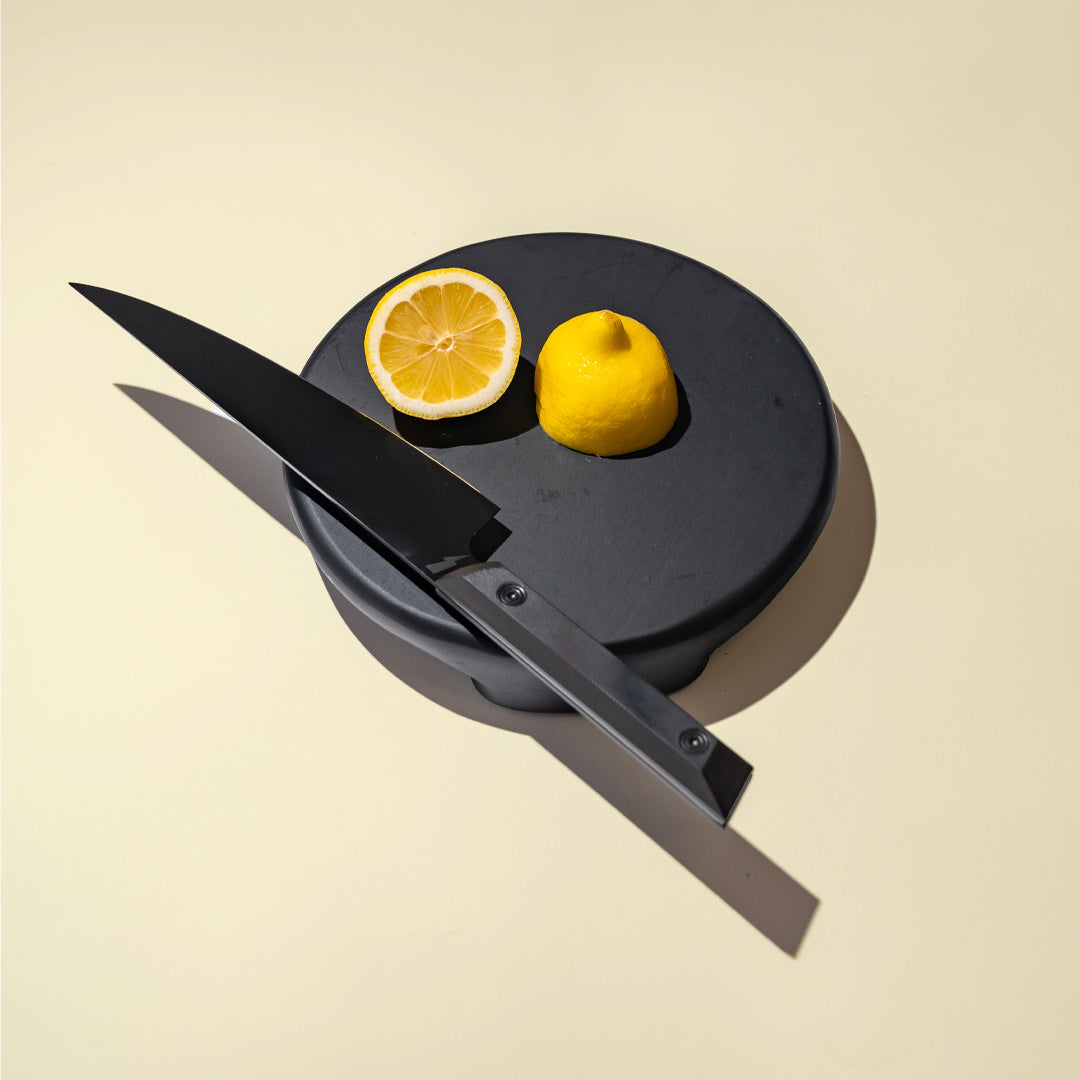
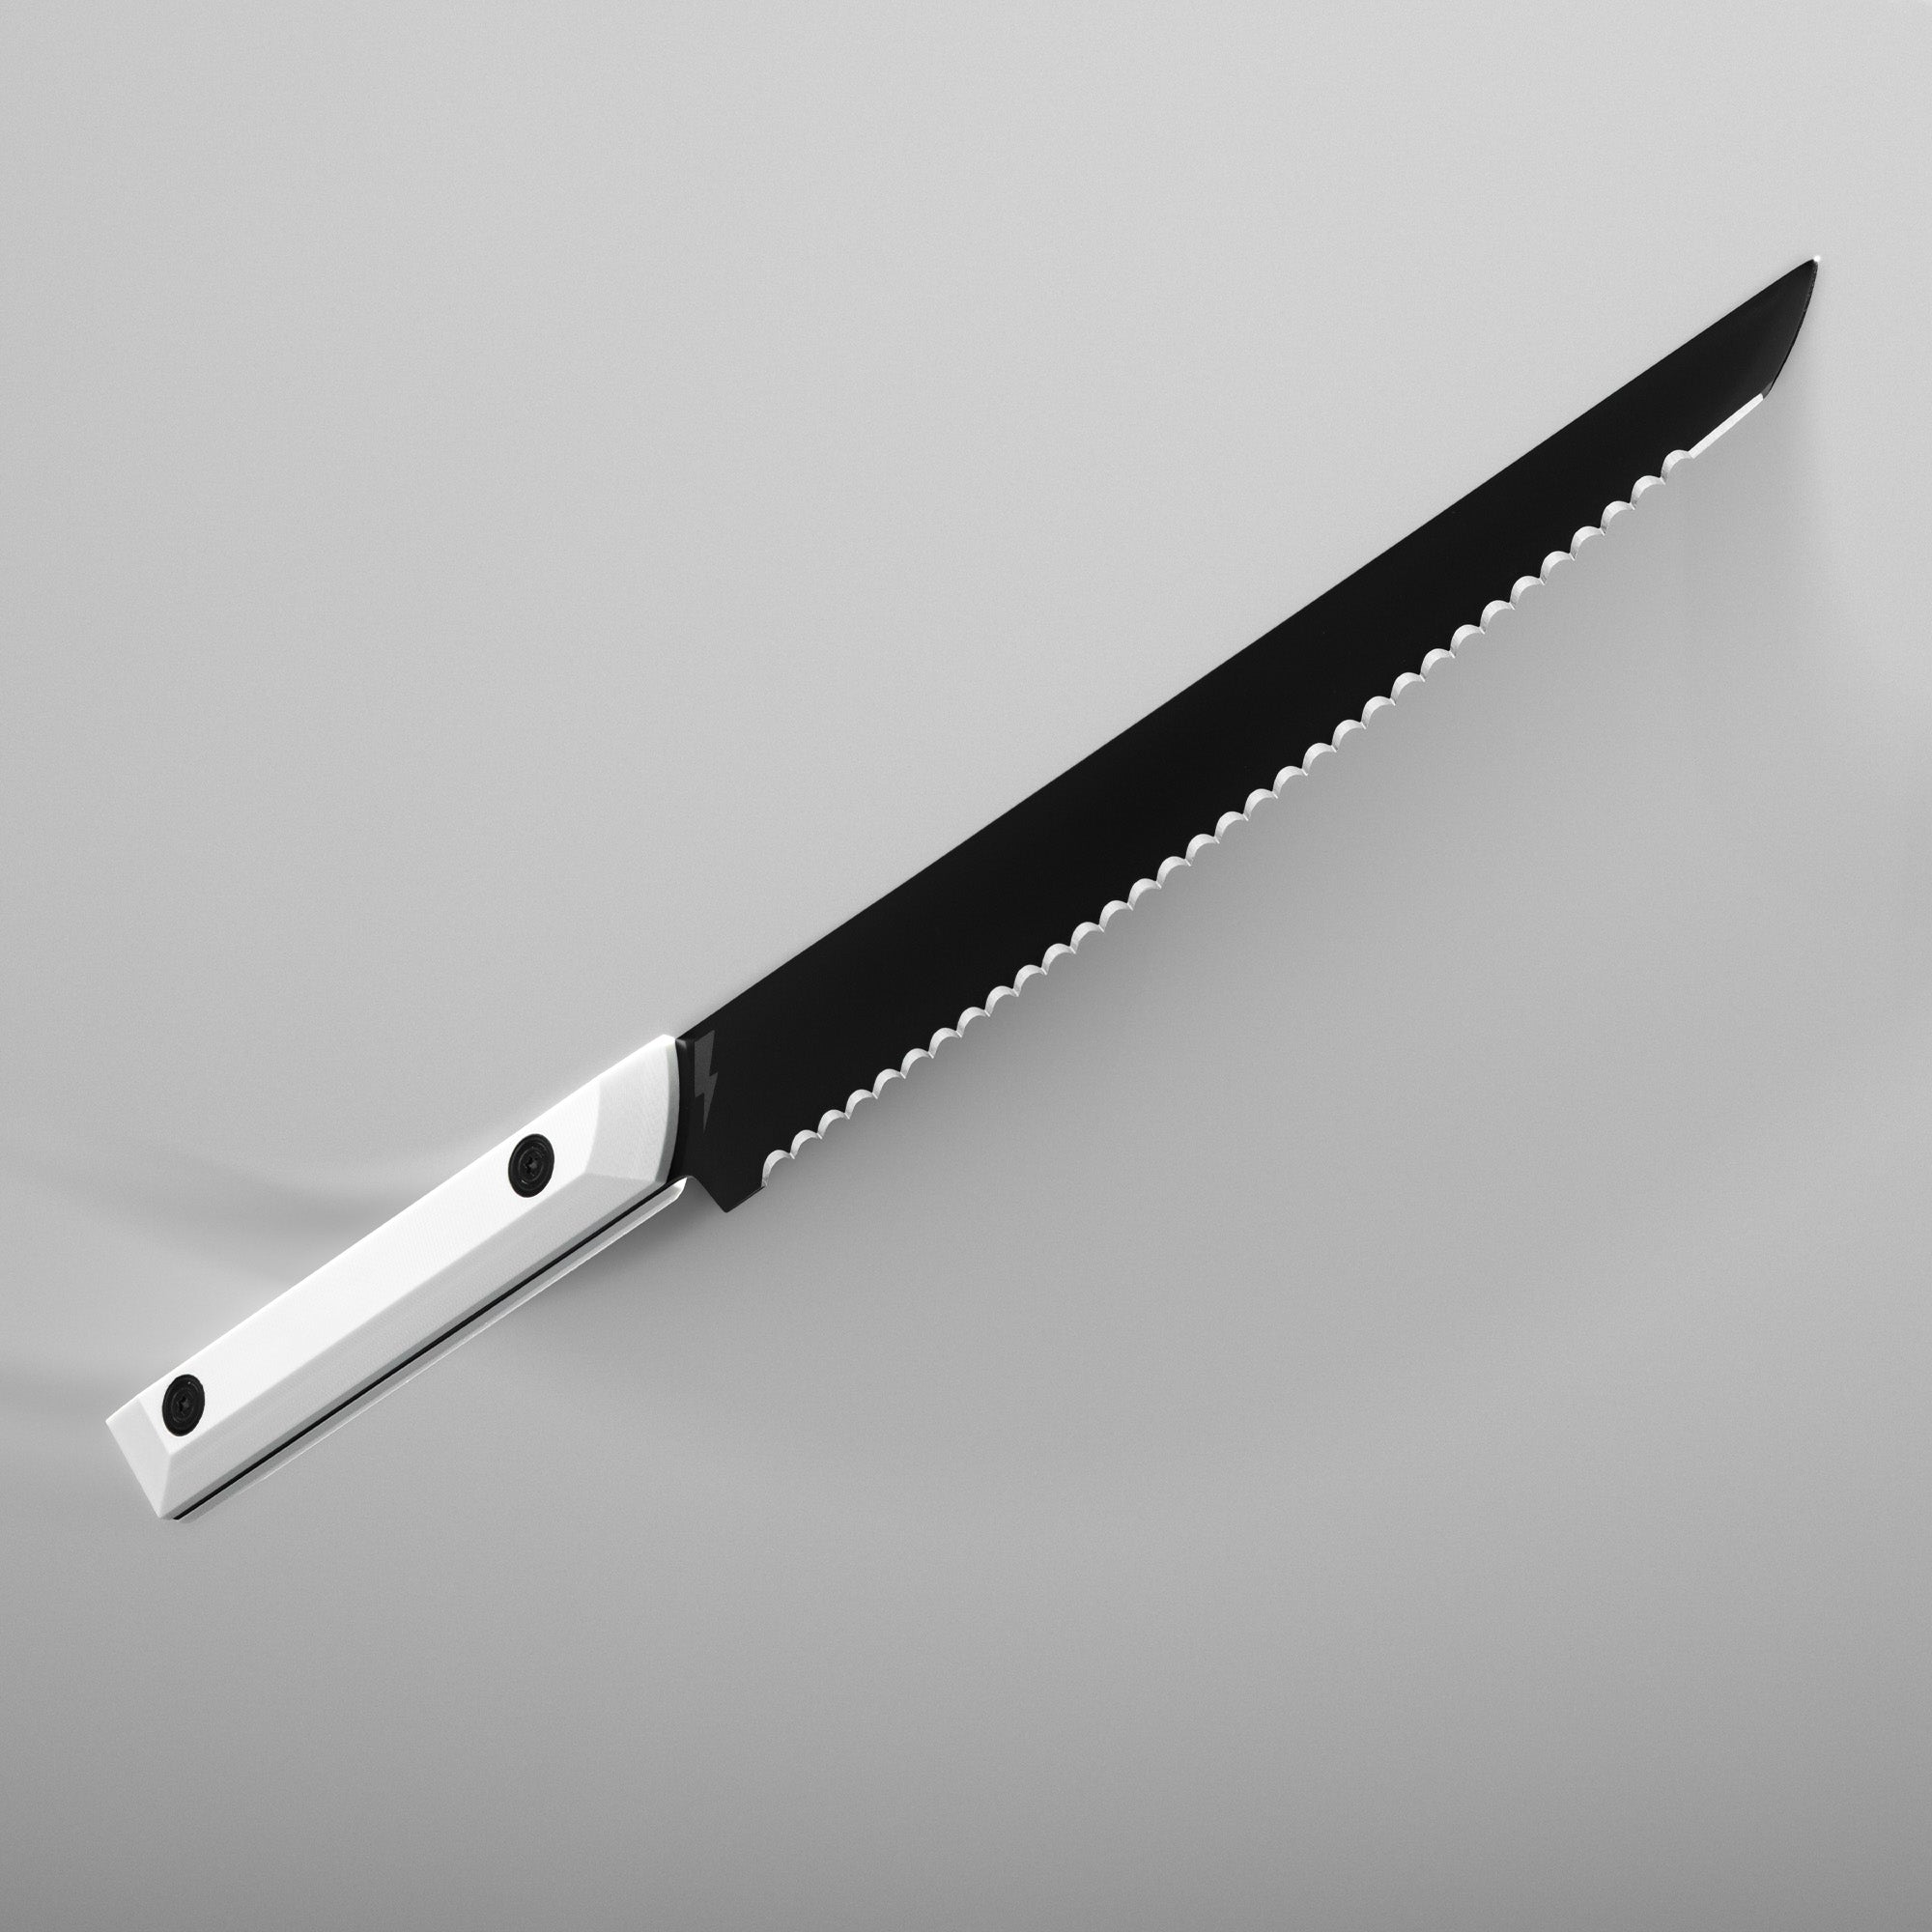
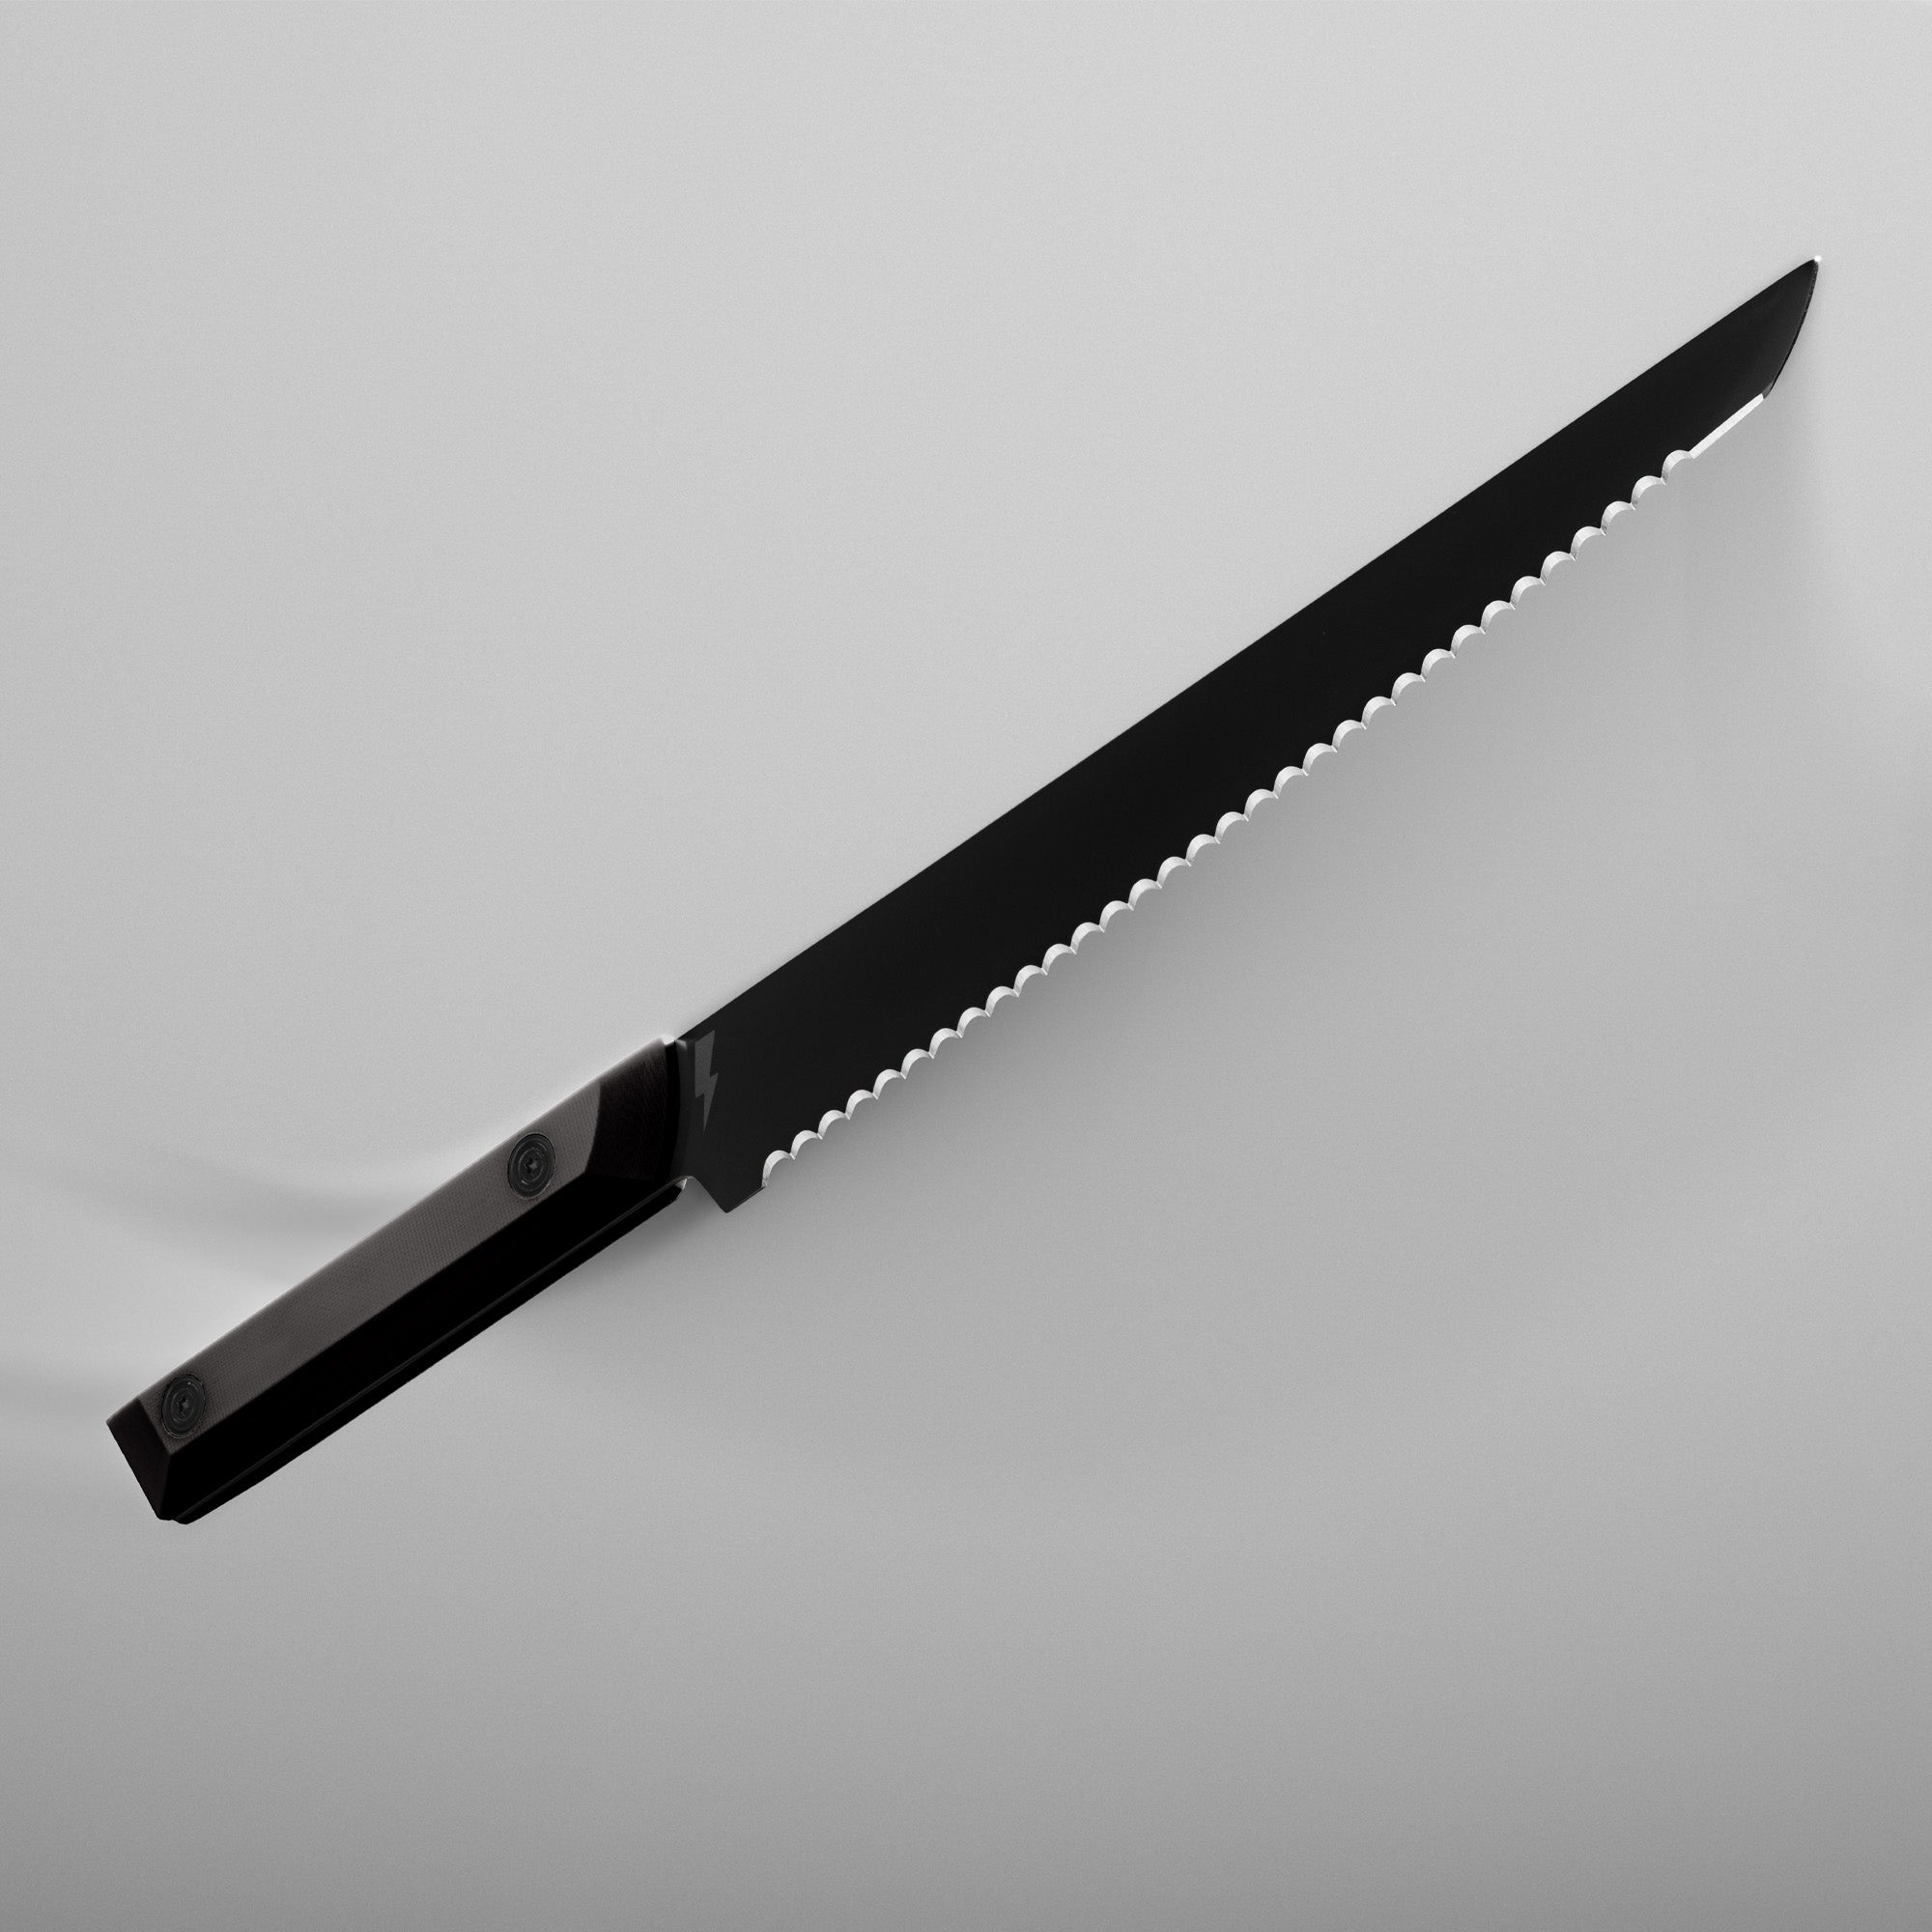
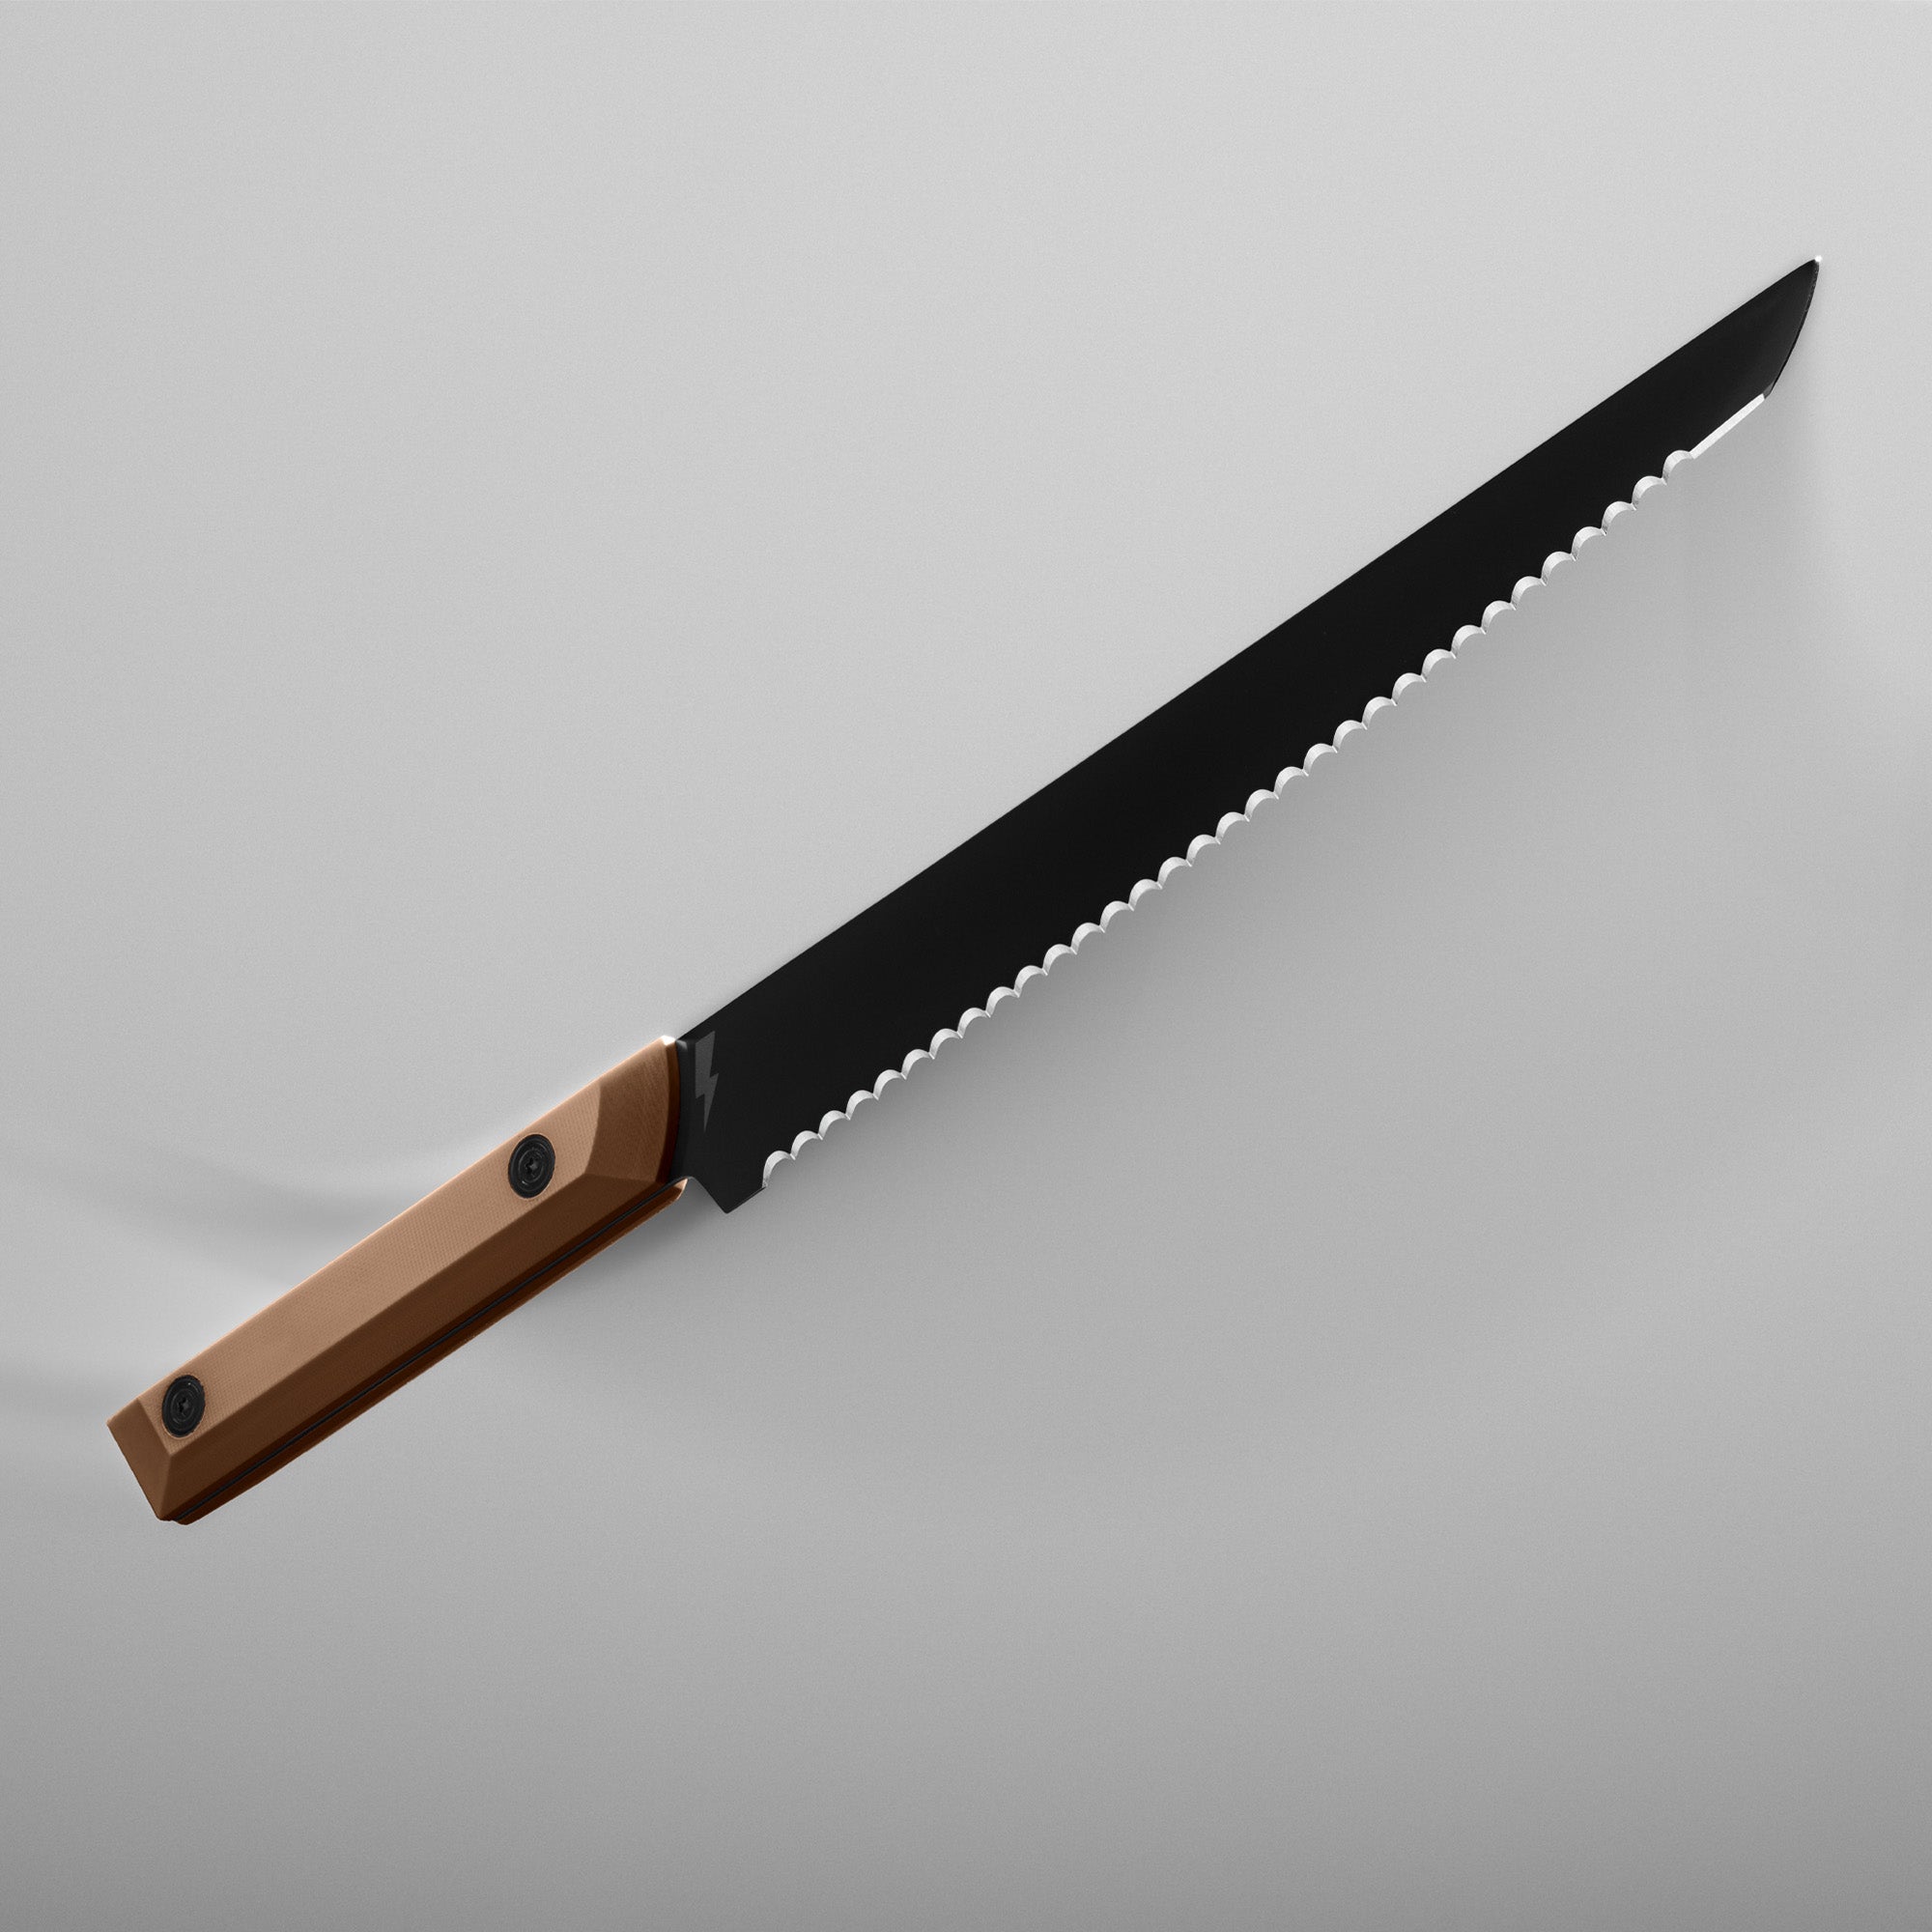
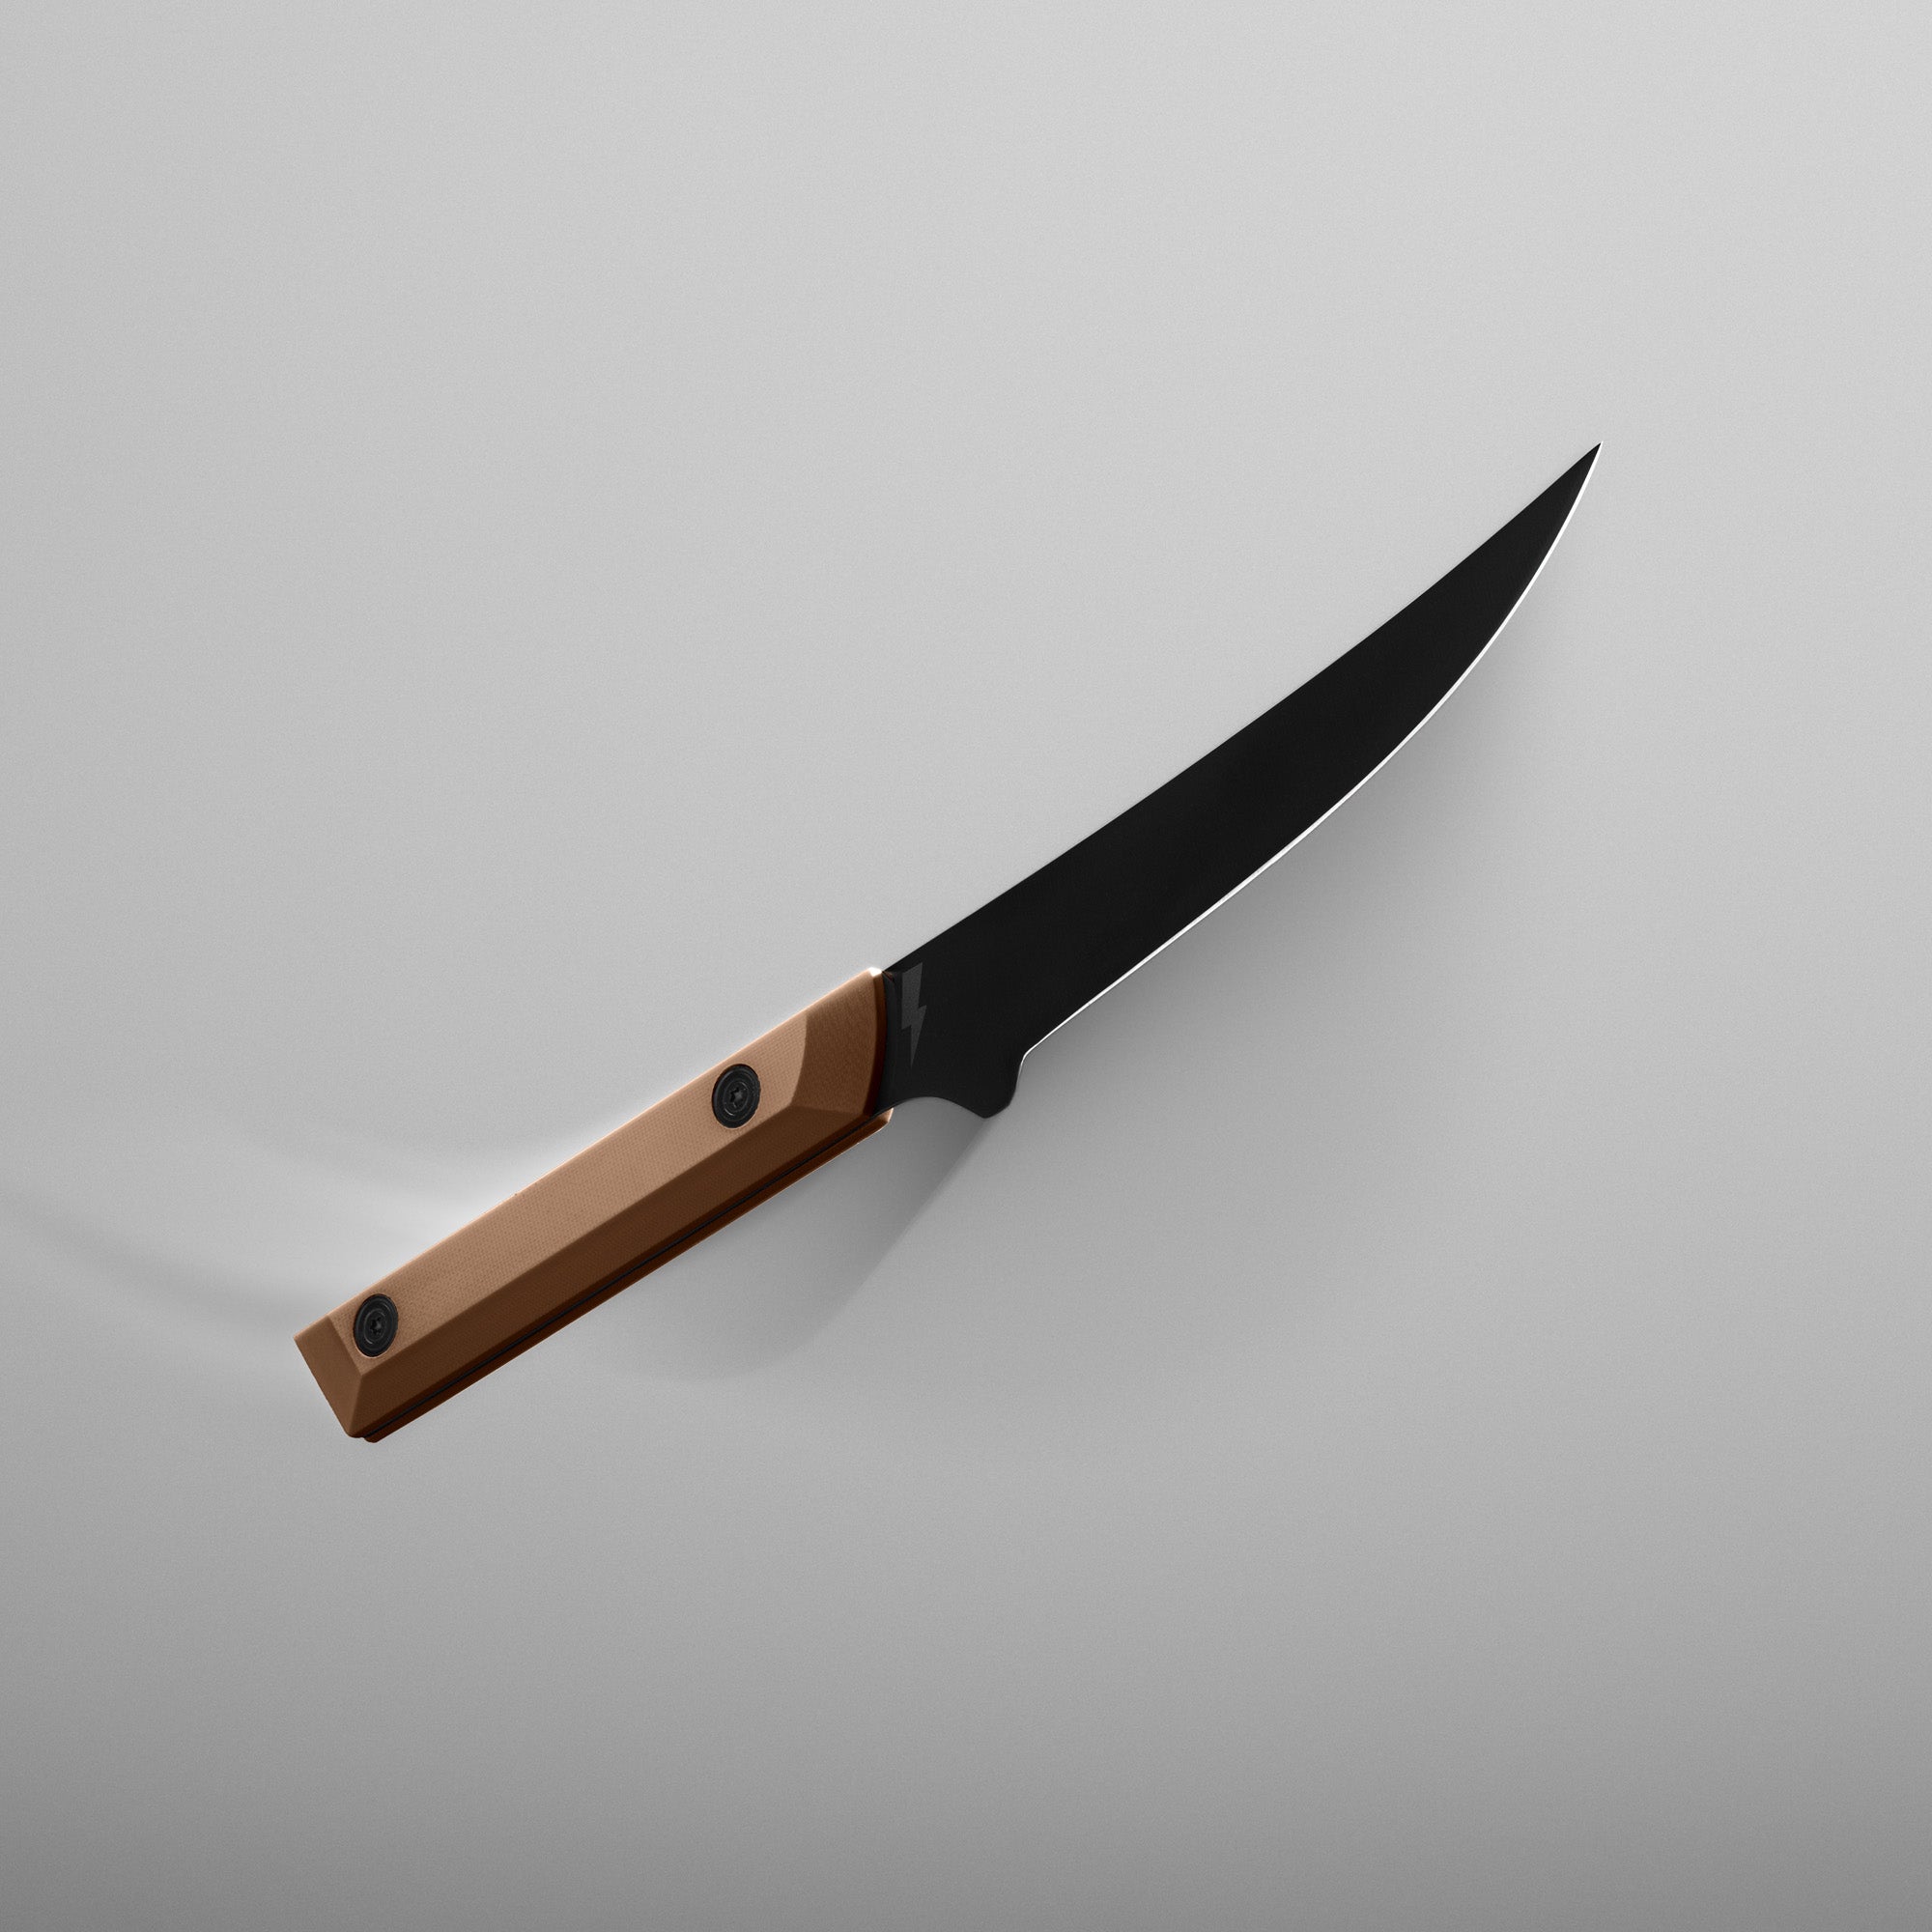
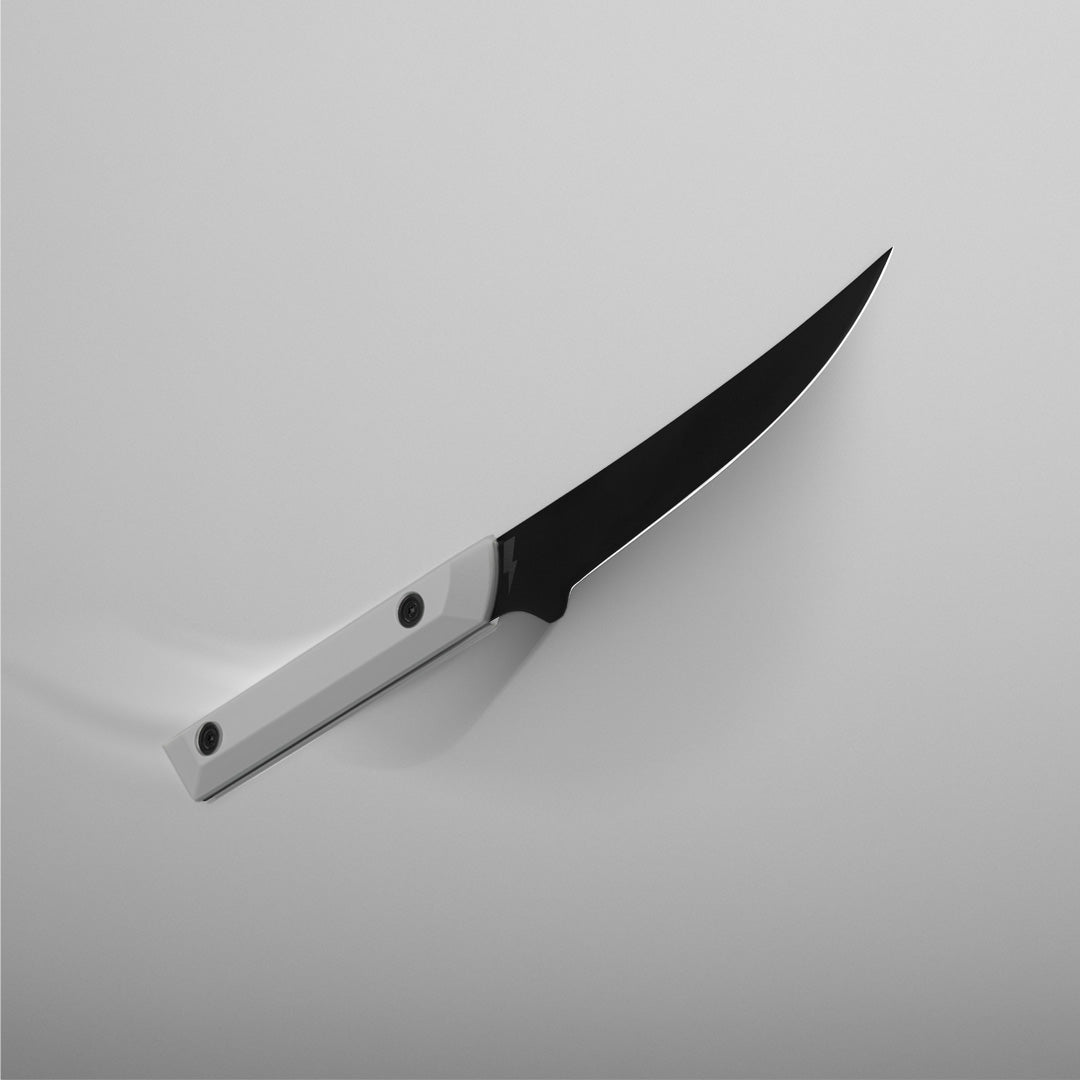
Crafted from high quality Japanese stainless steel and finished with our TITANOX™ coating, each blade is precision-ground to maintain a razor-sharp edge — even through heavy daily use.
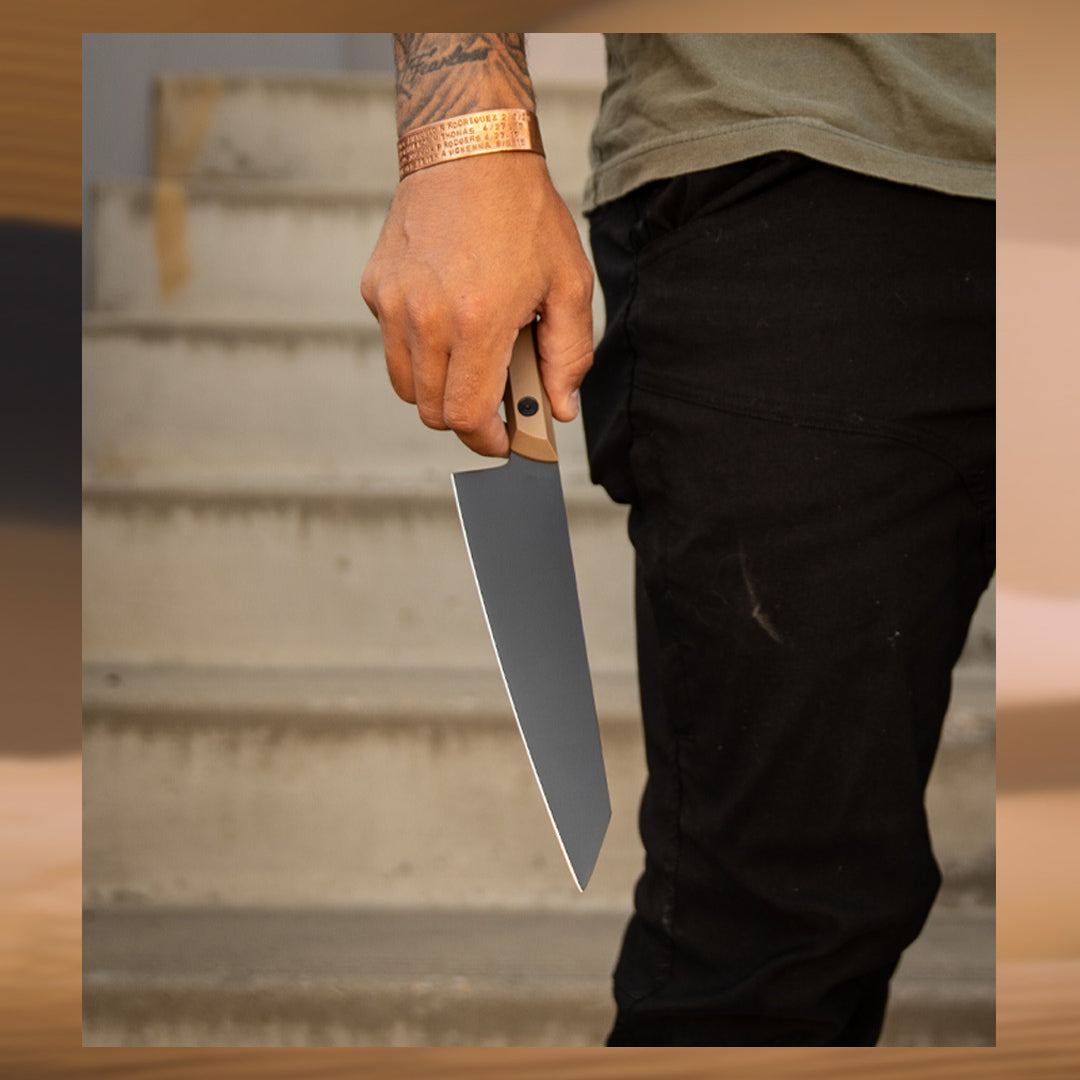
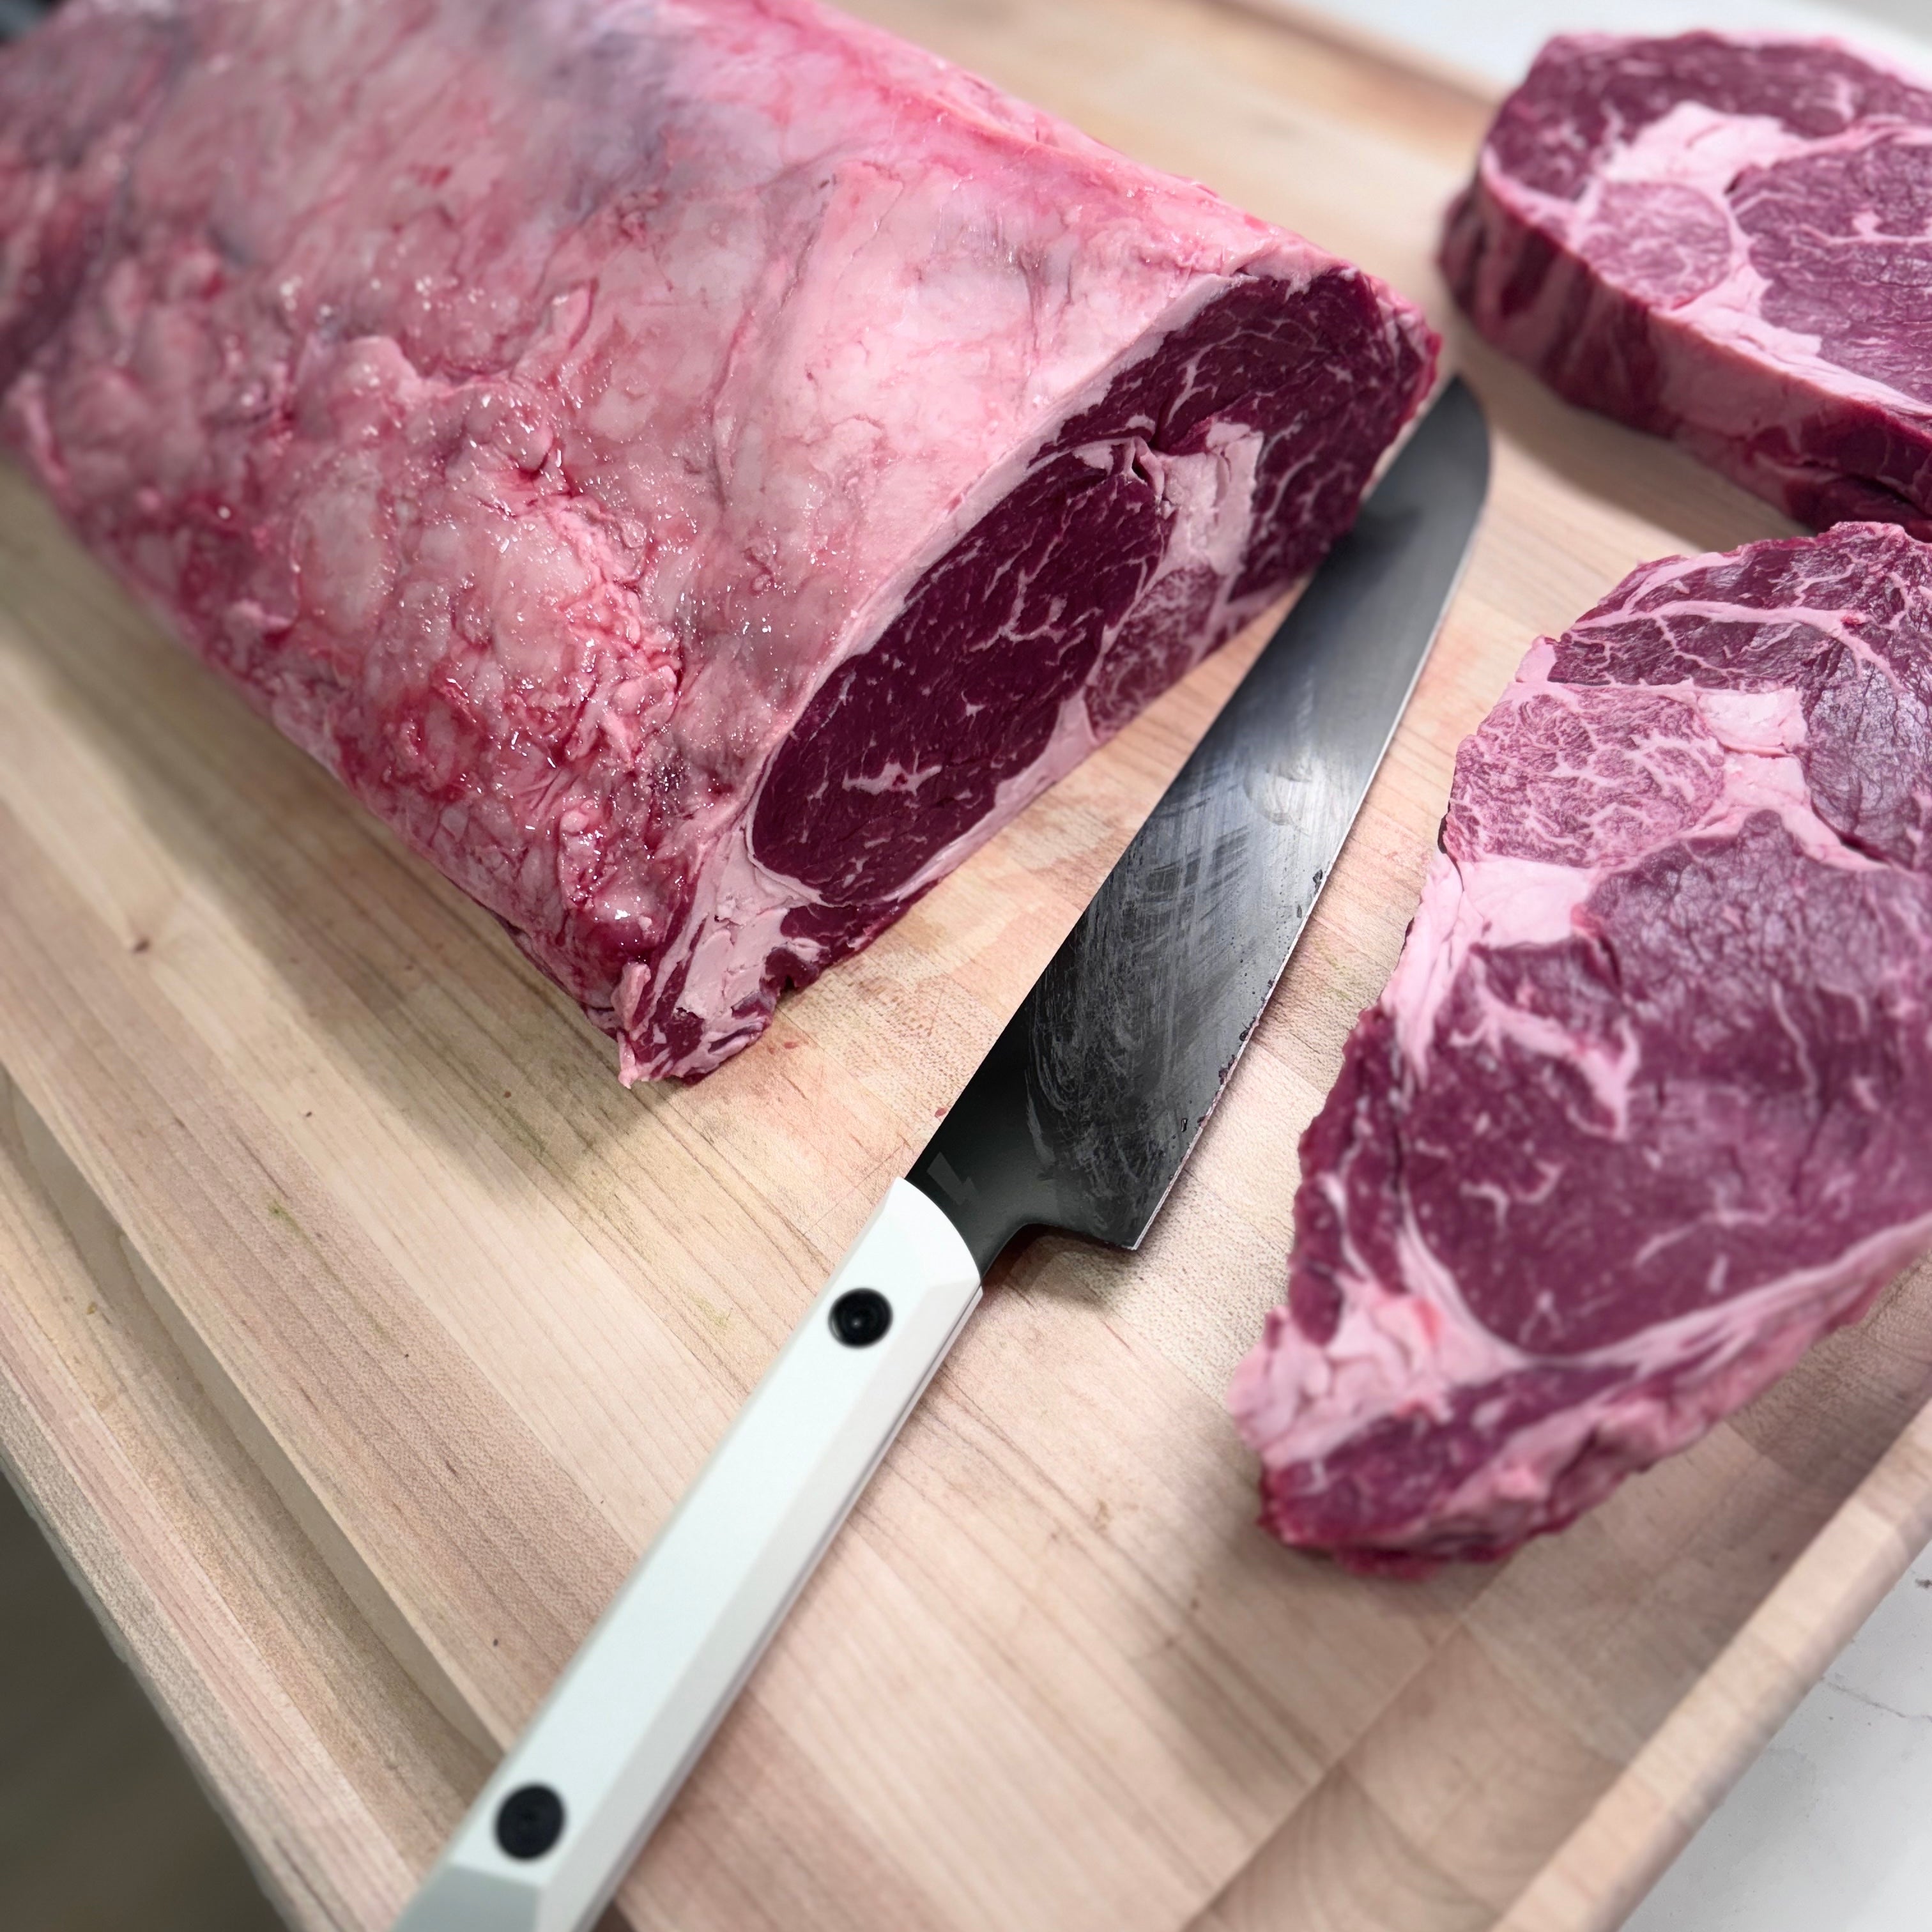
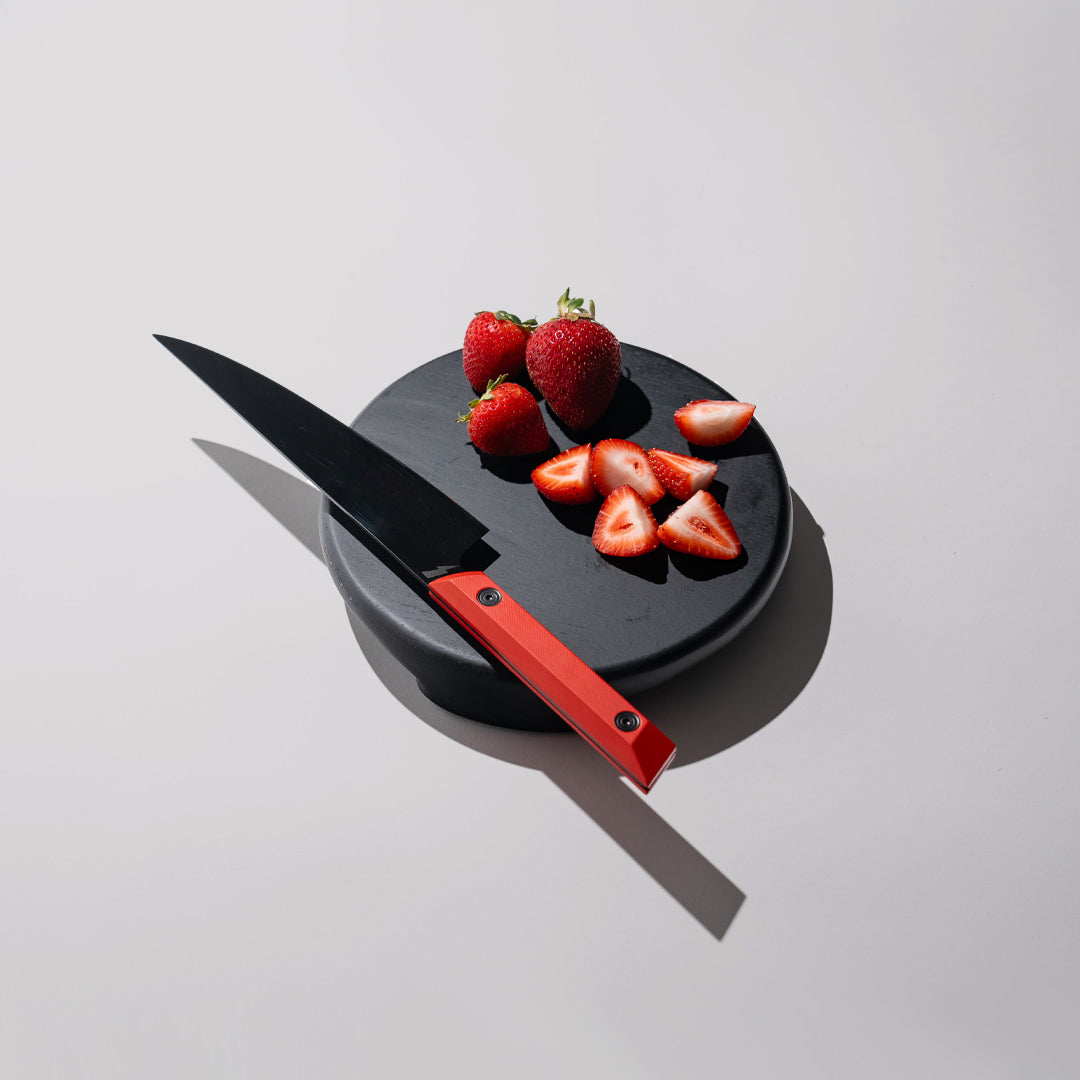
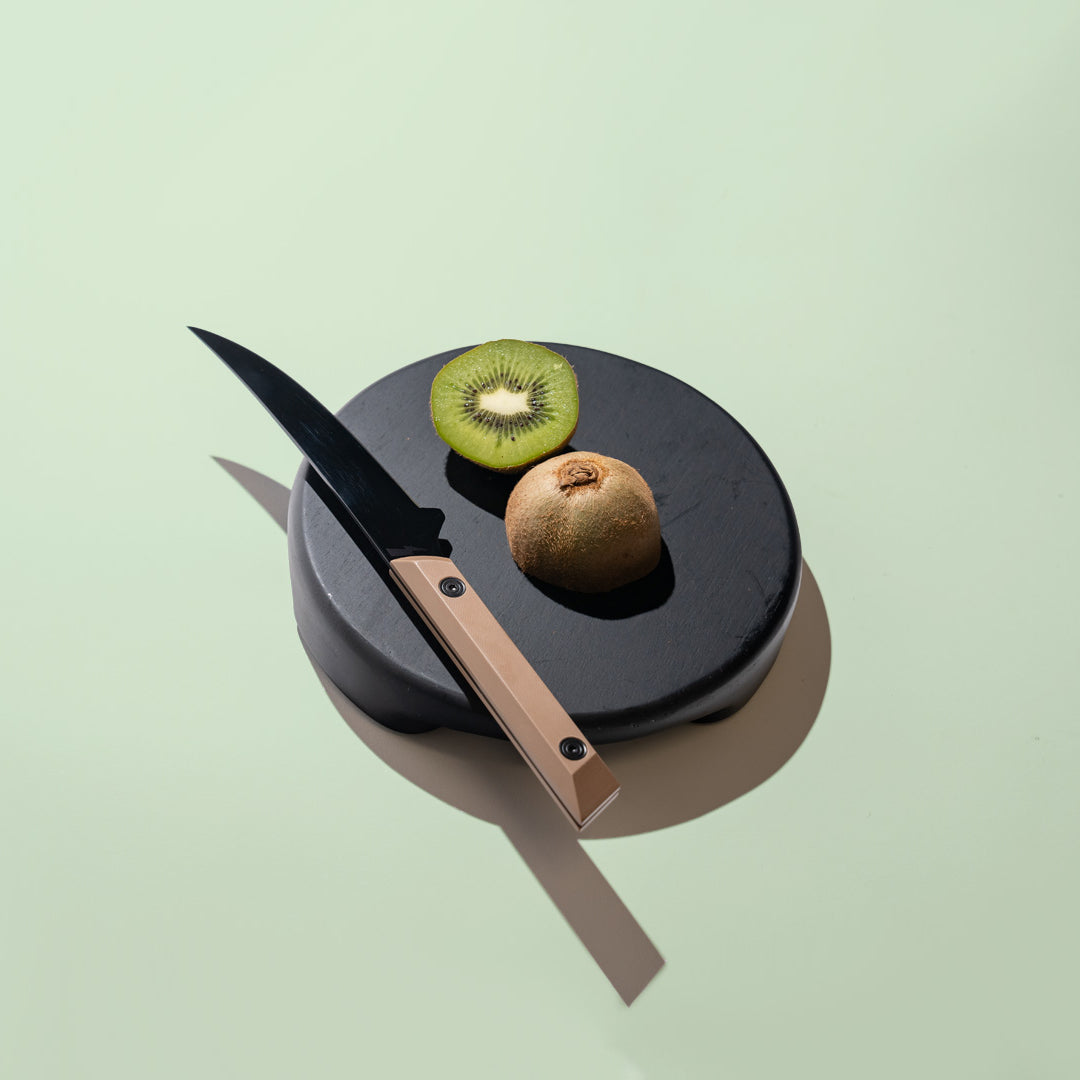
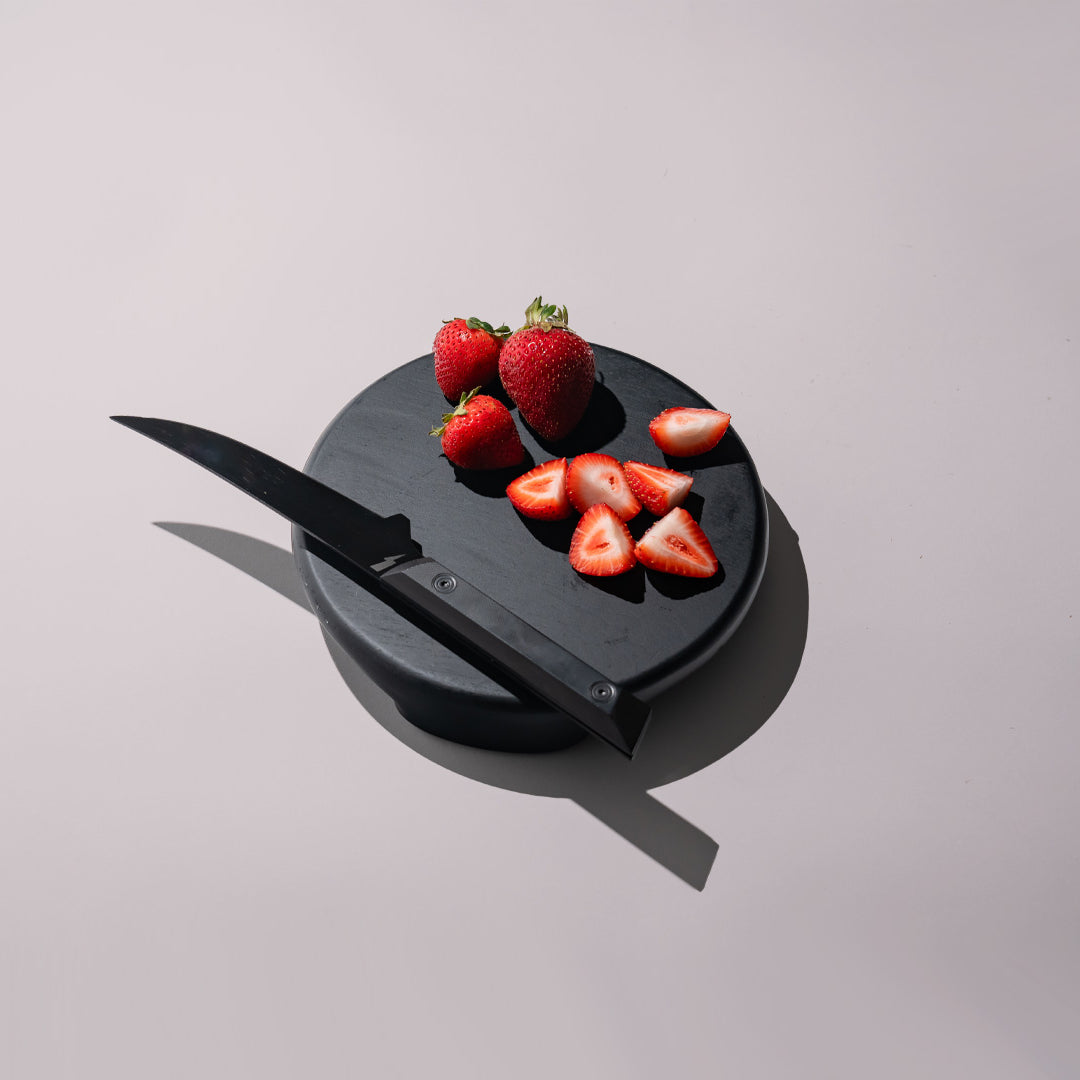
The blade geometry has been carefully refined for smooth glide, minimal resistance, and edge retention you’ll feel in every cut. Whether you're slicing vegetables or breaking down proteins, these knives are built to stay sharp, stay balanced, and stay in your hand for years.
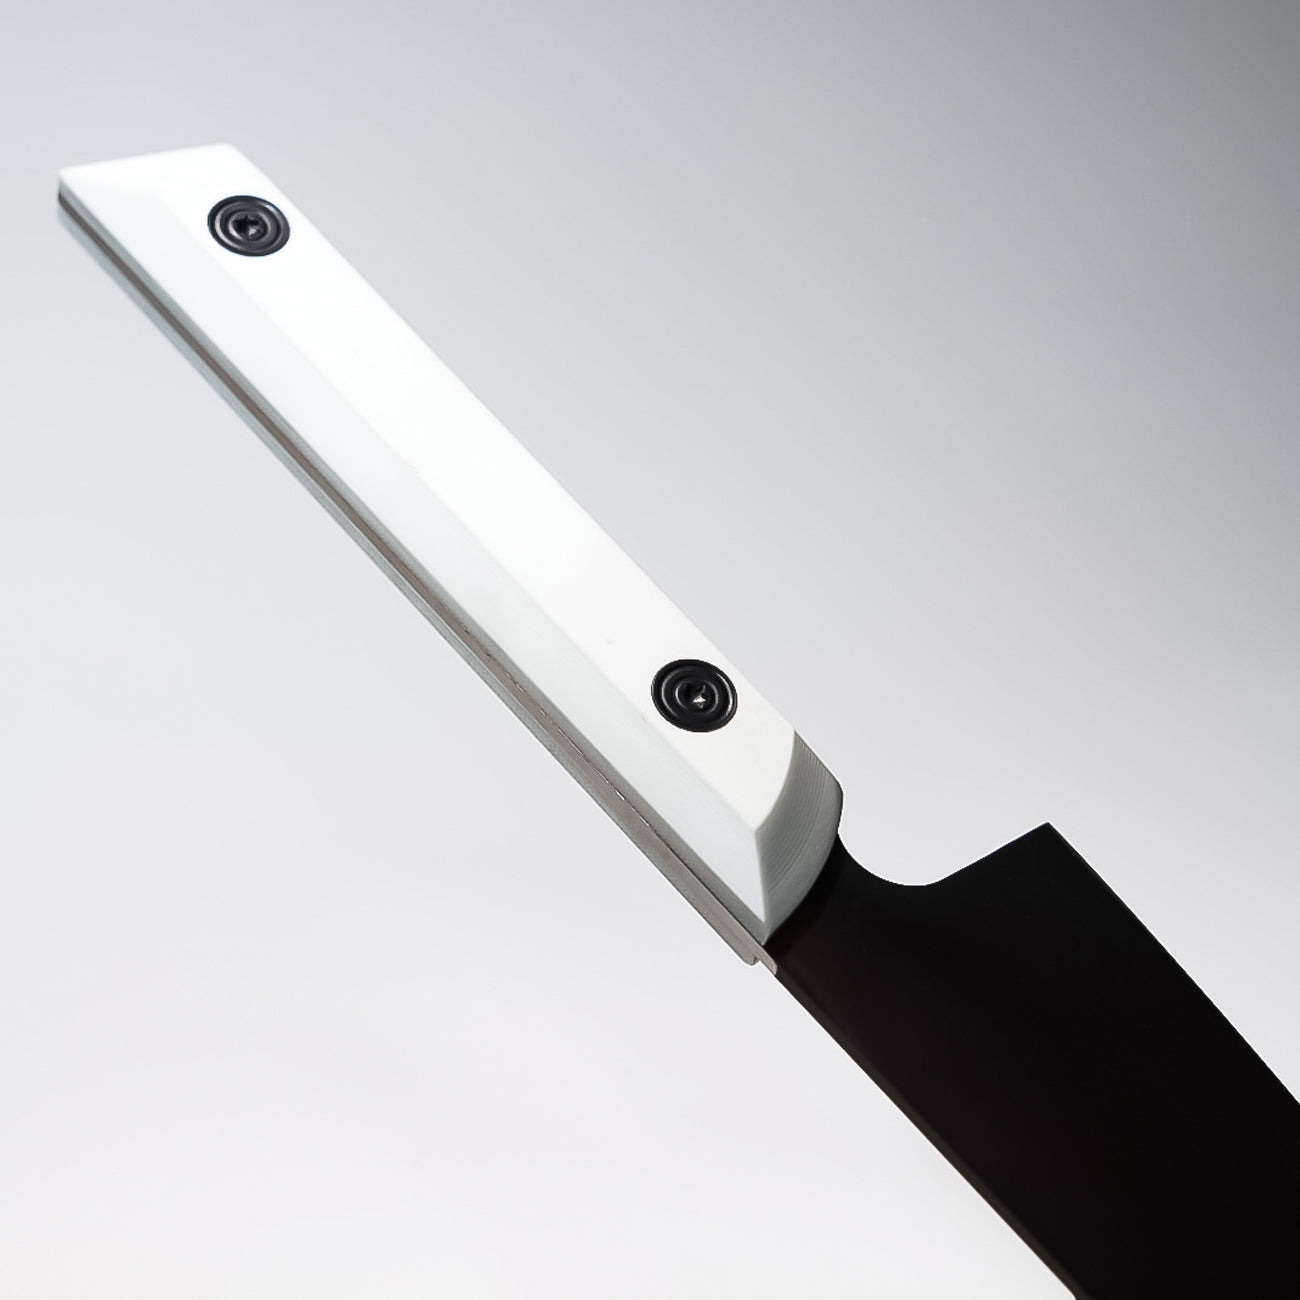
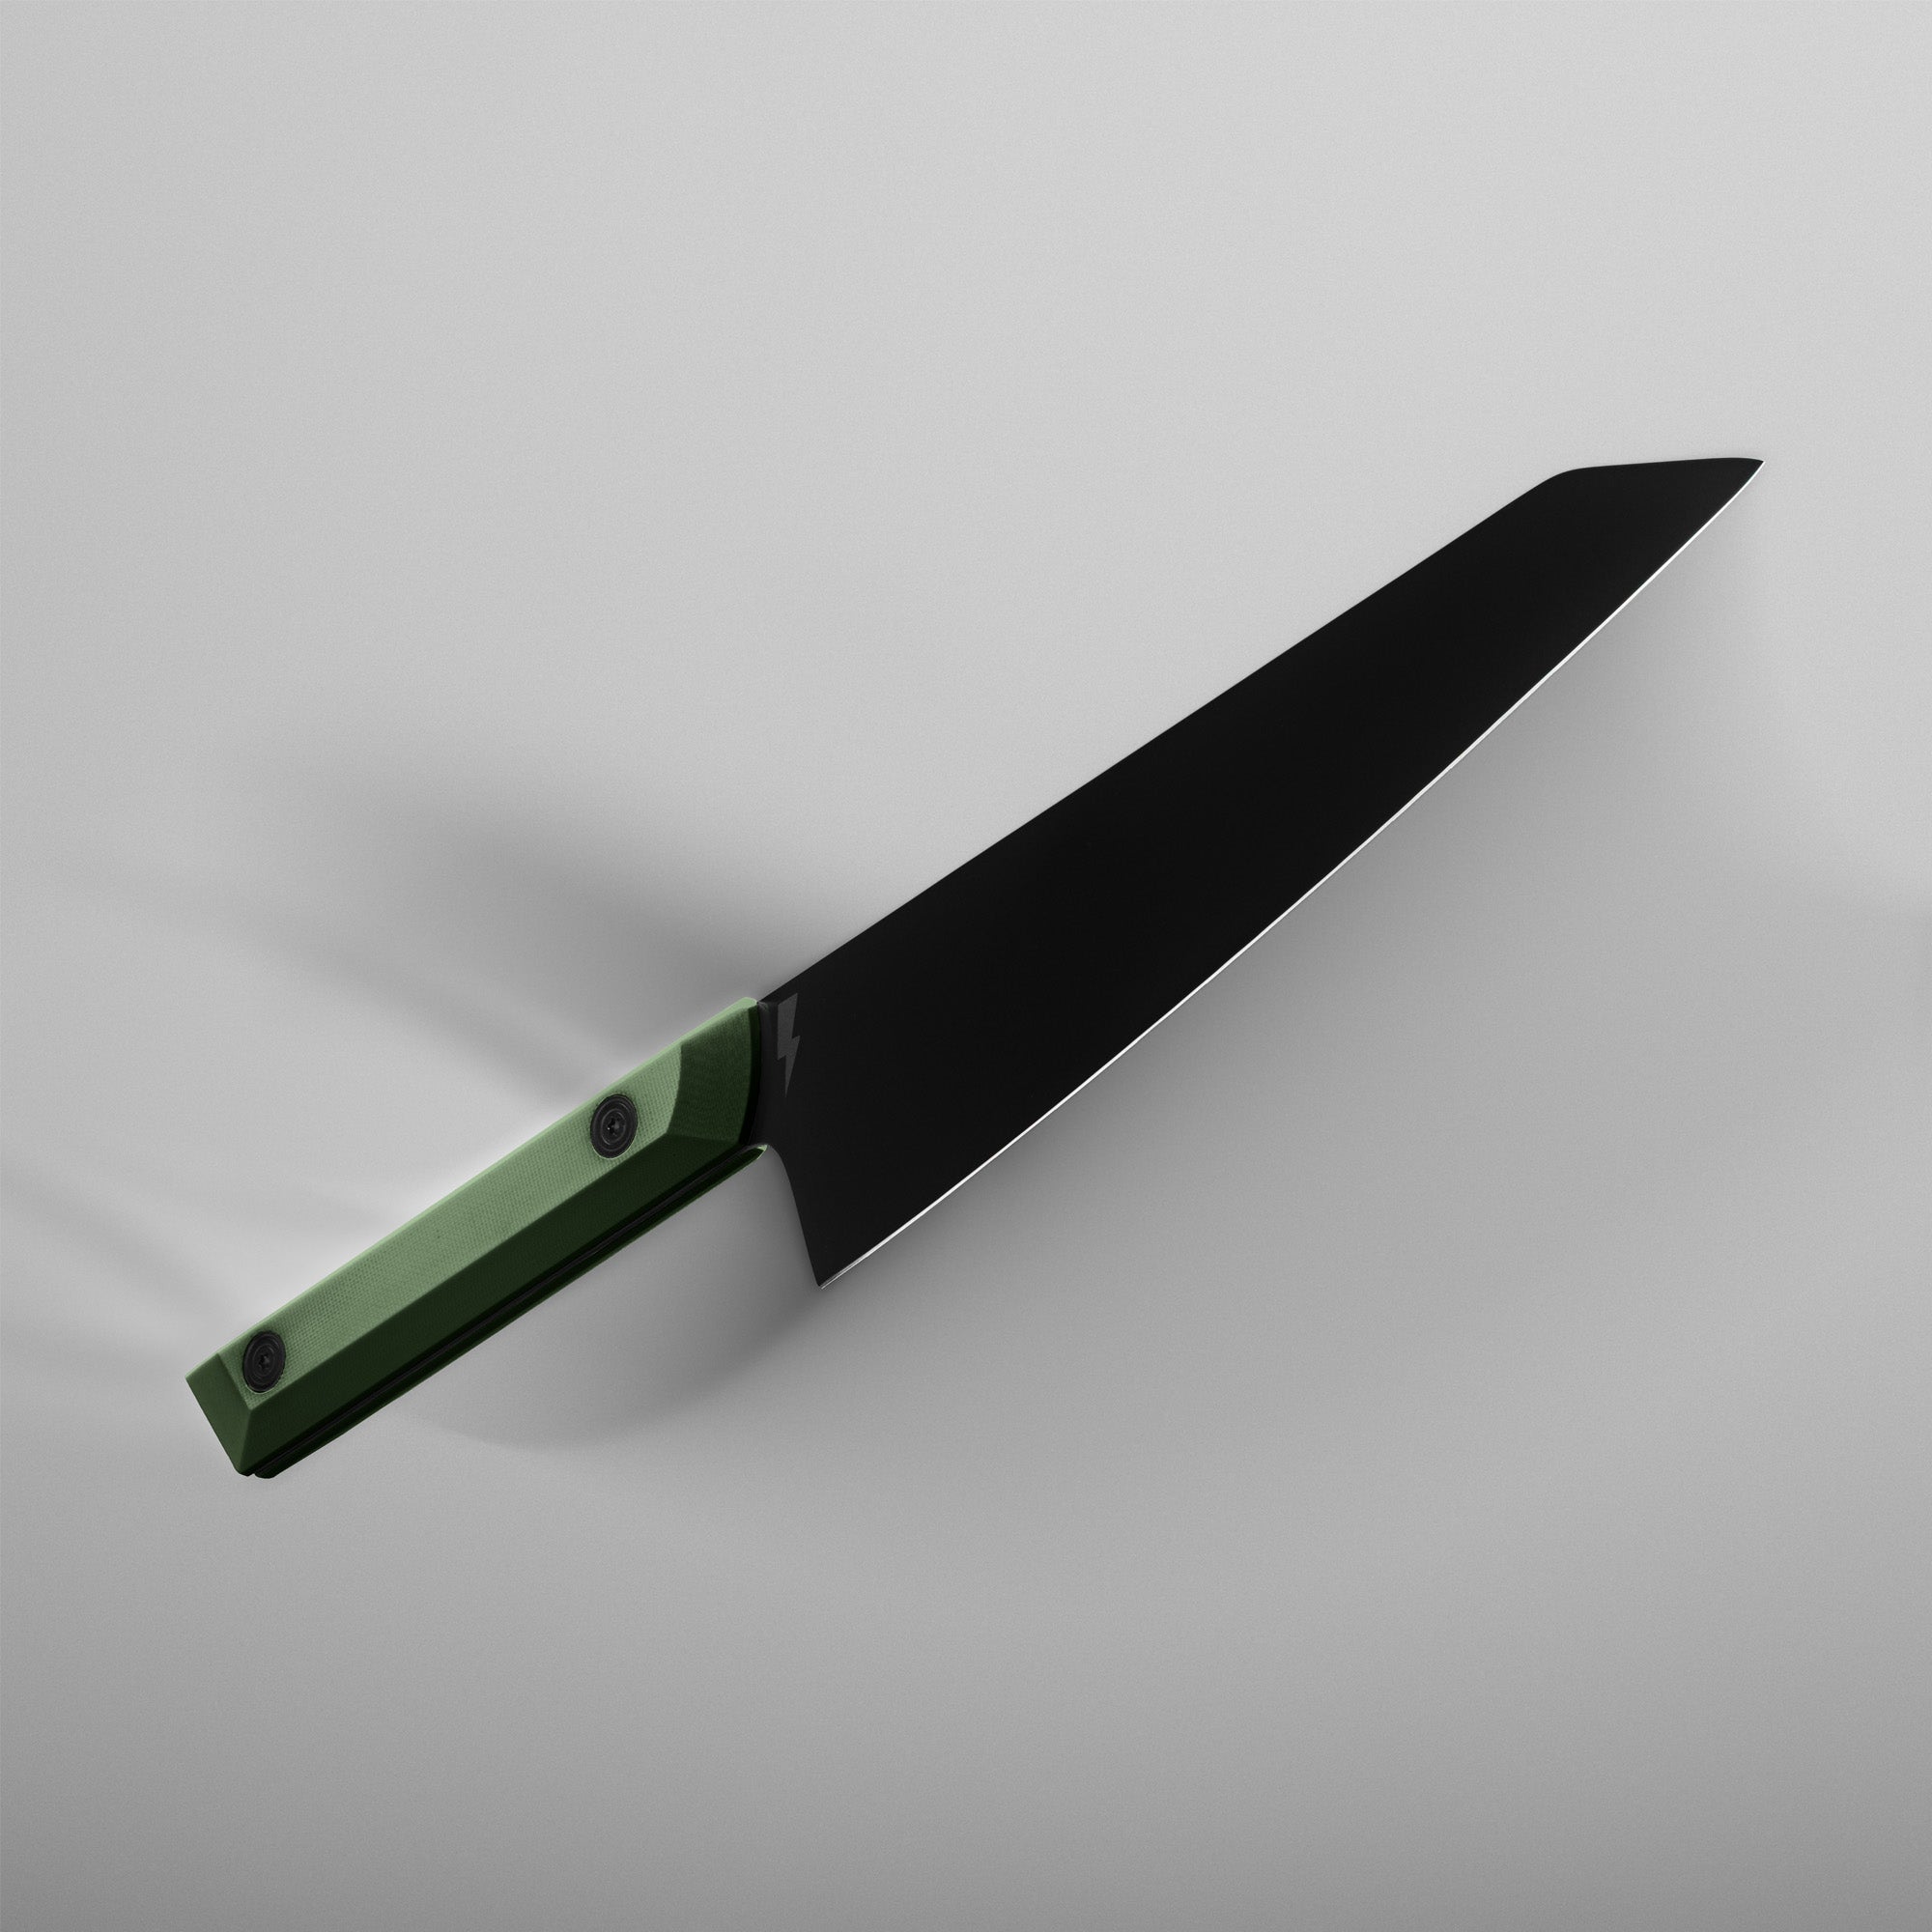
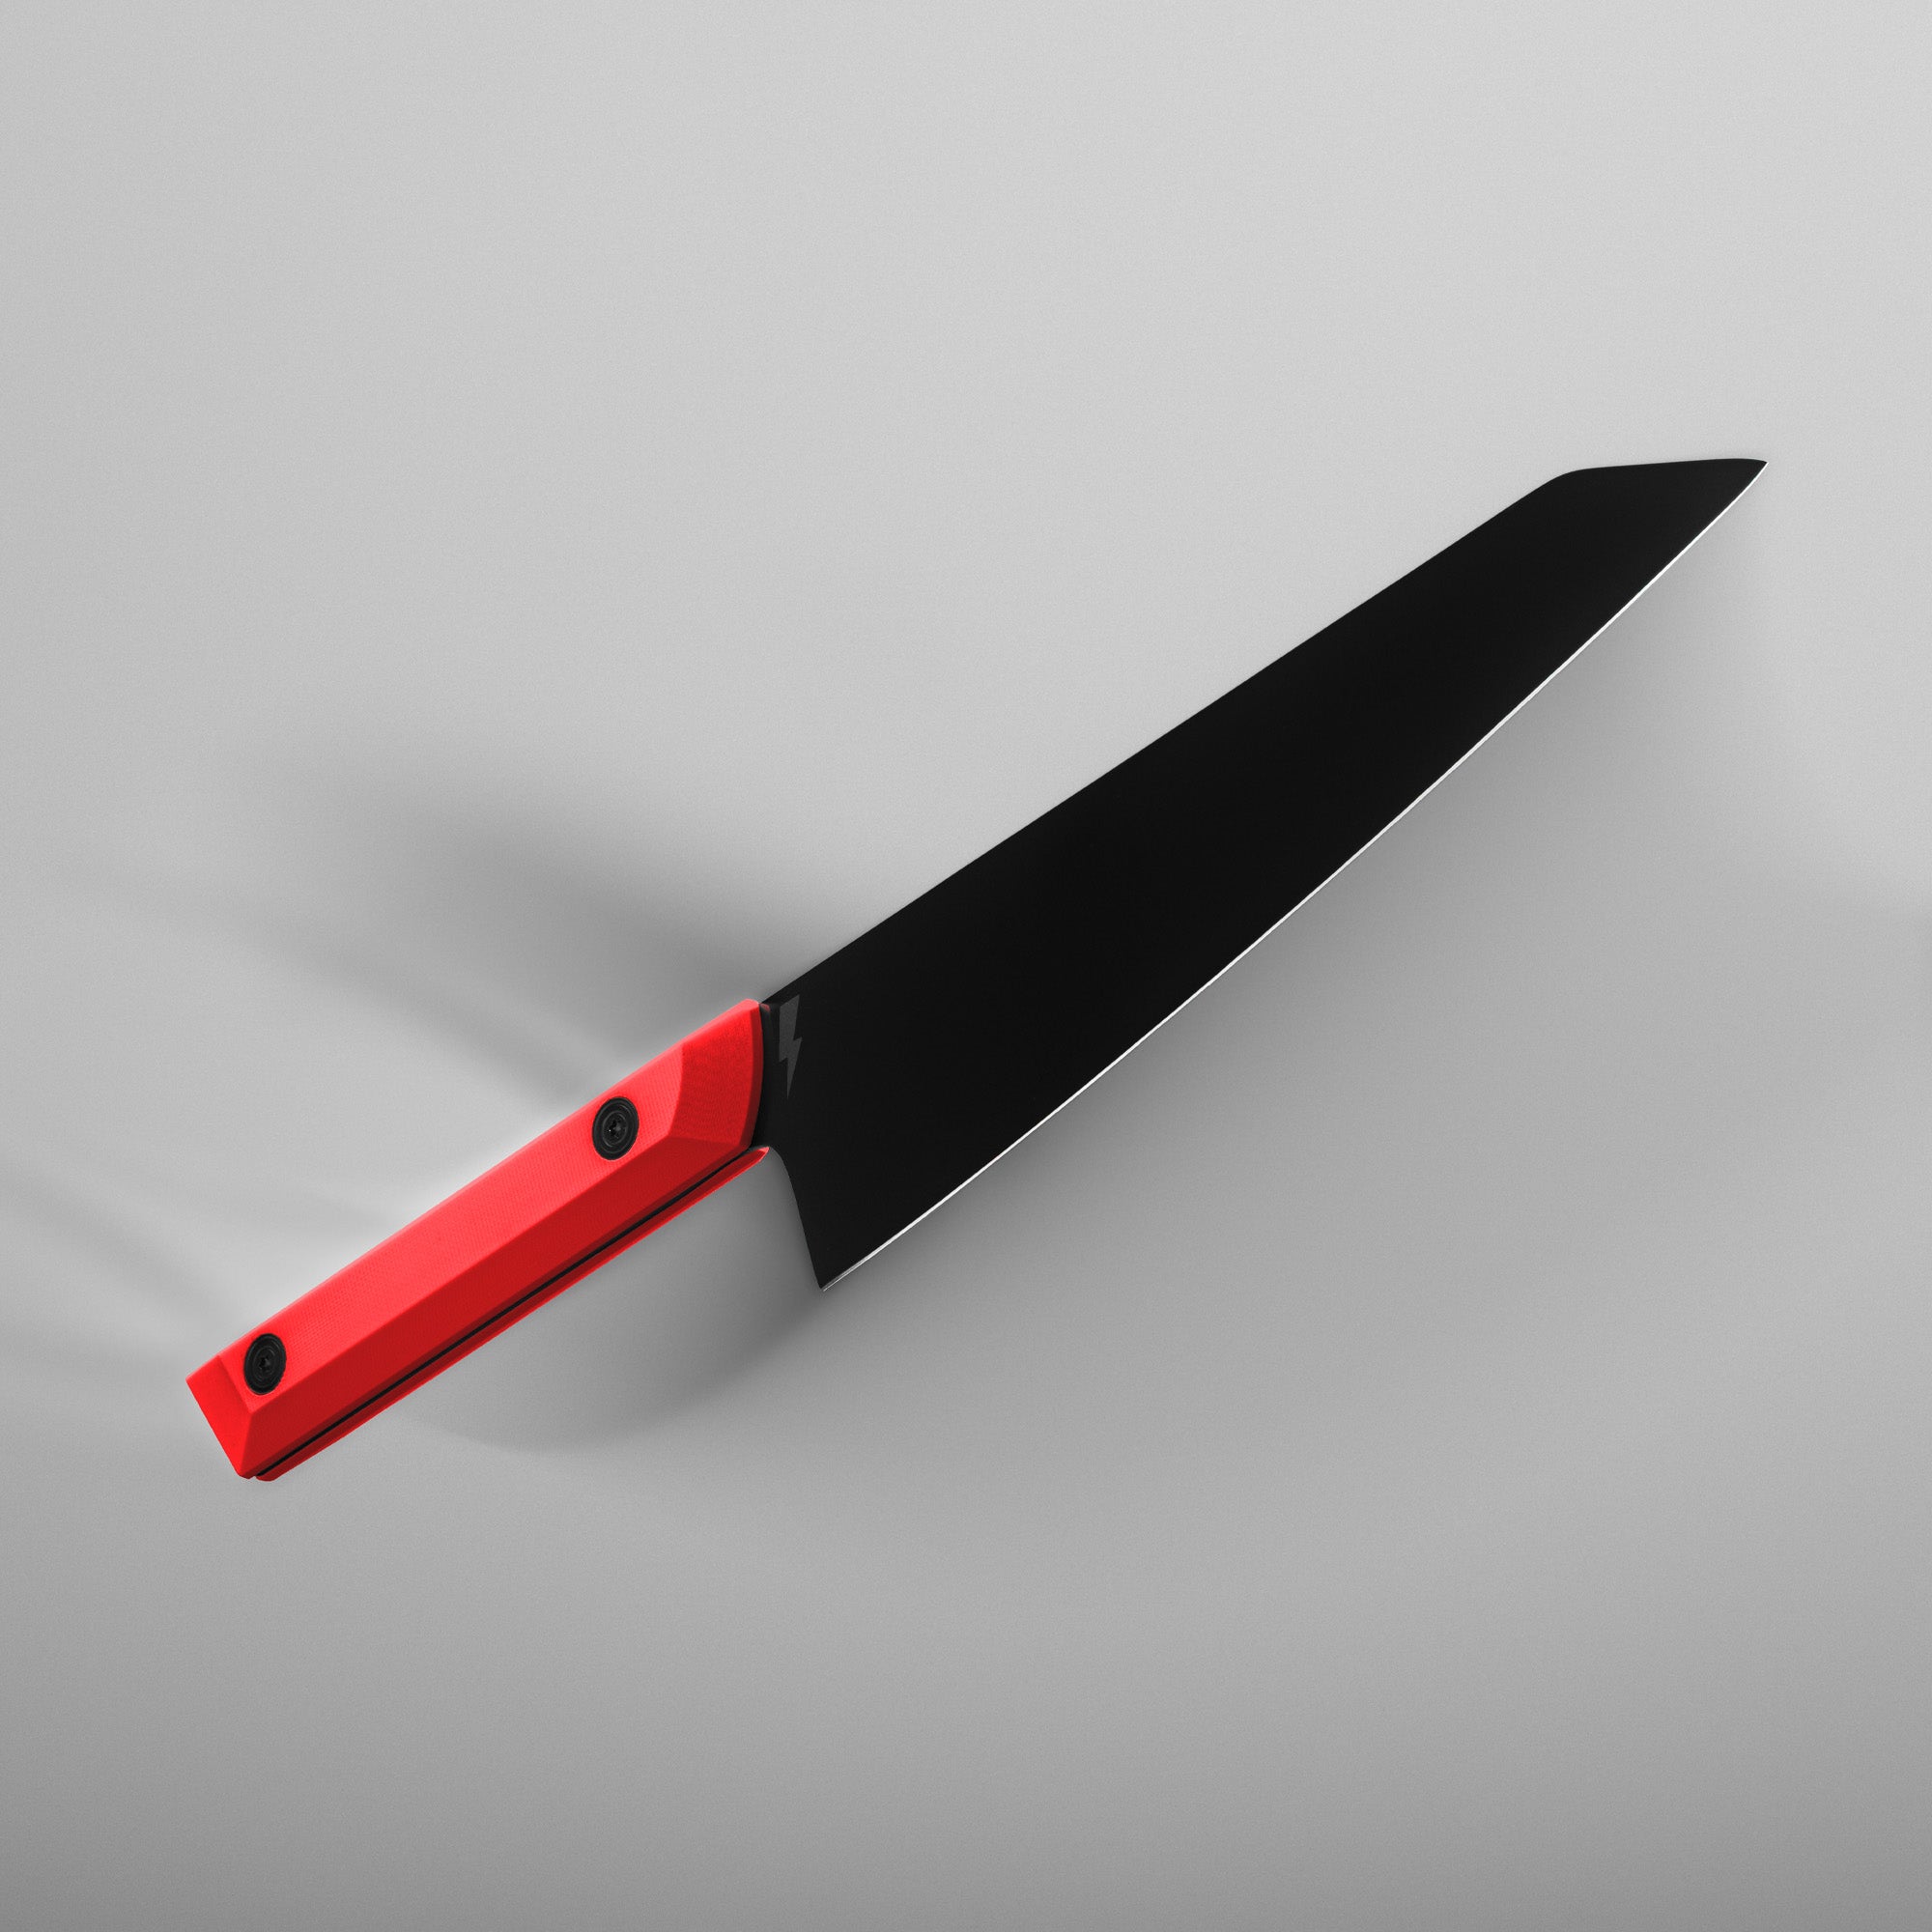
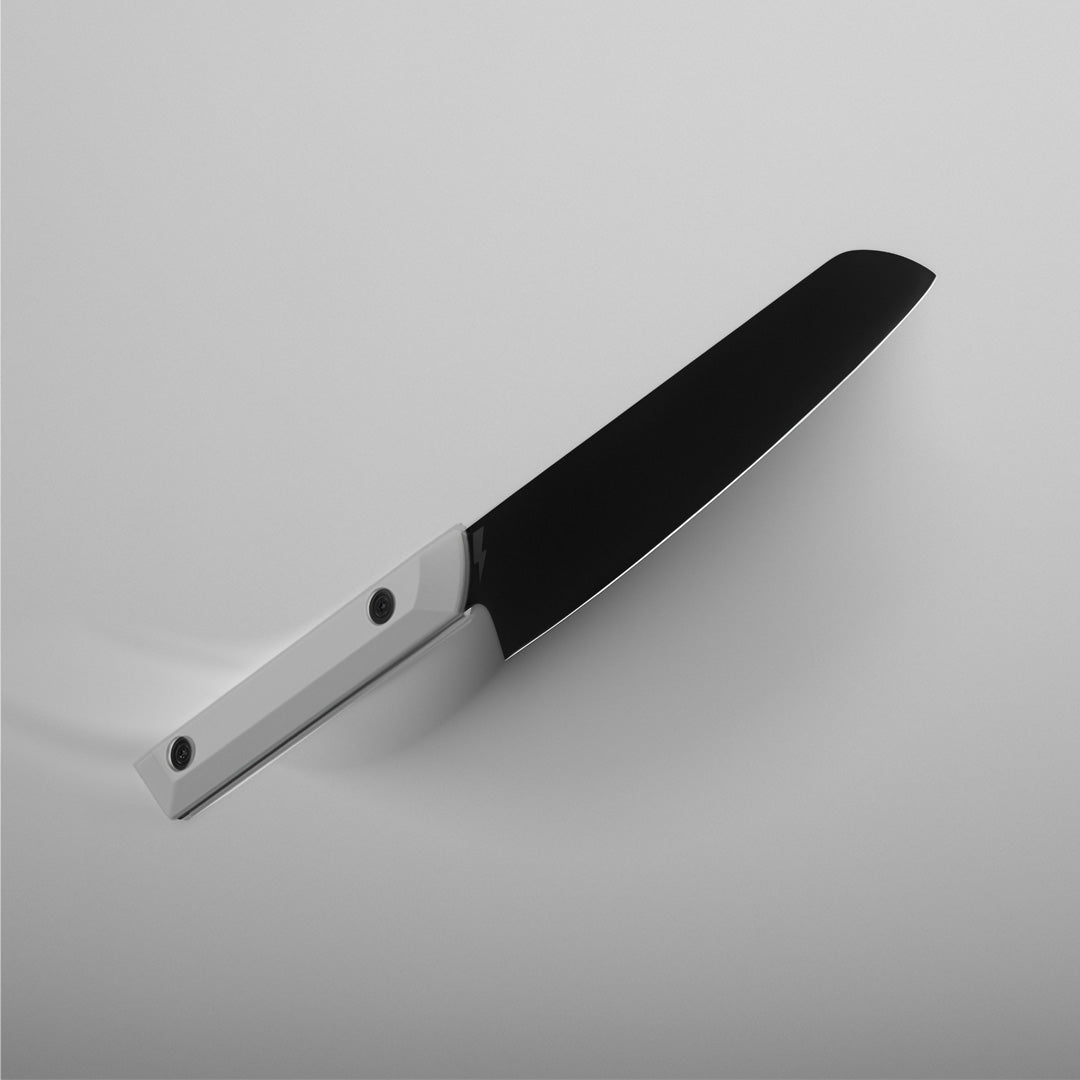
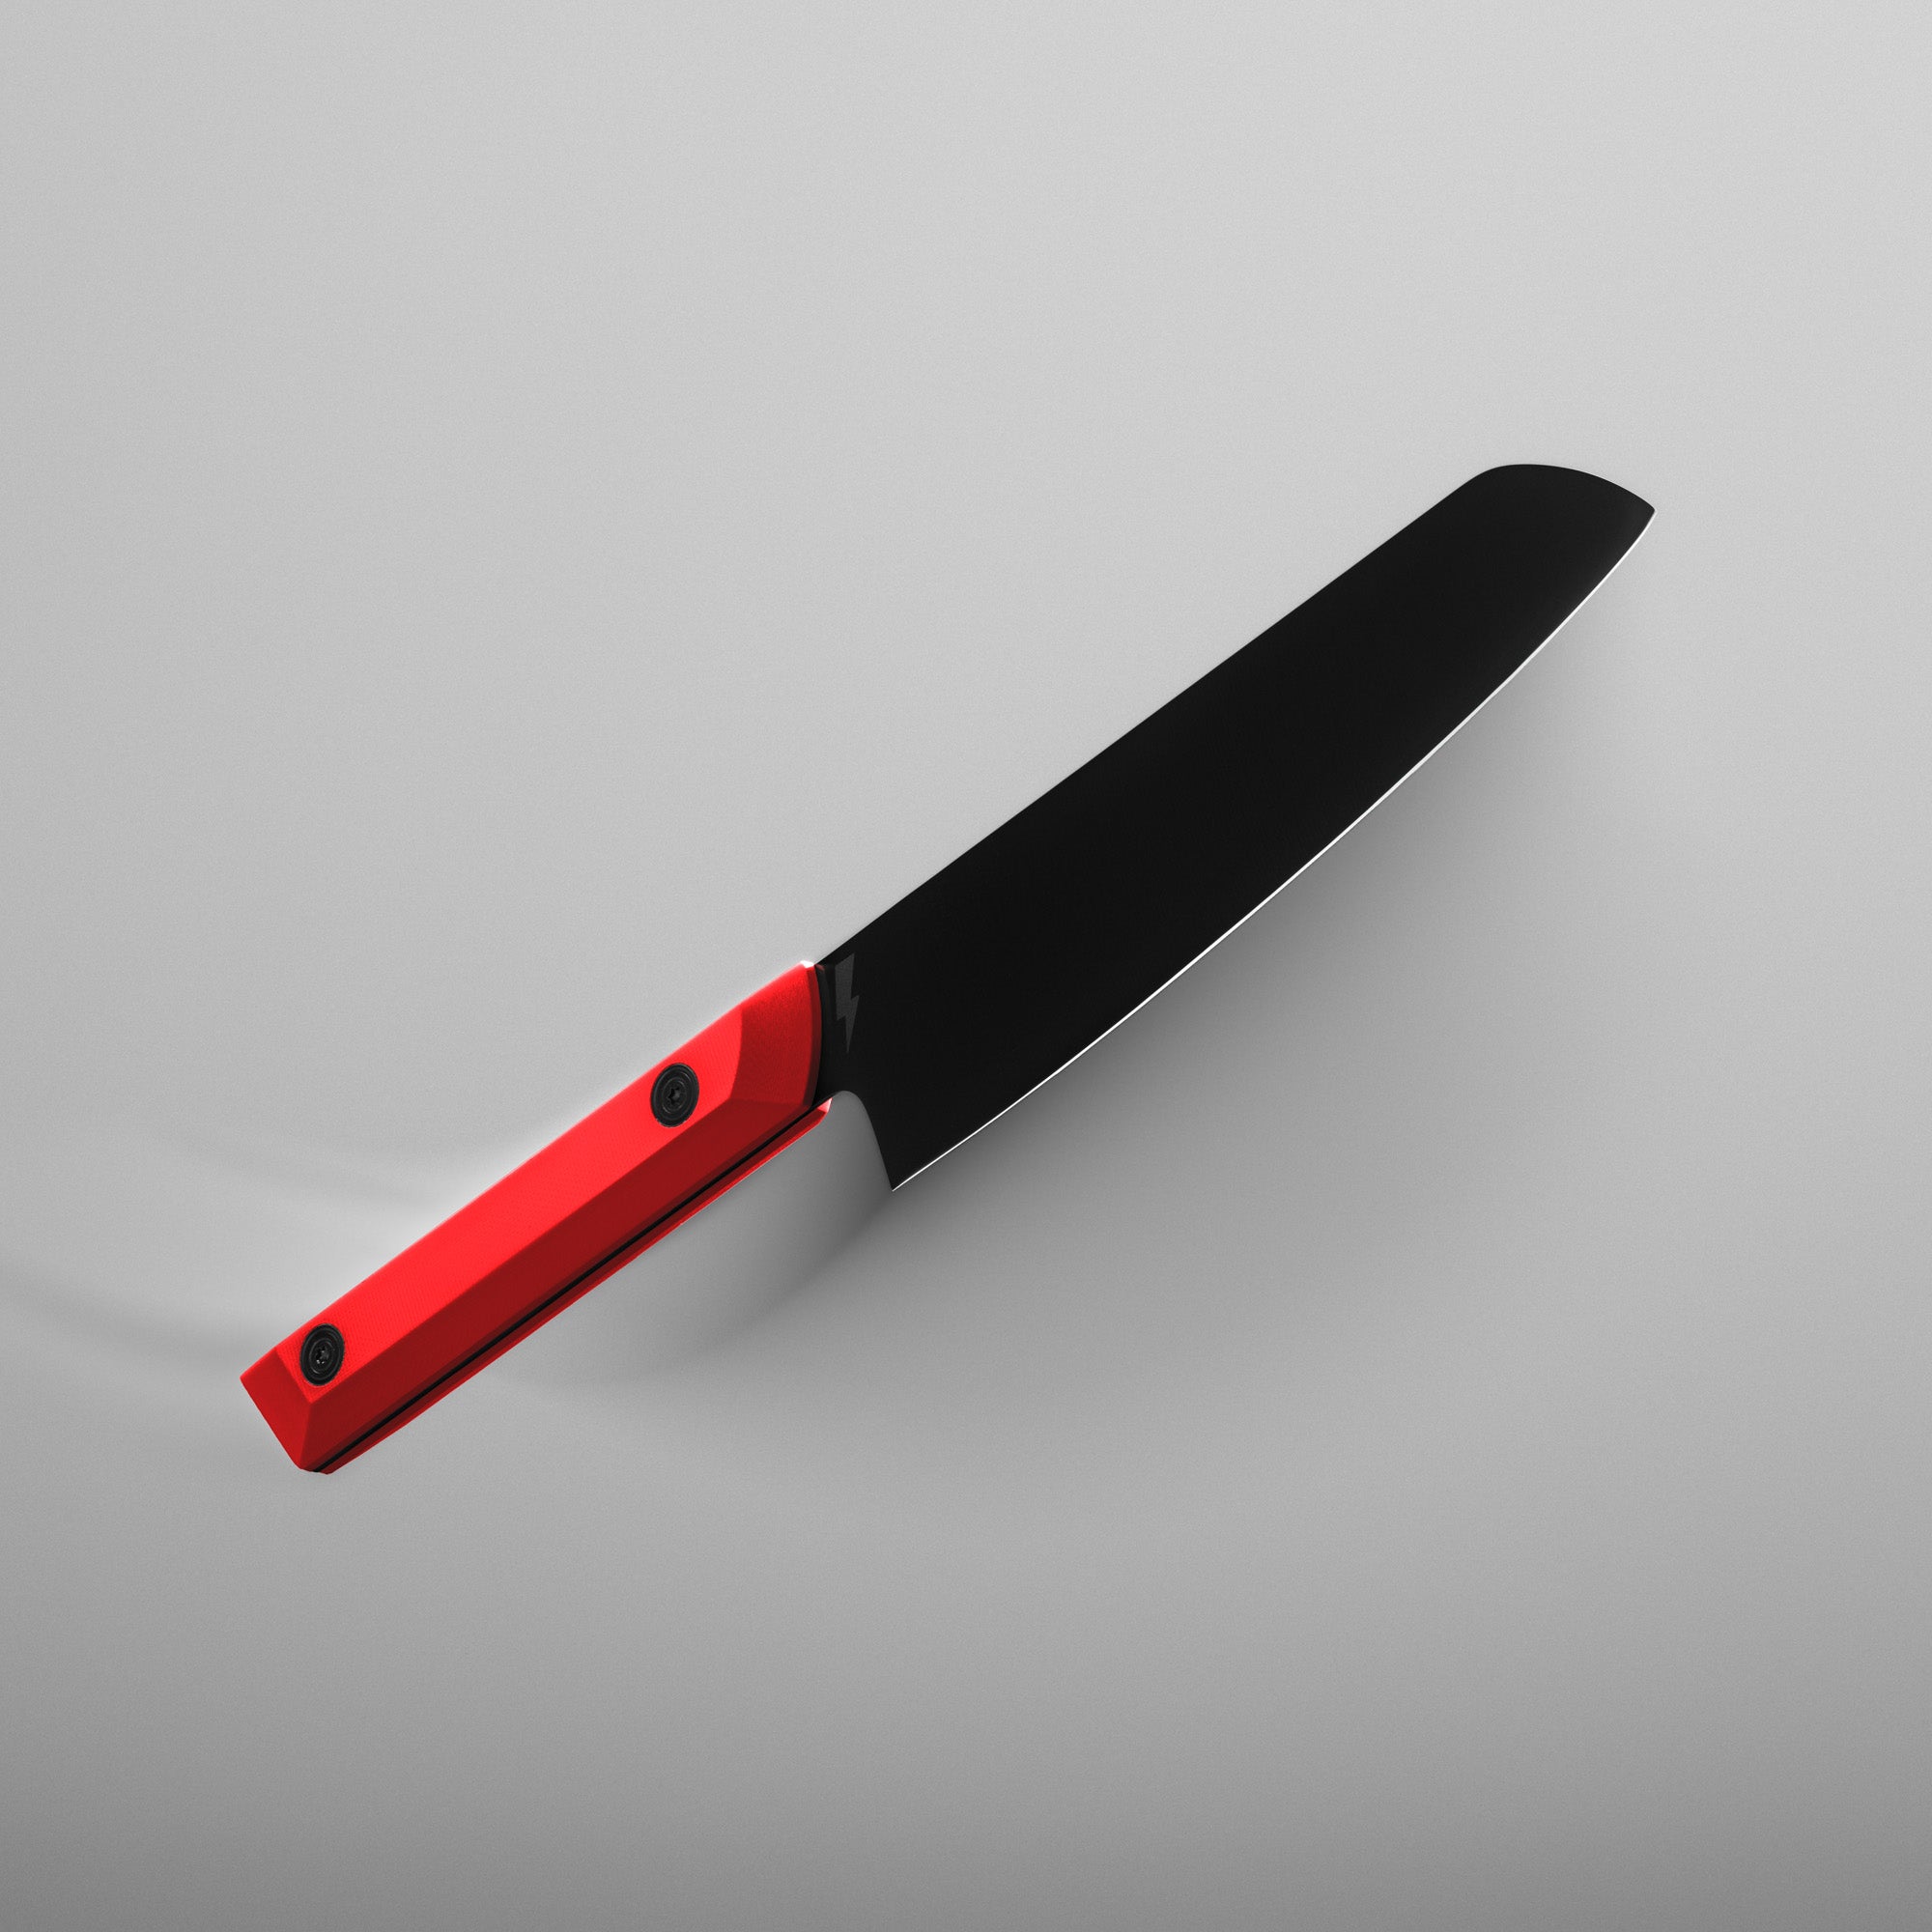
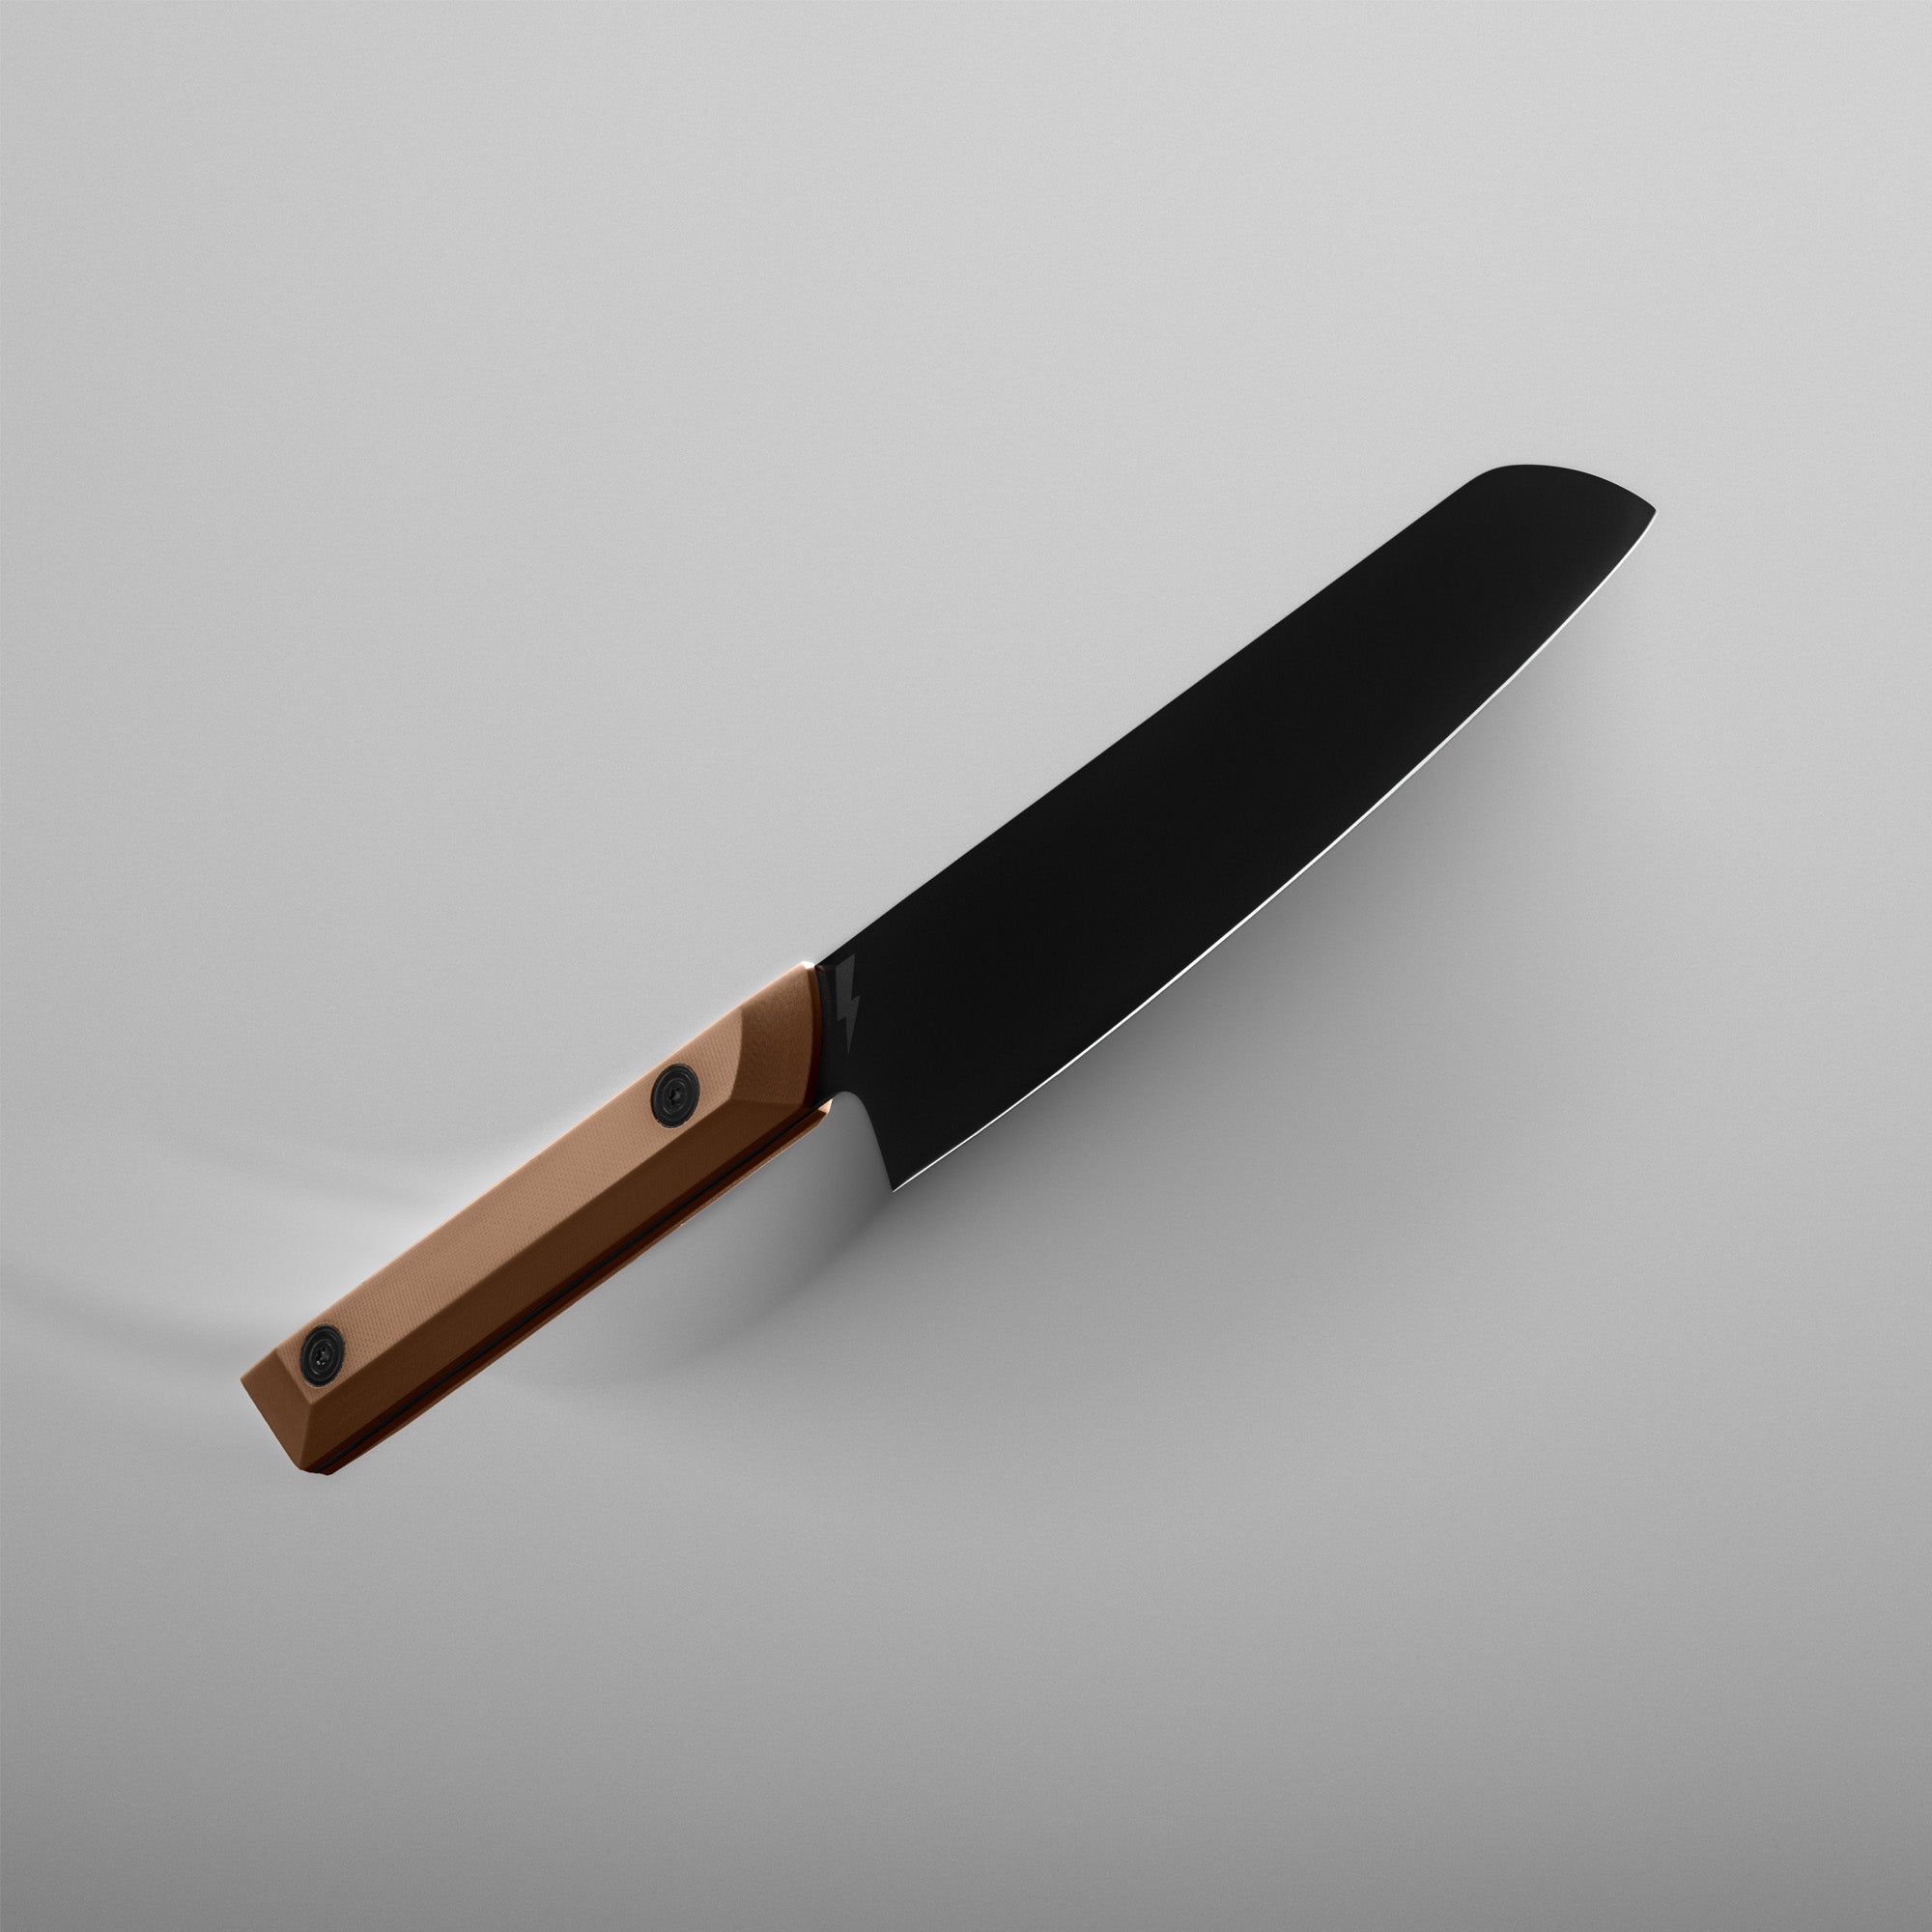
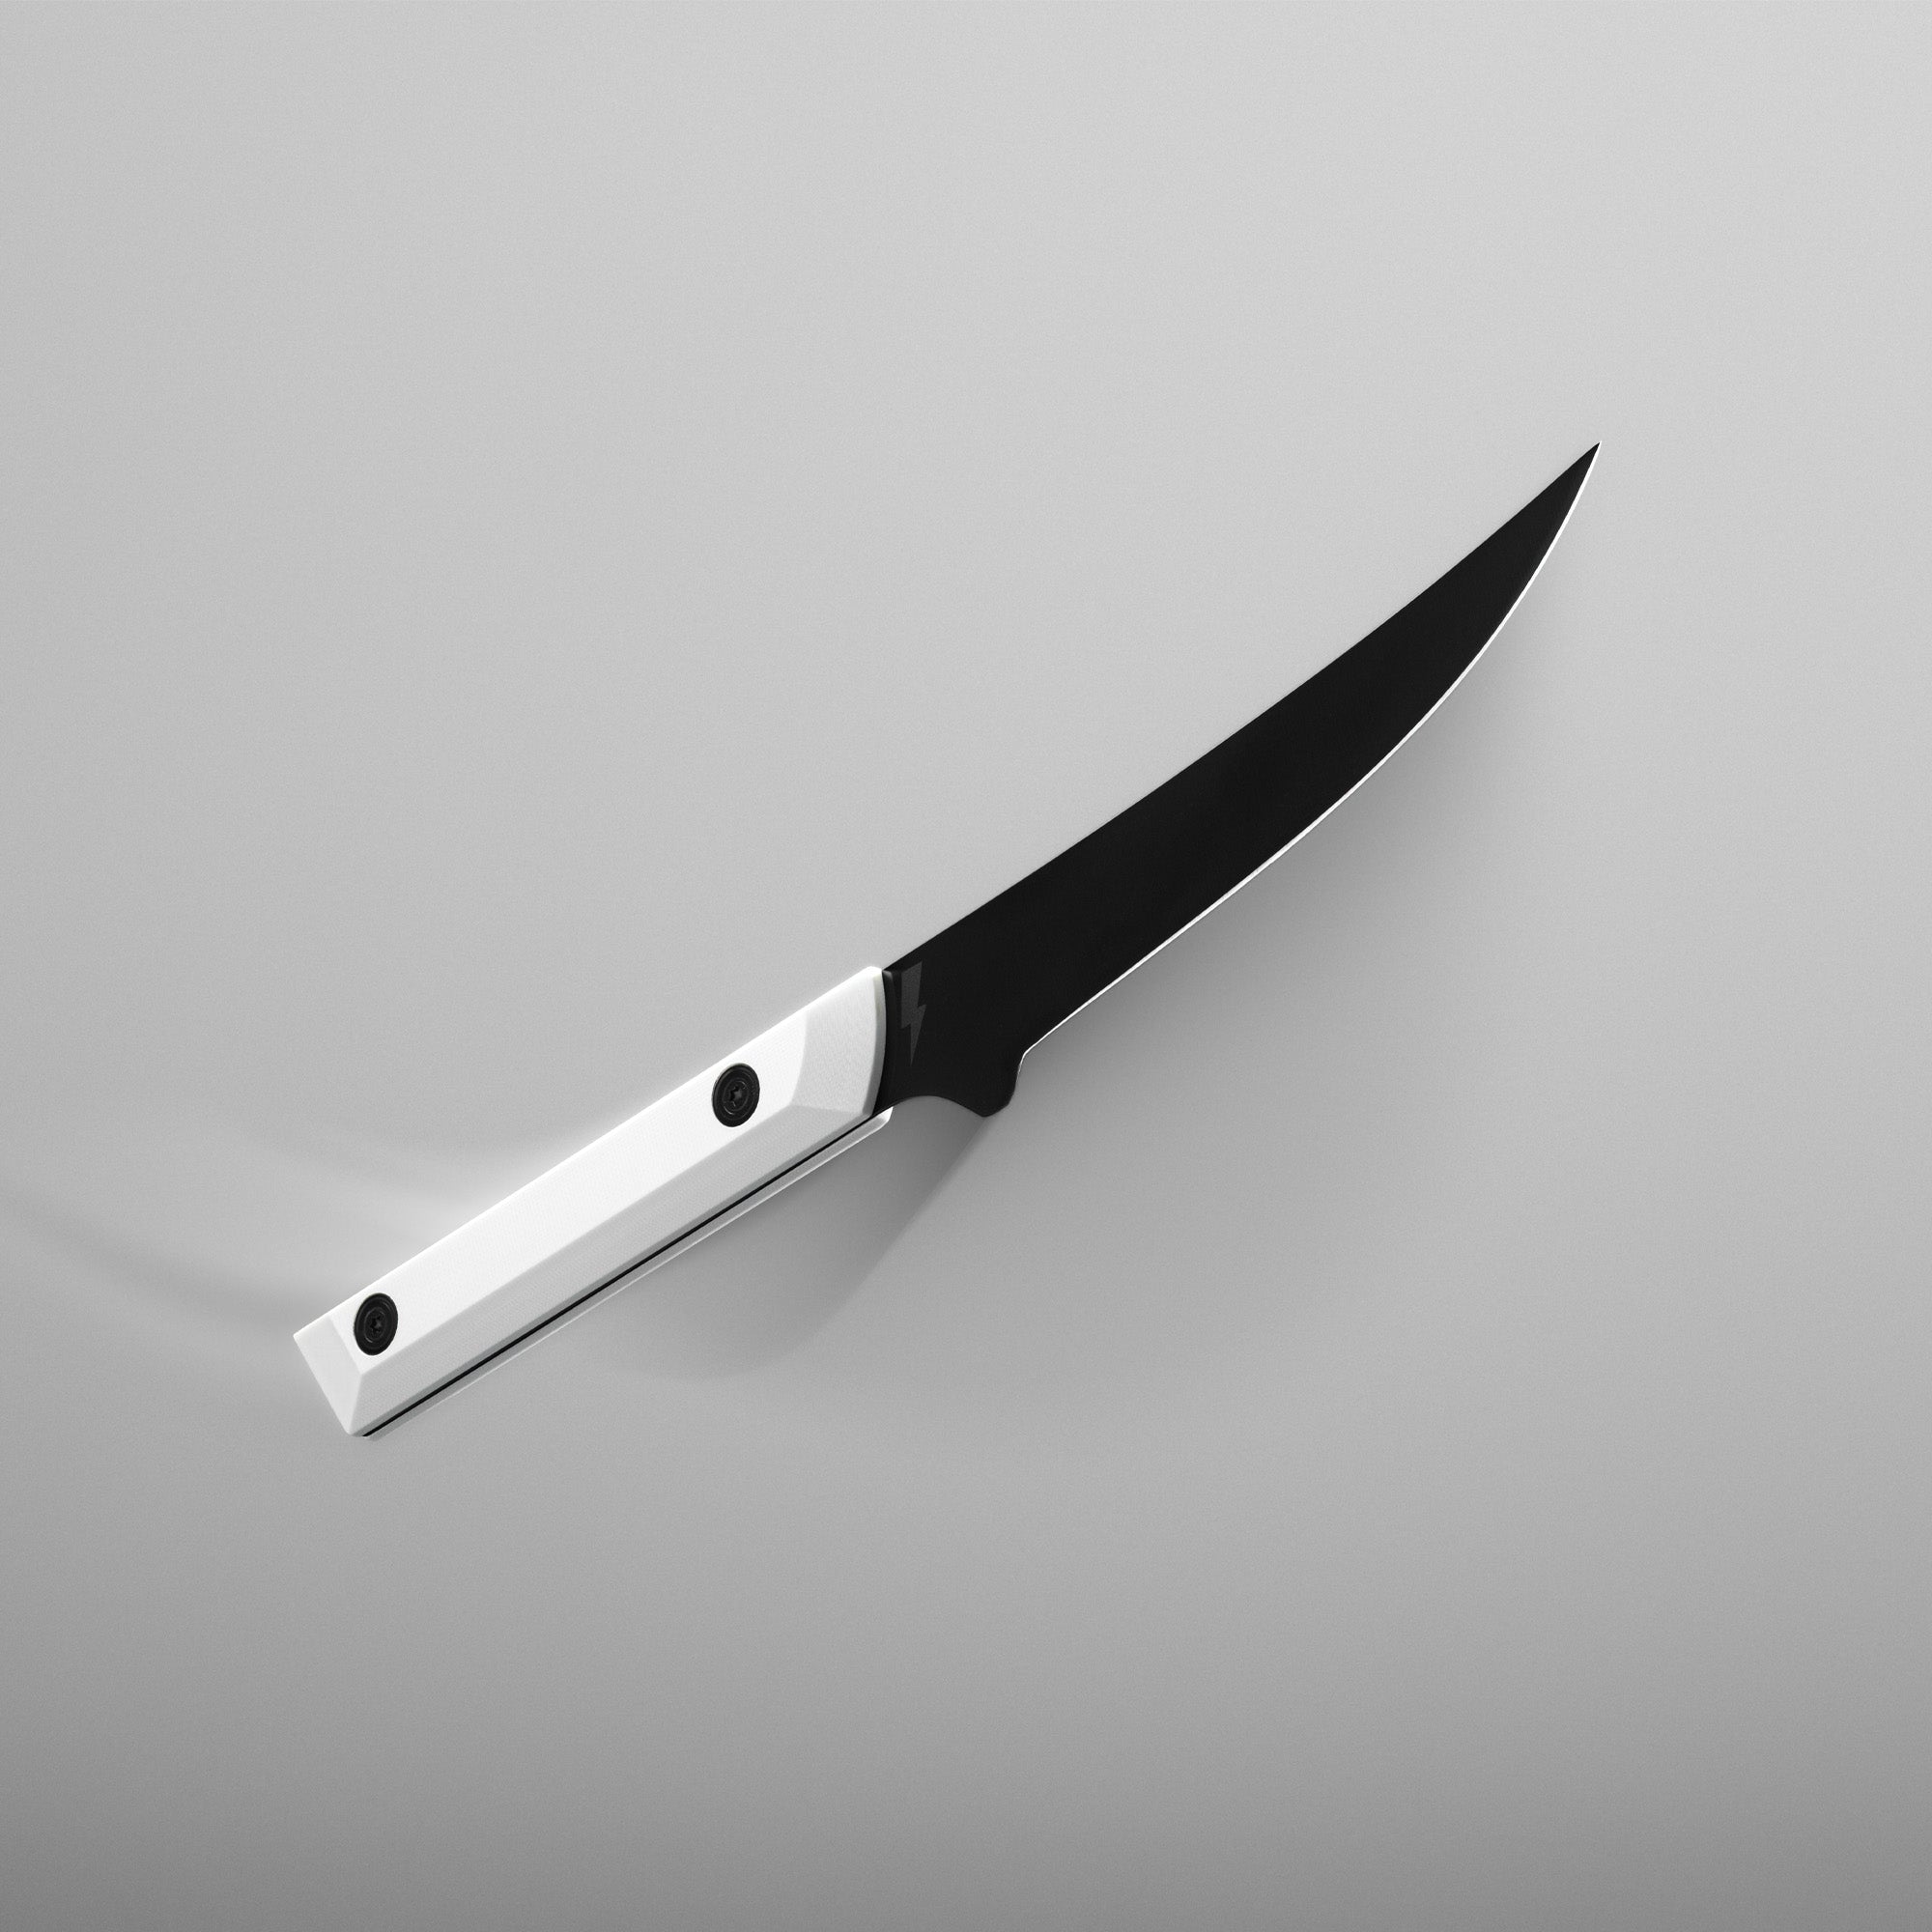
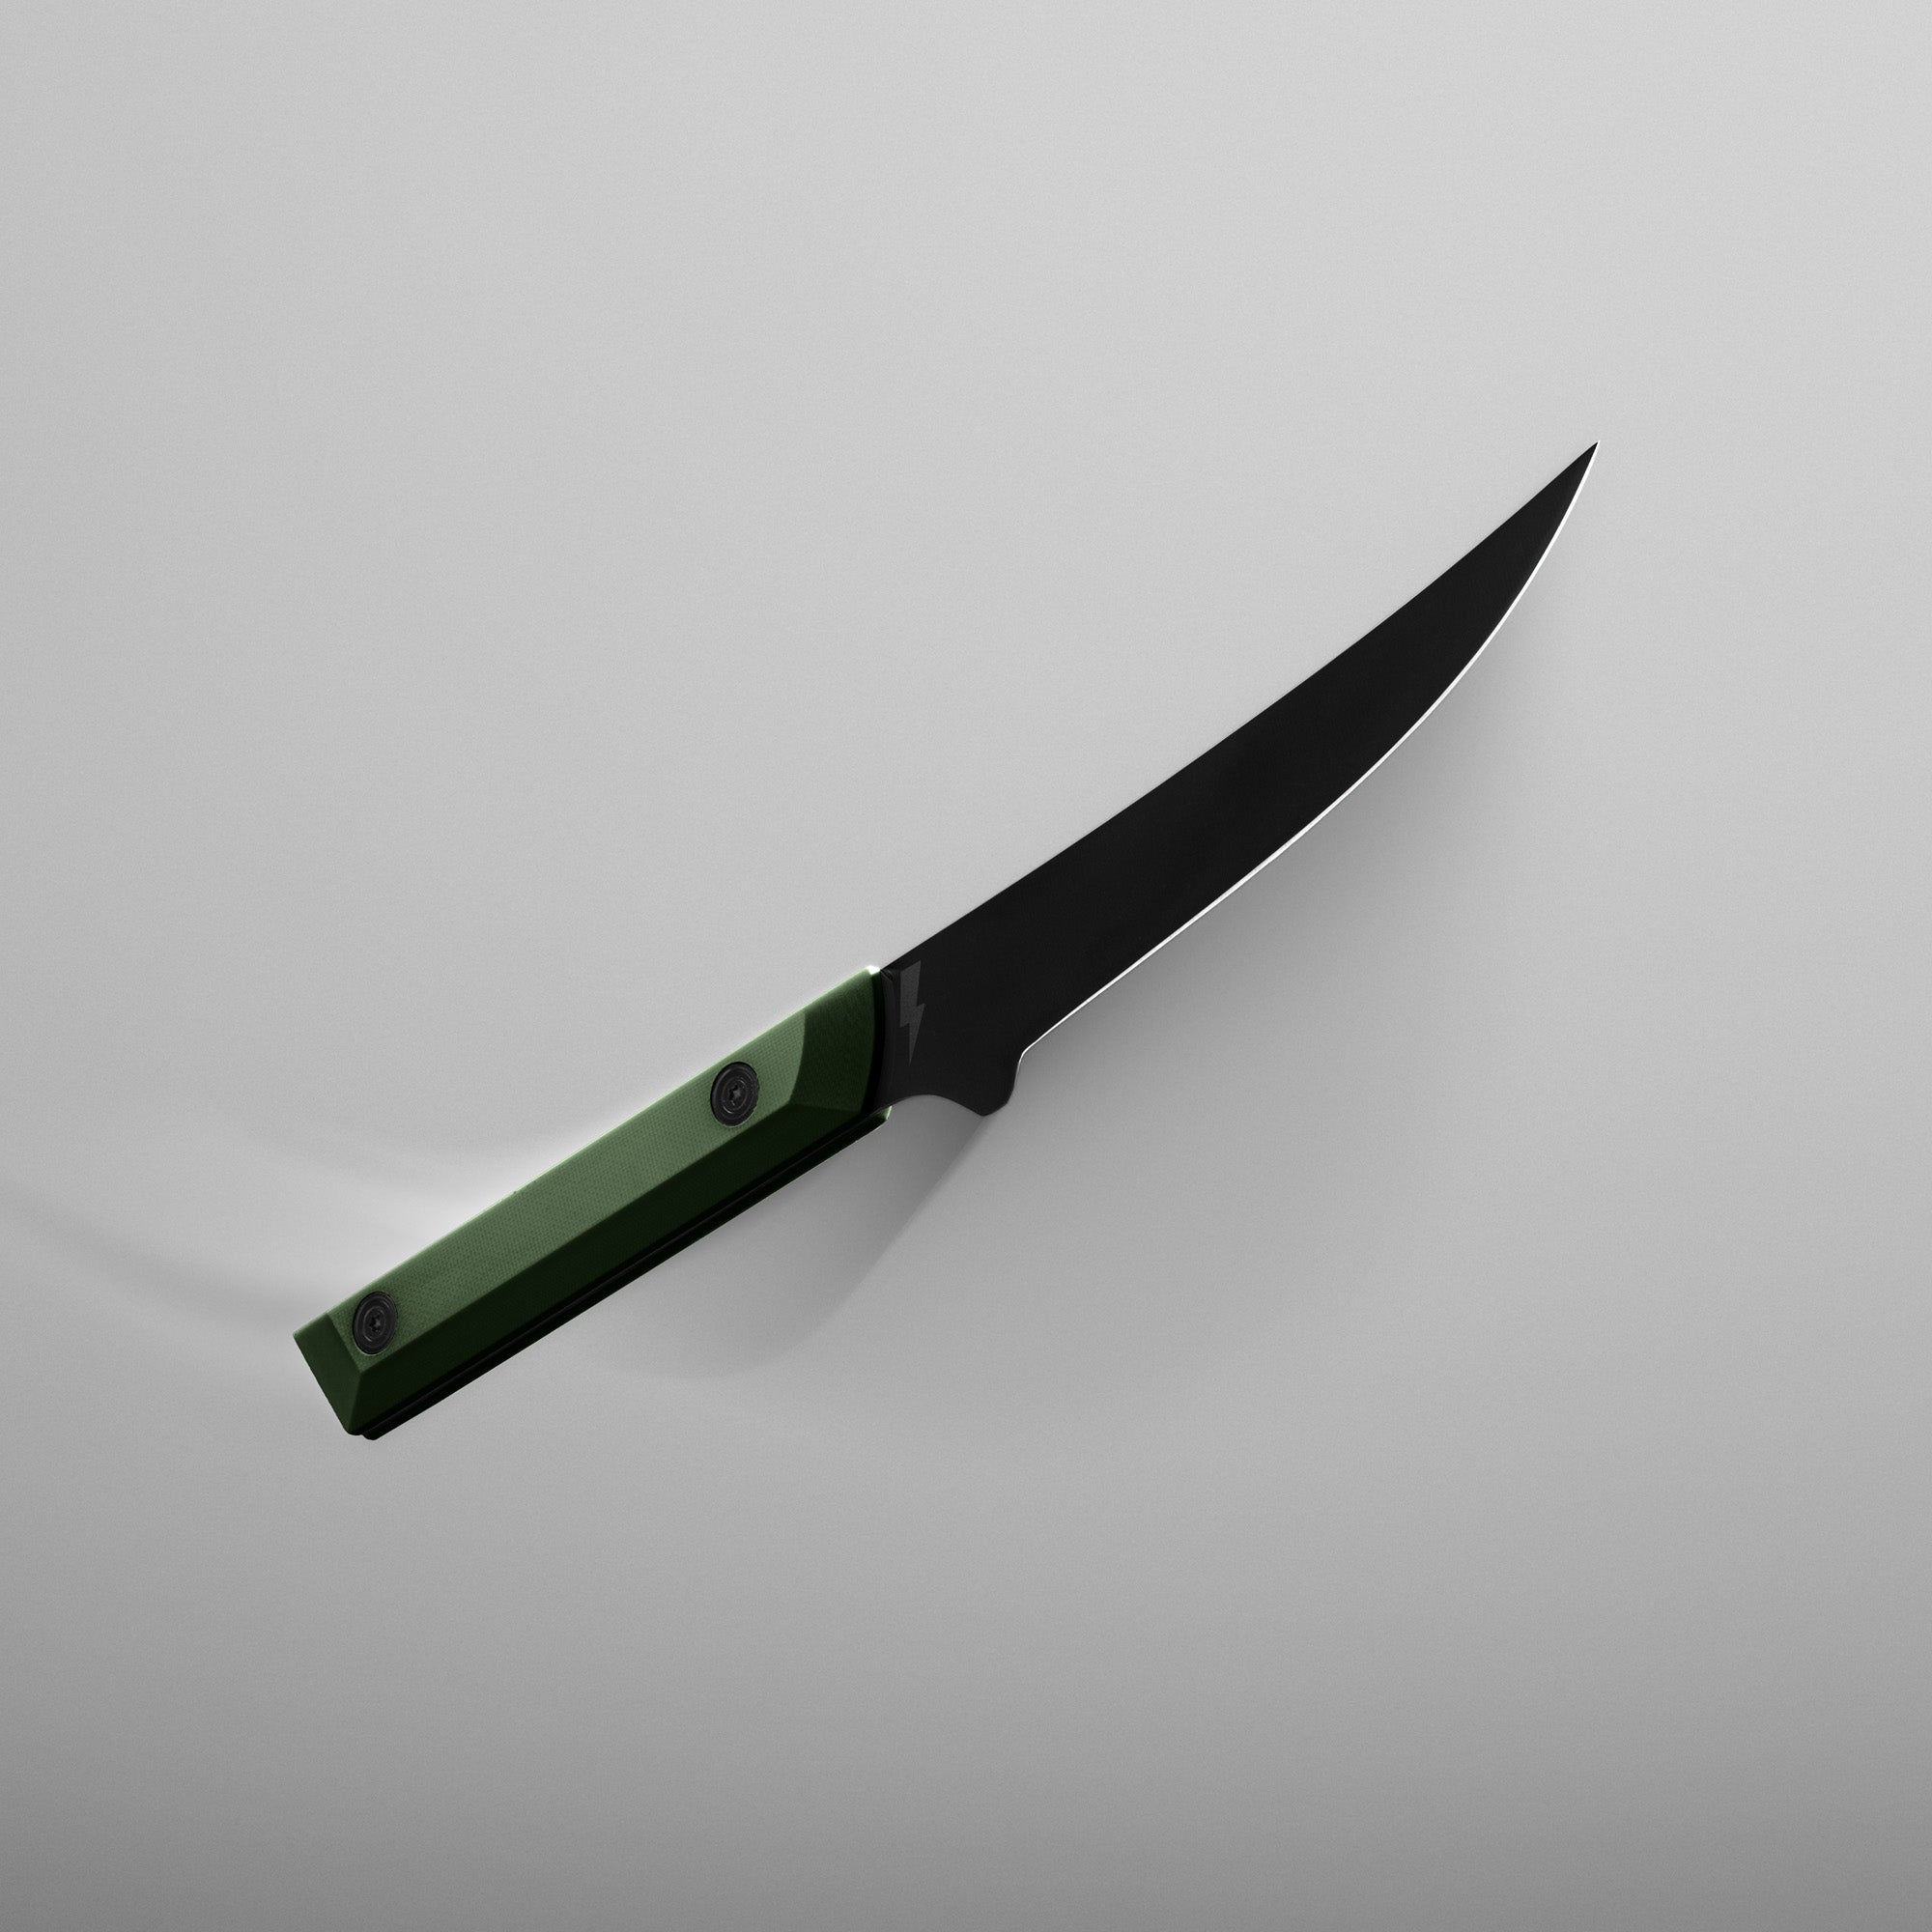
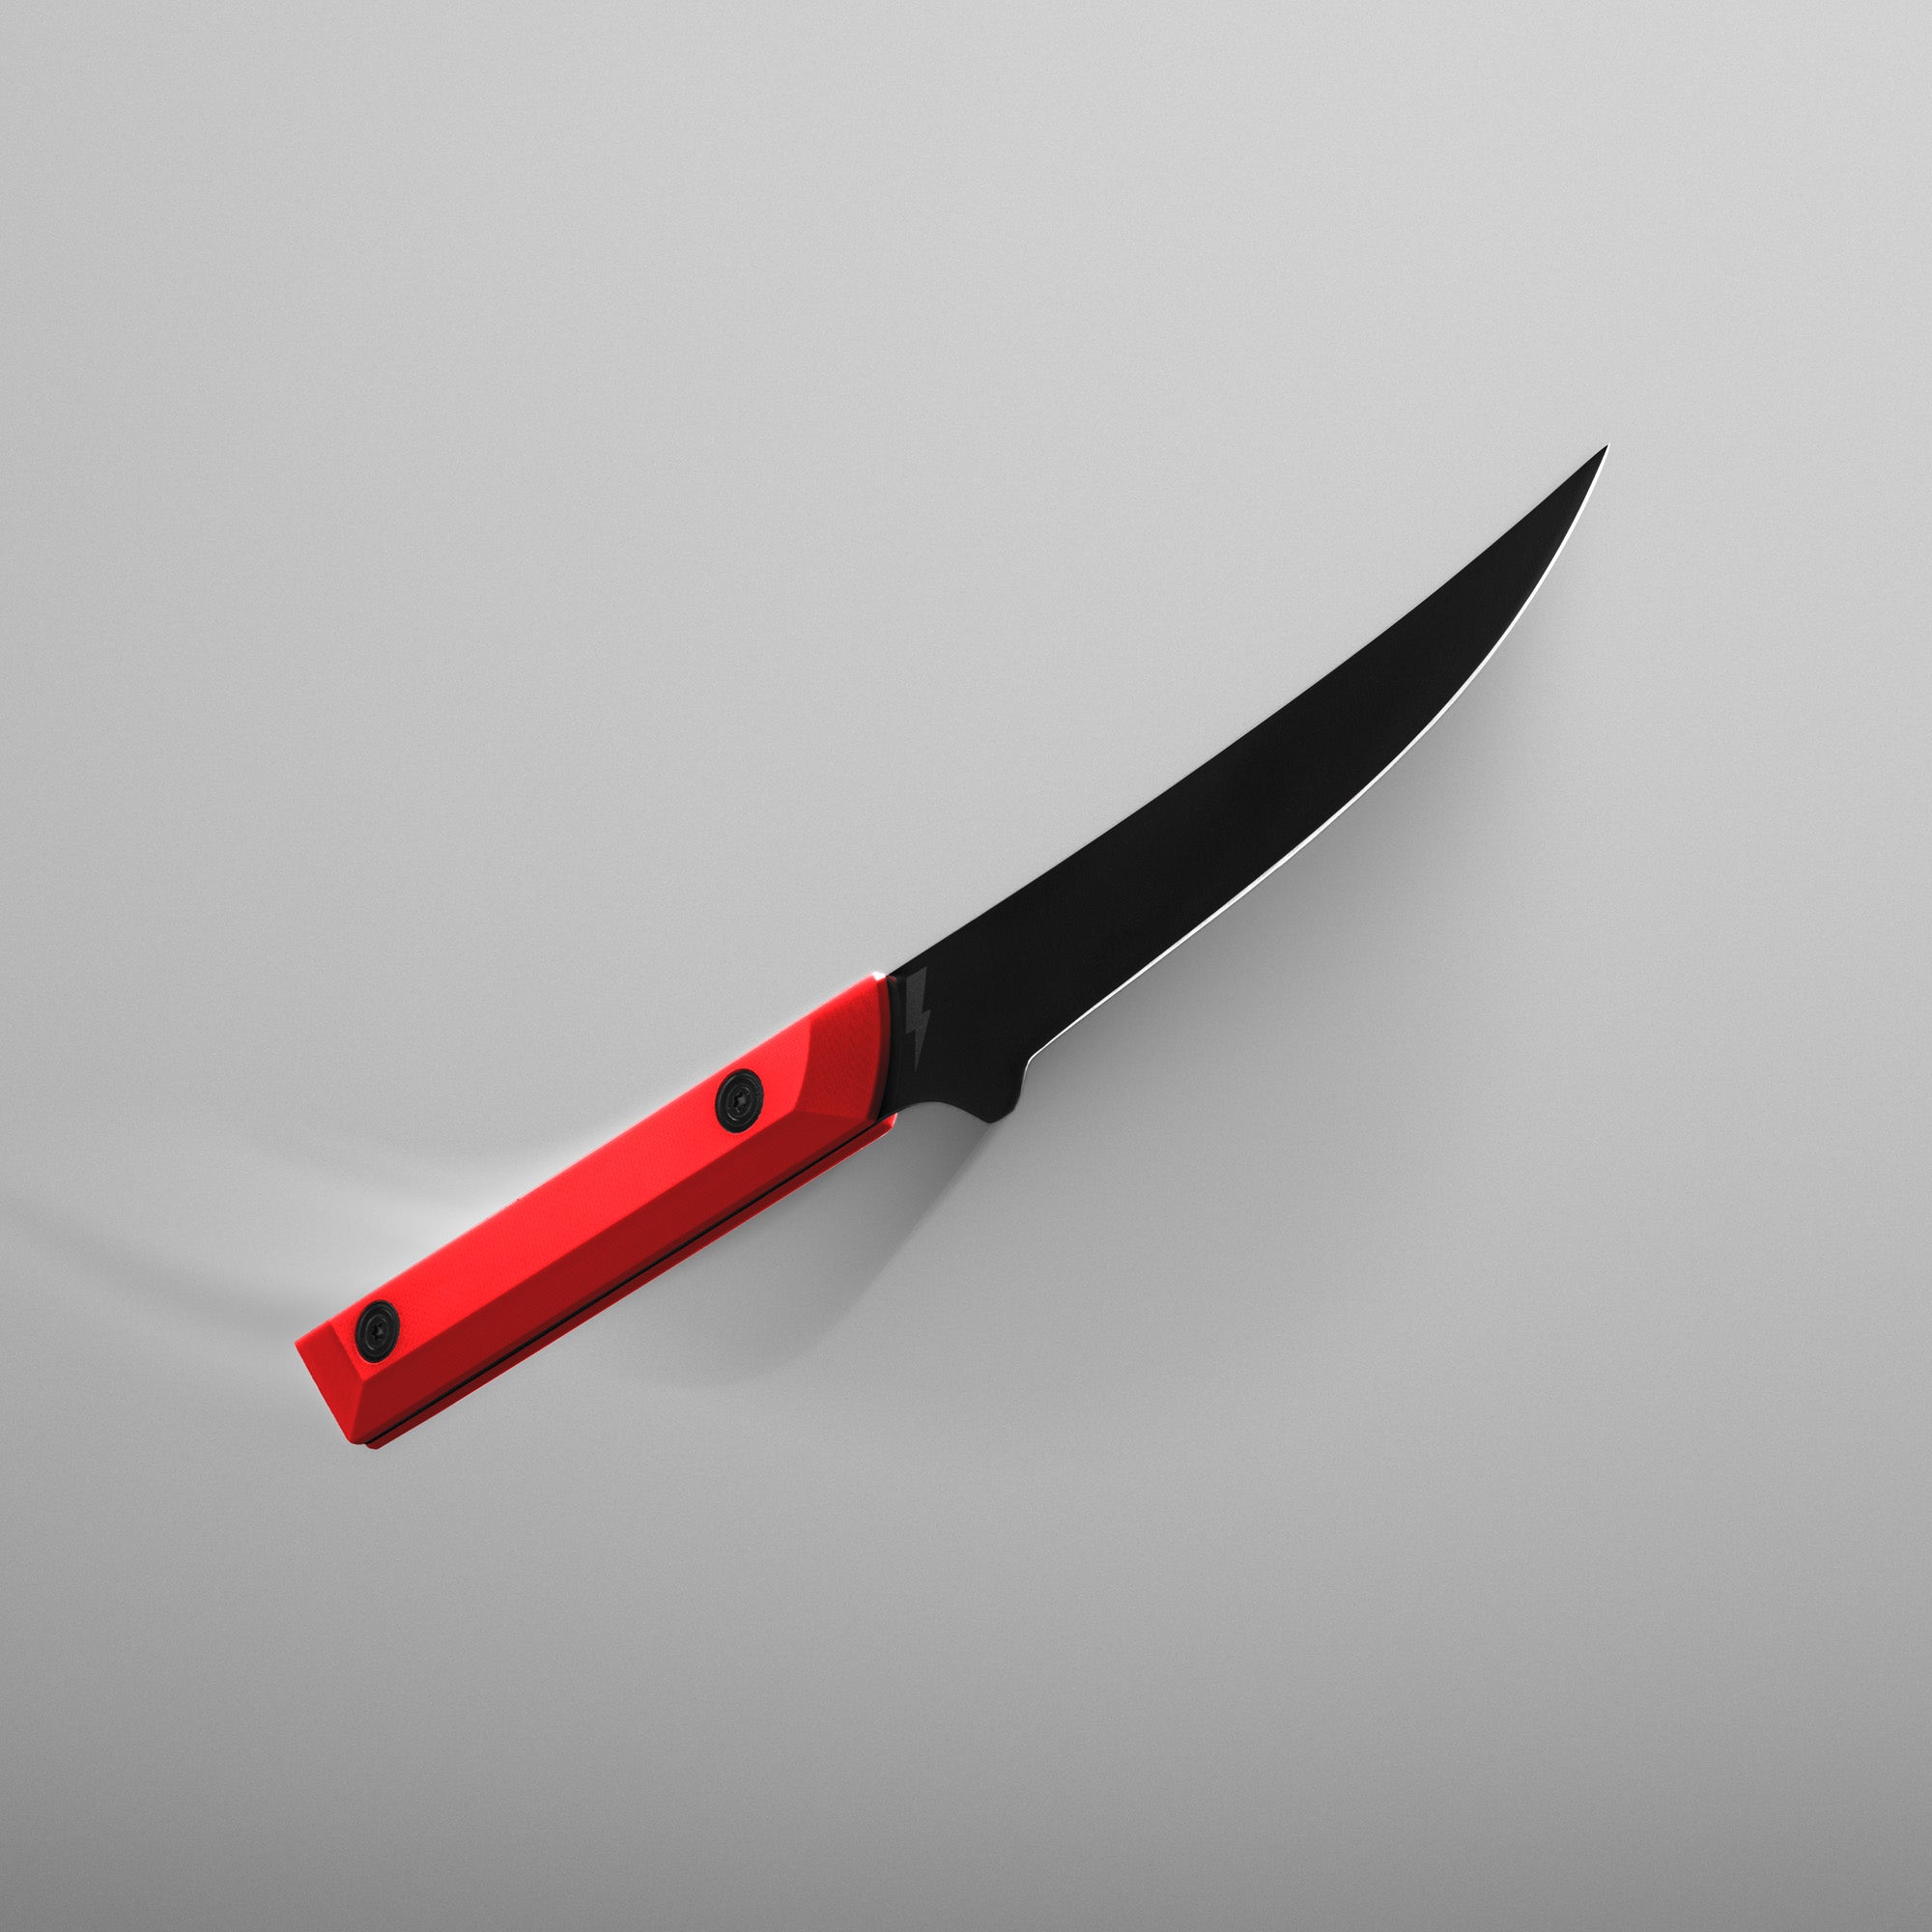
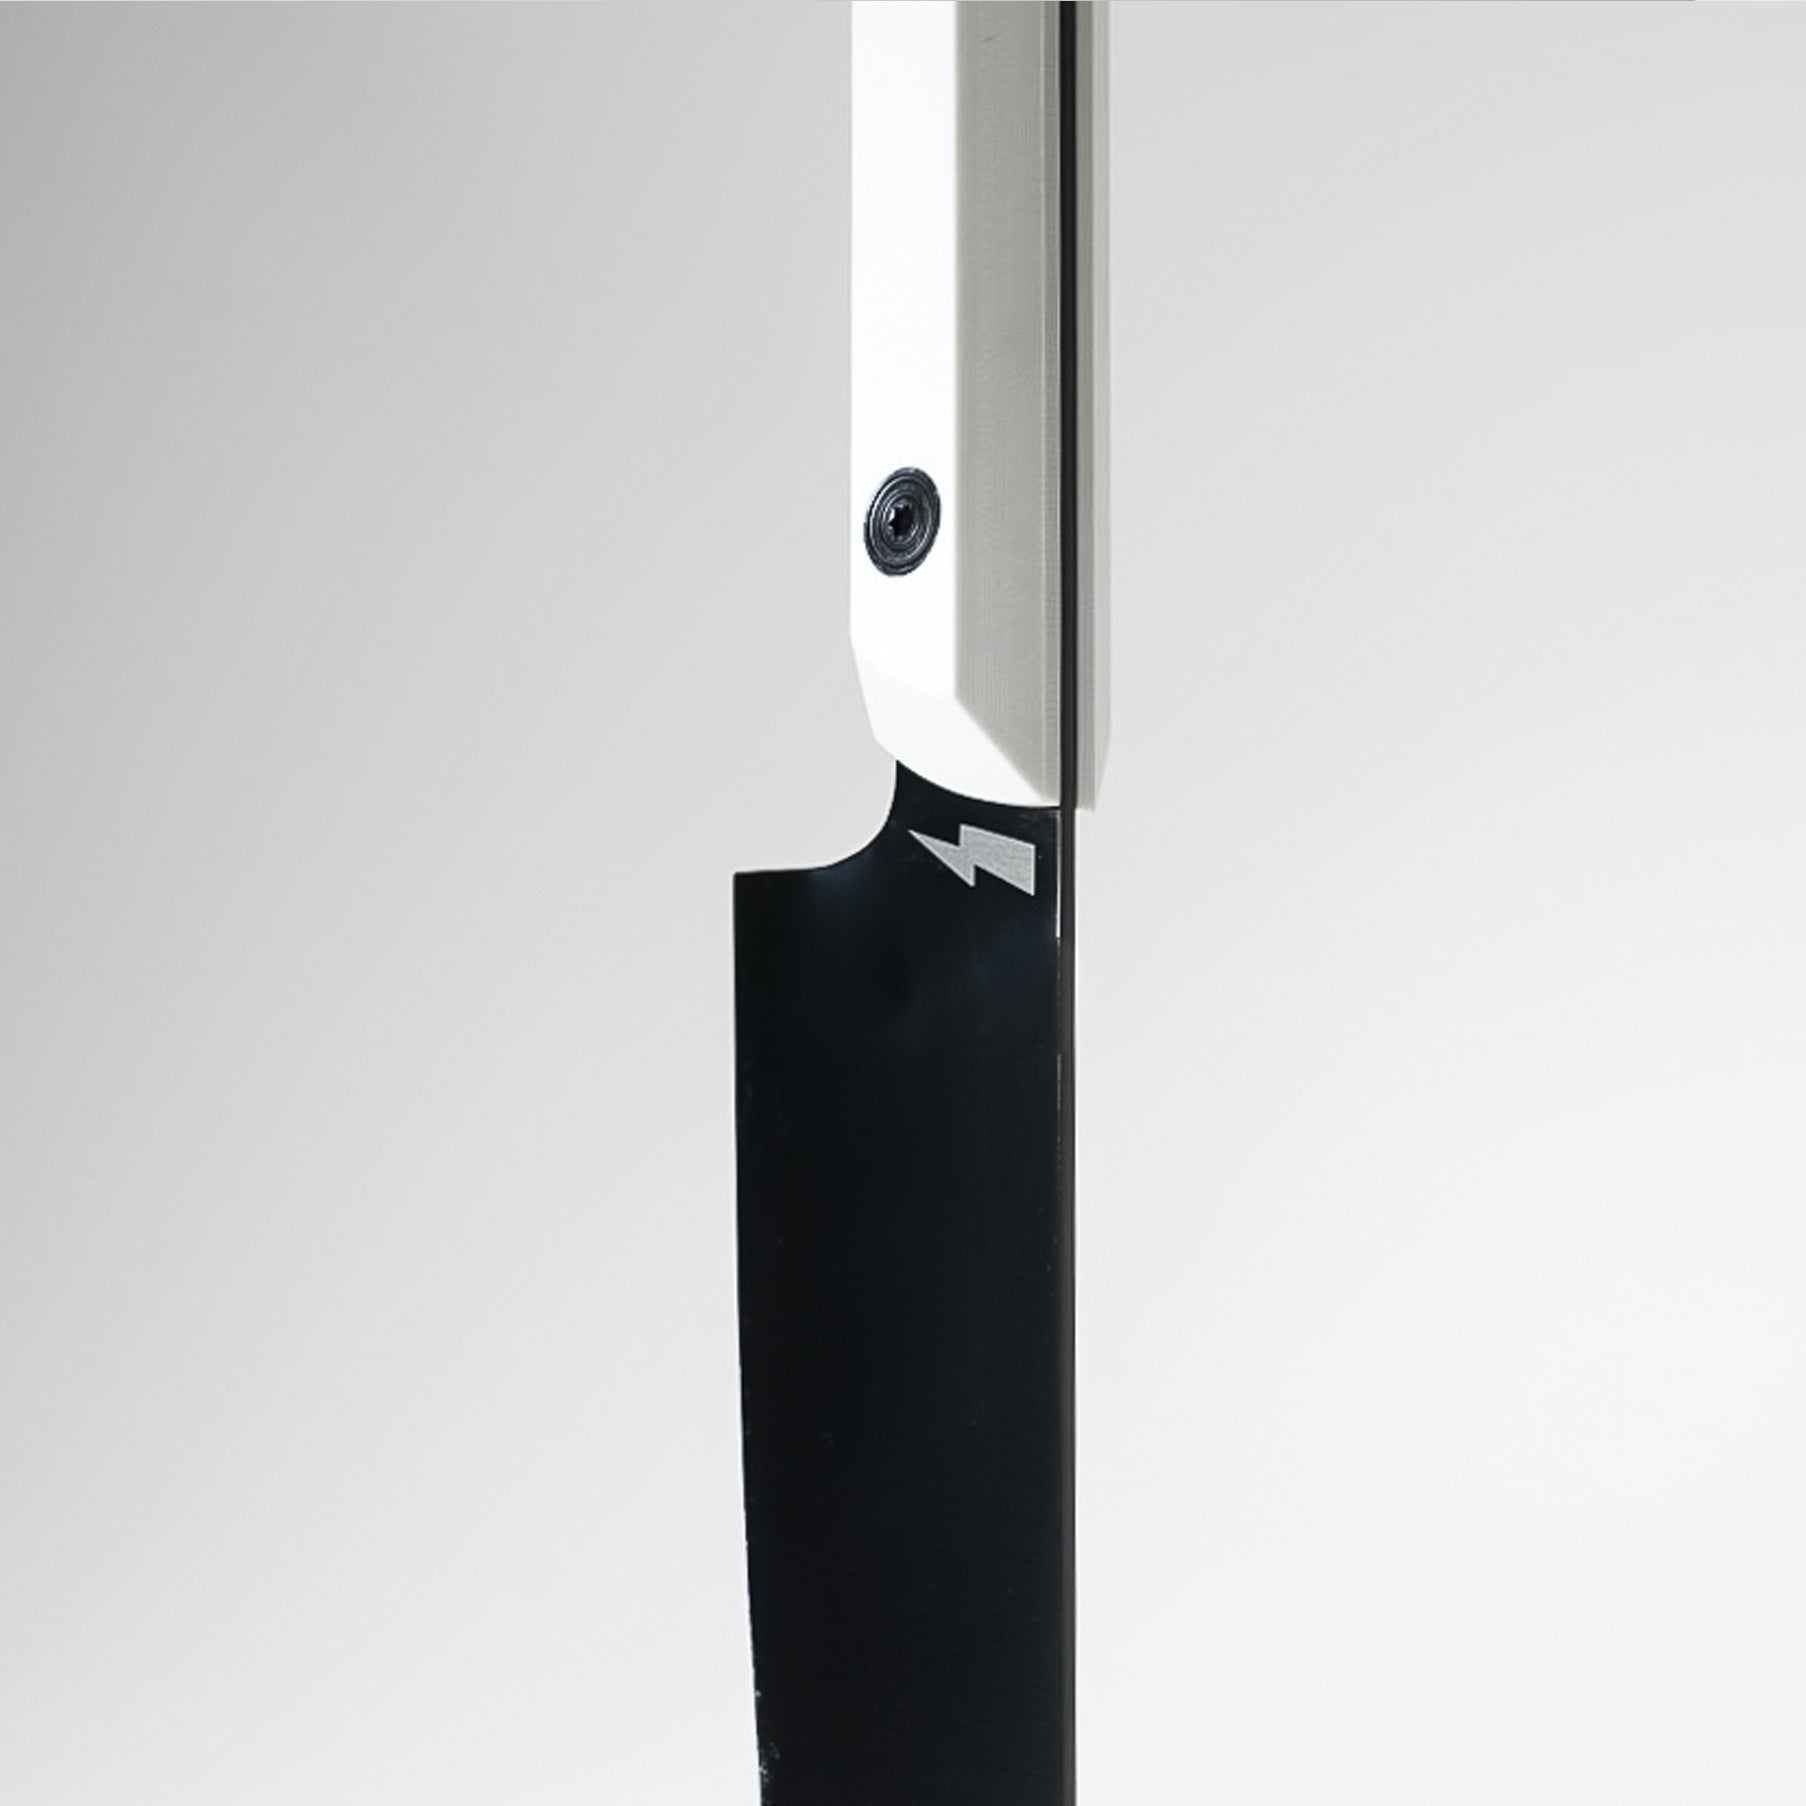
Comfort you can Customize
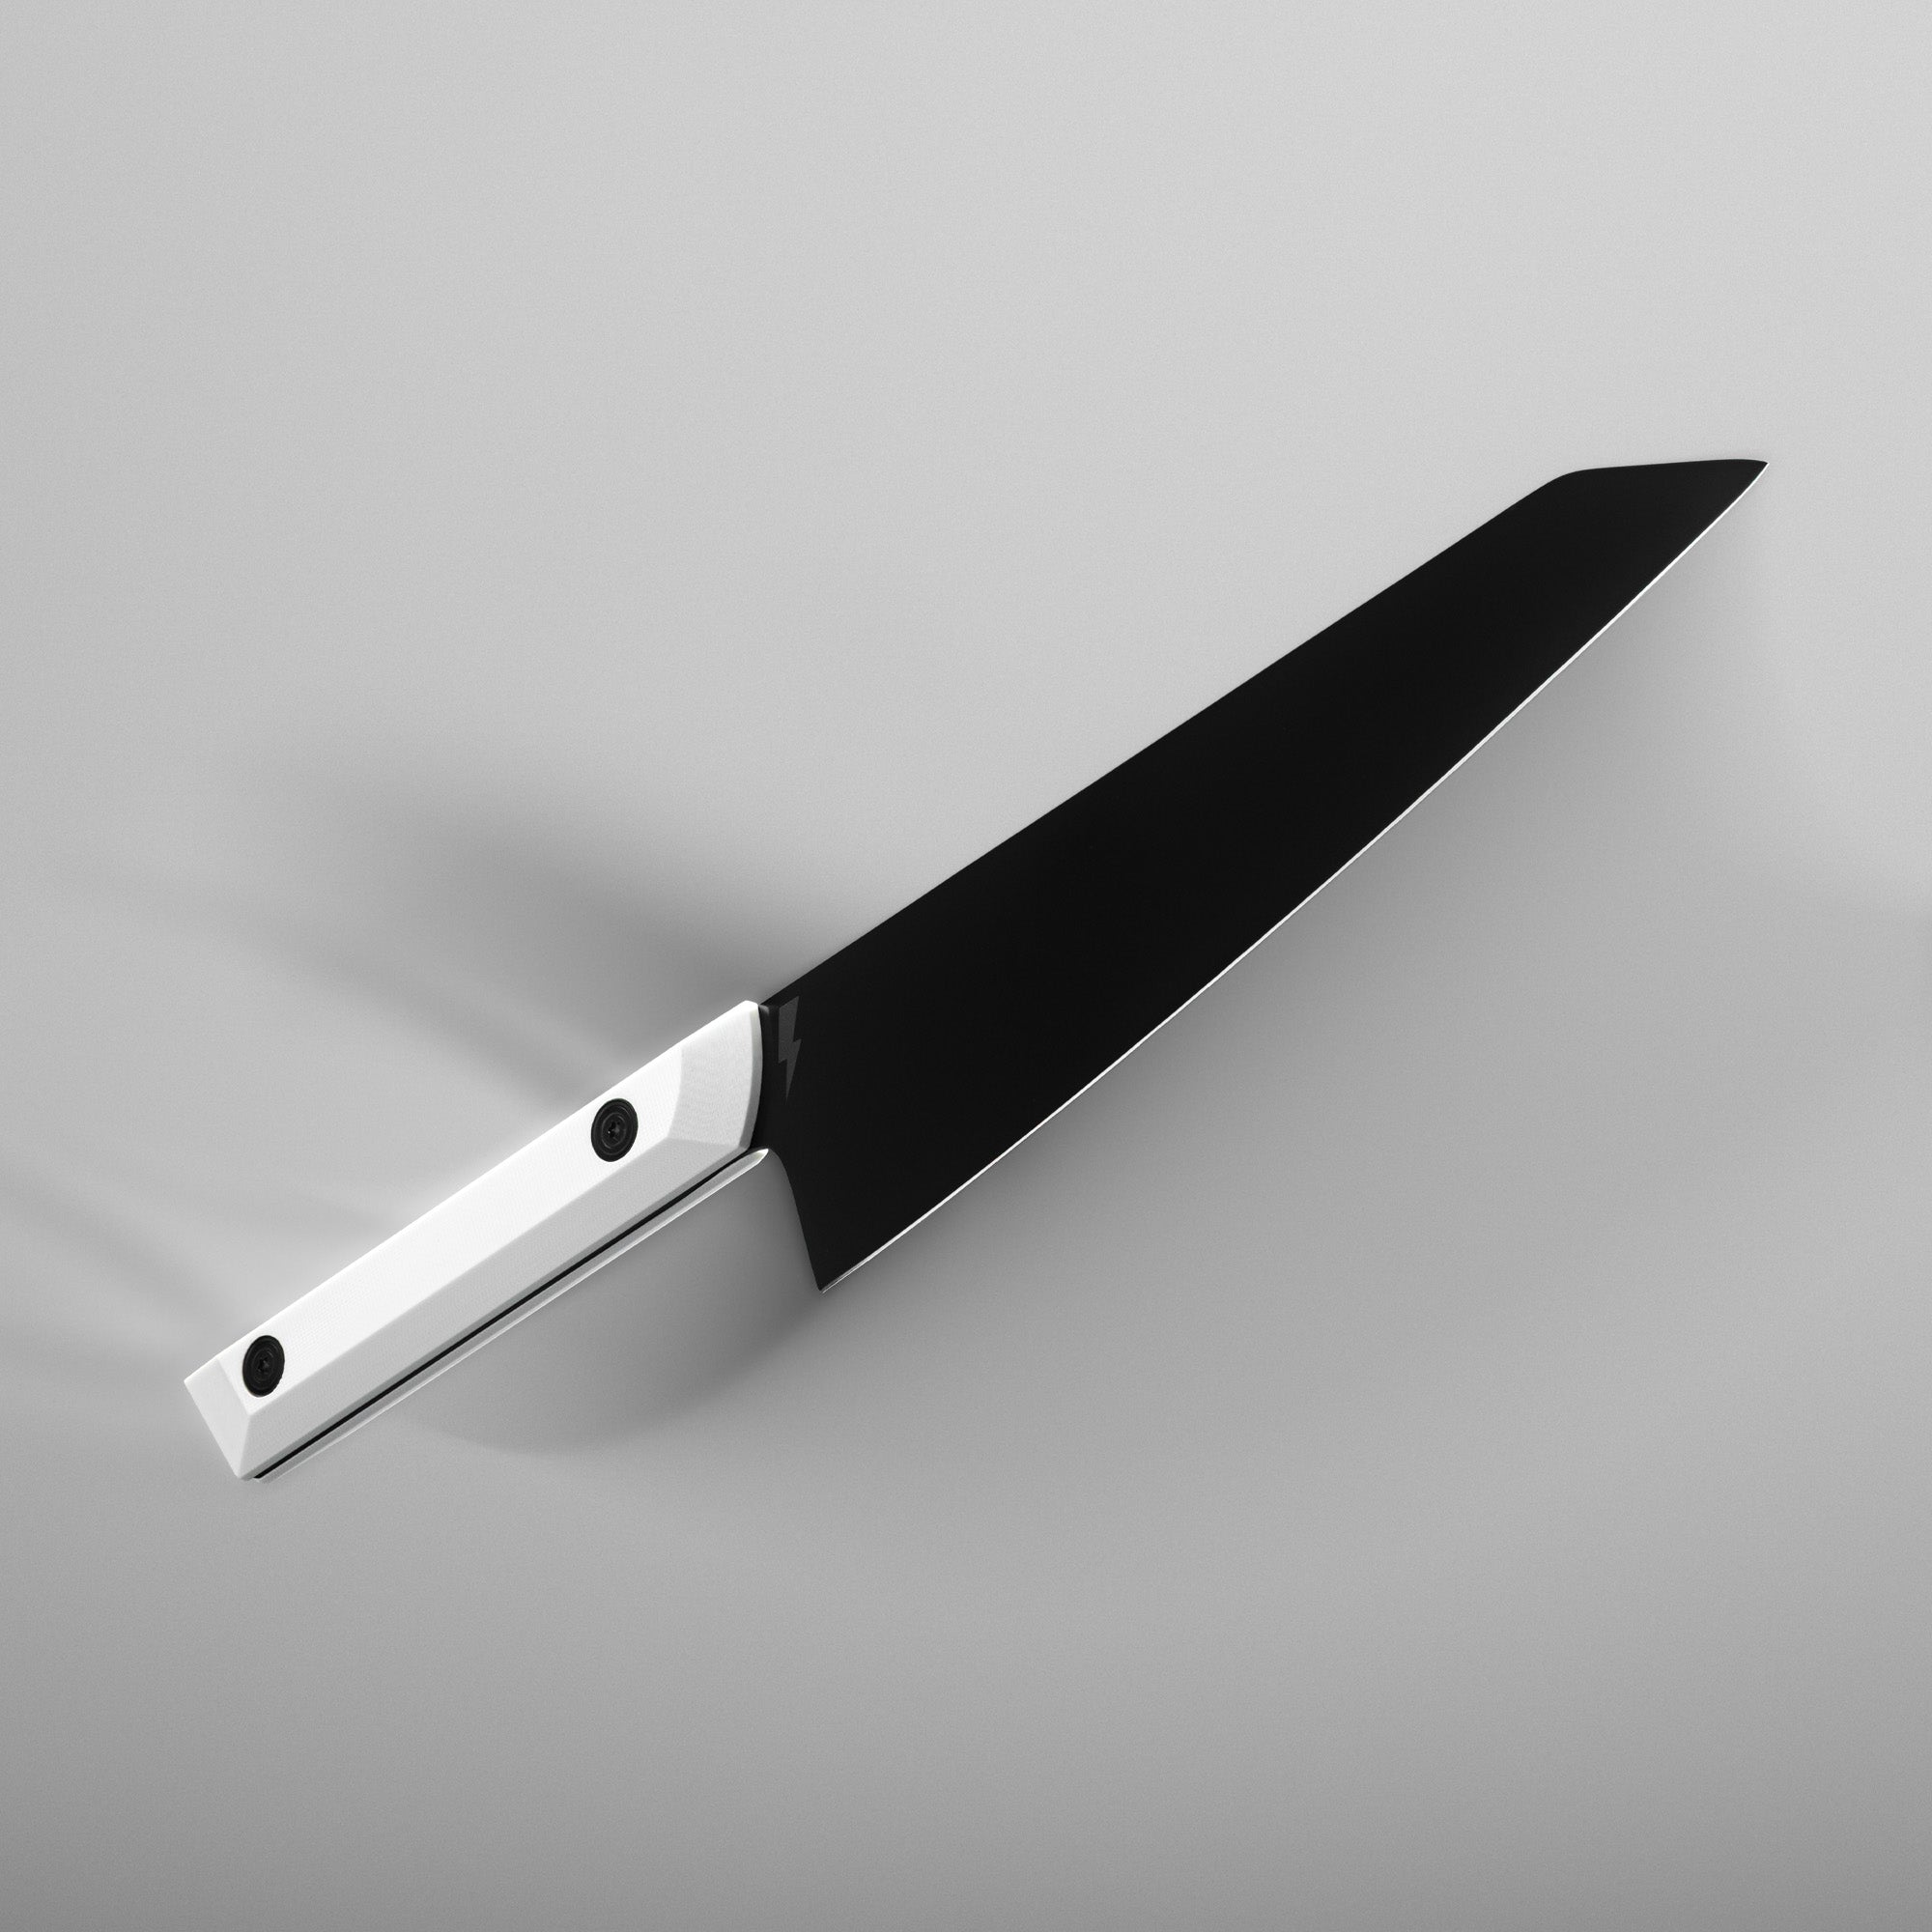
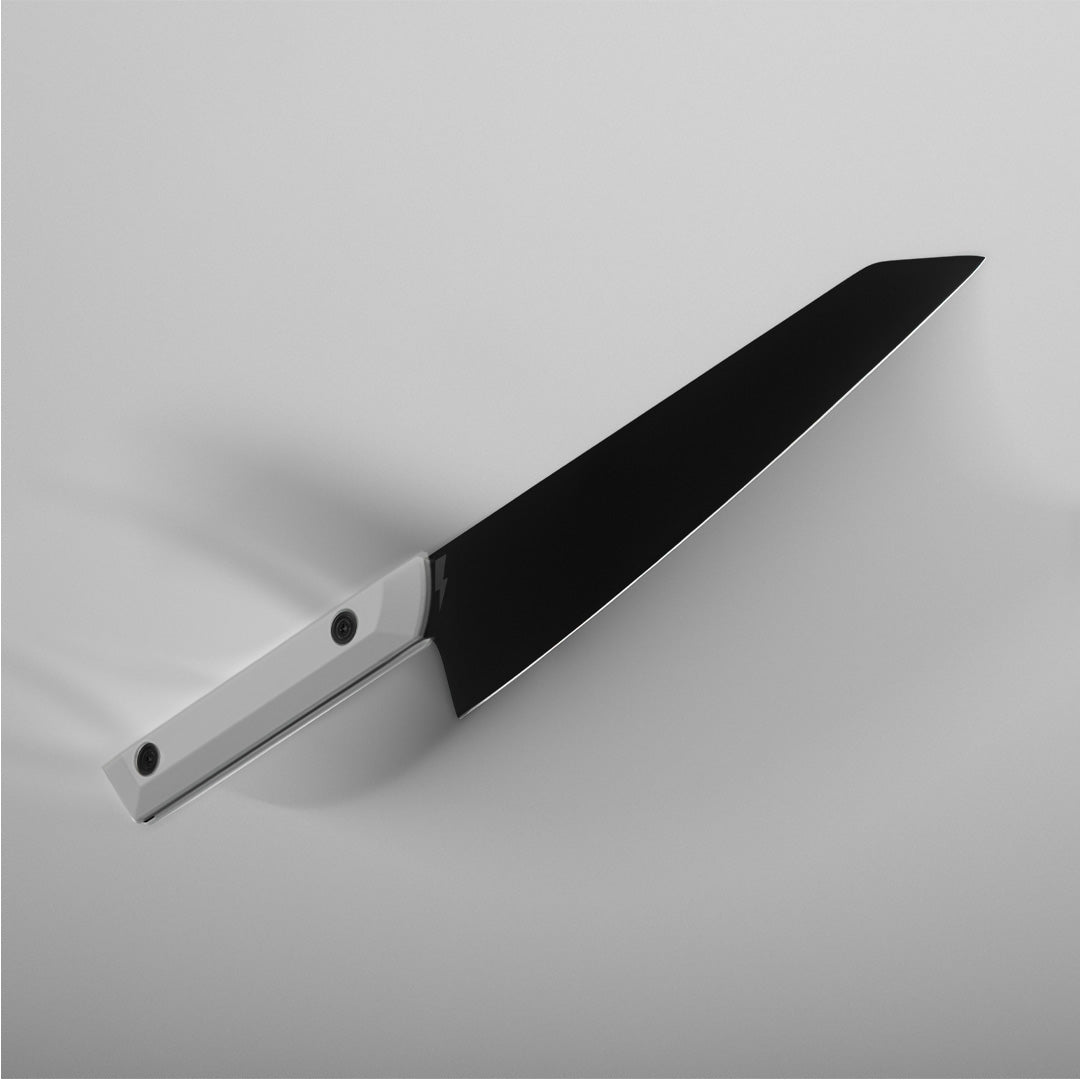
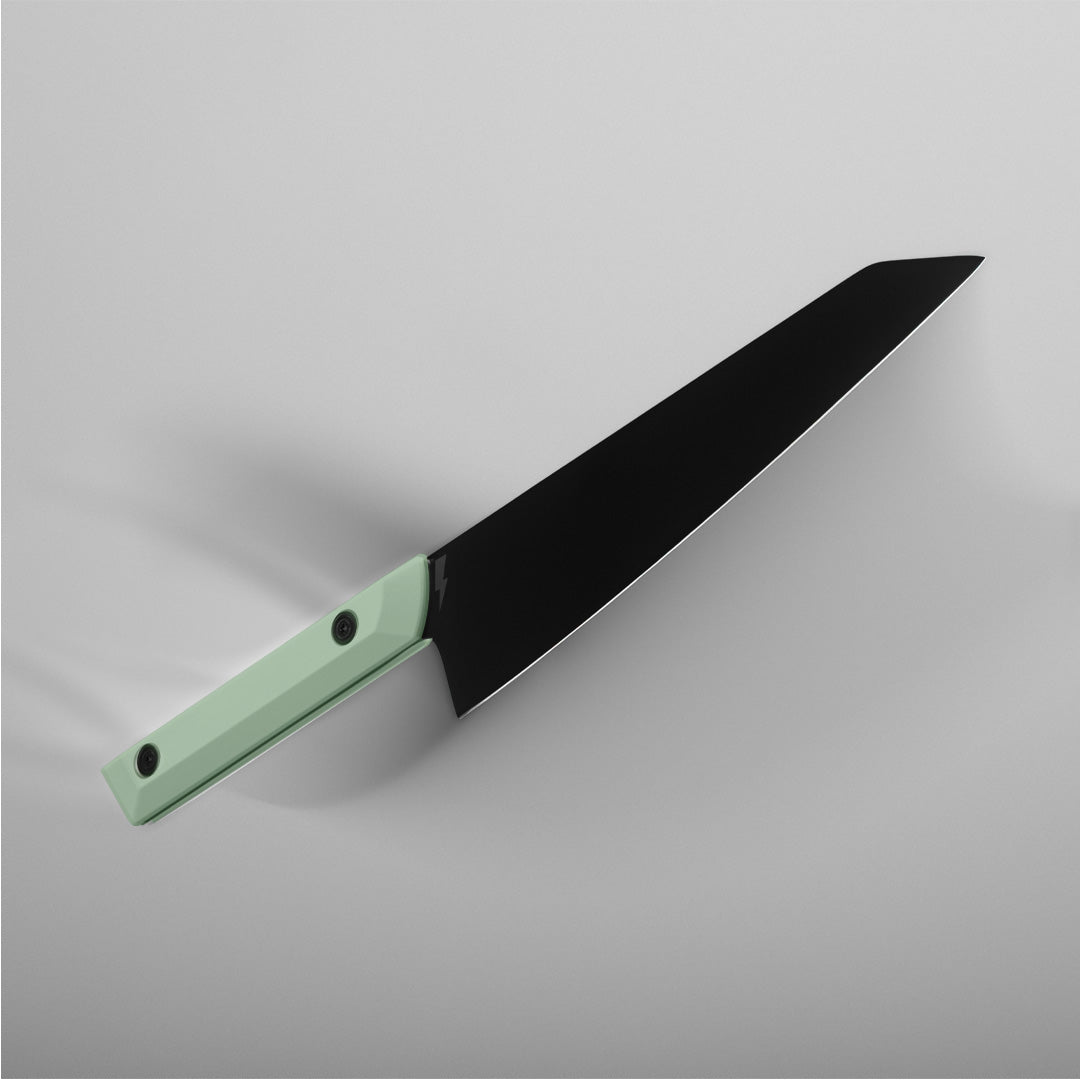
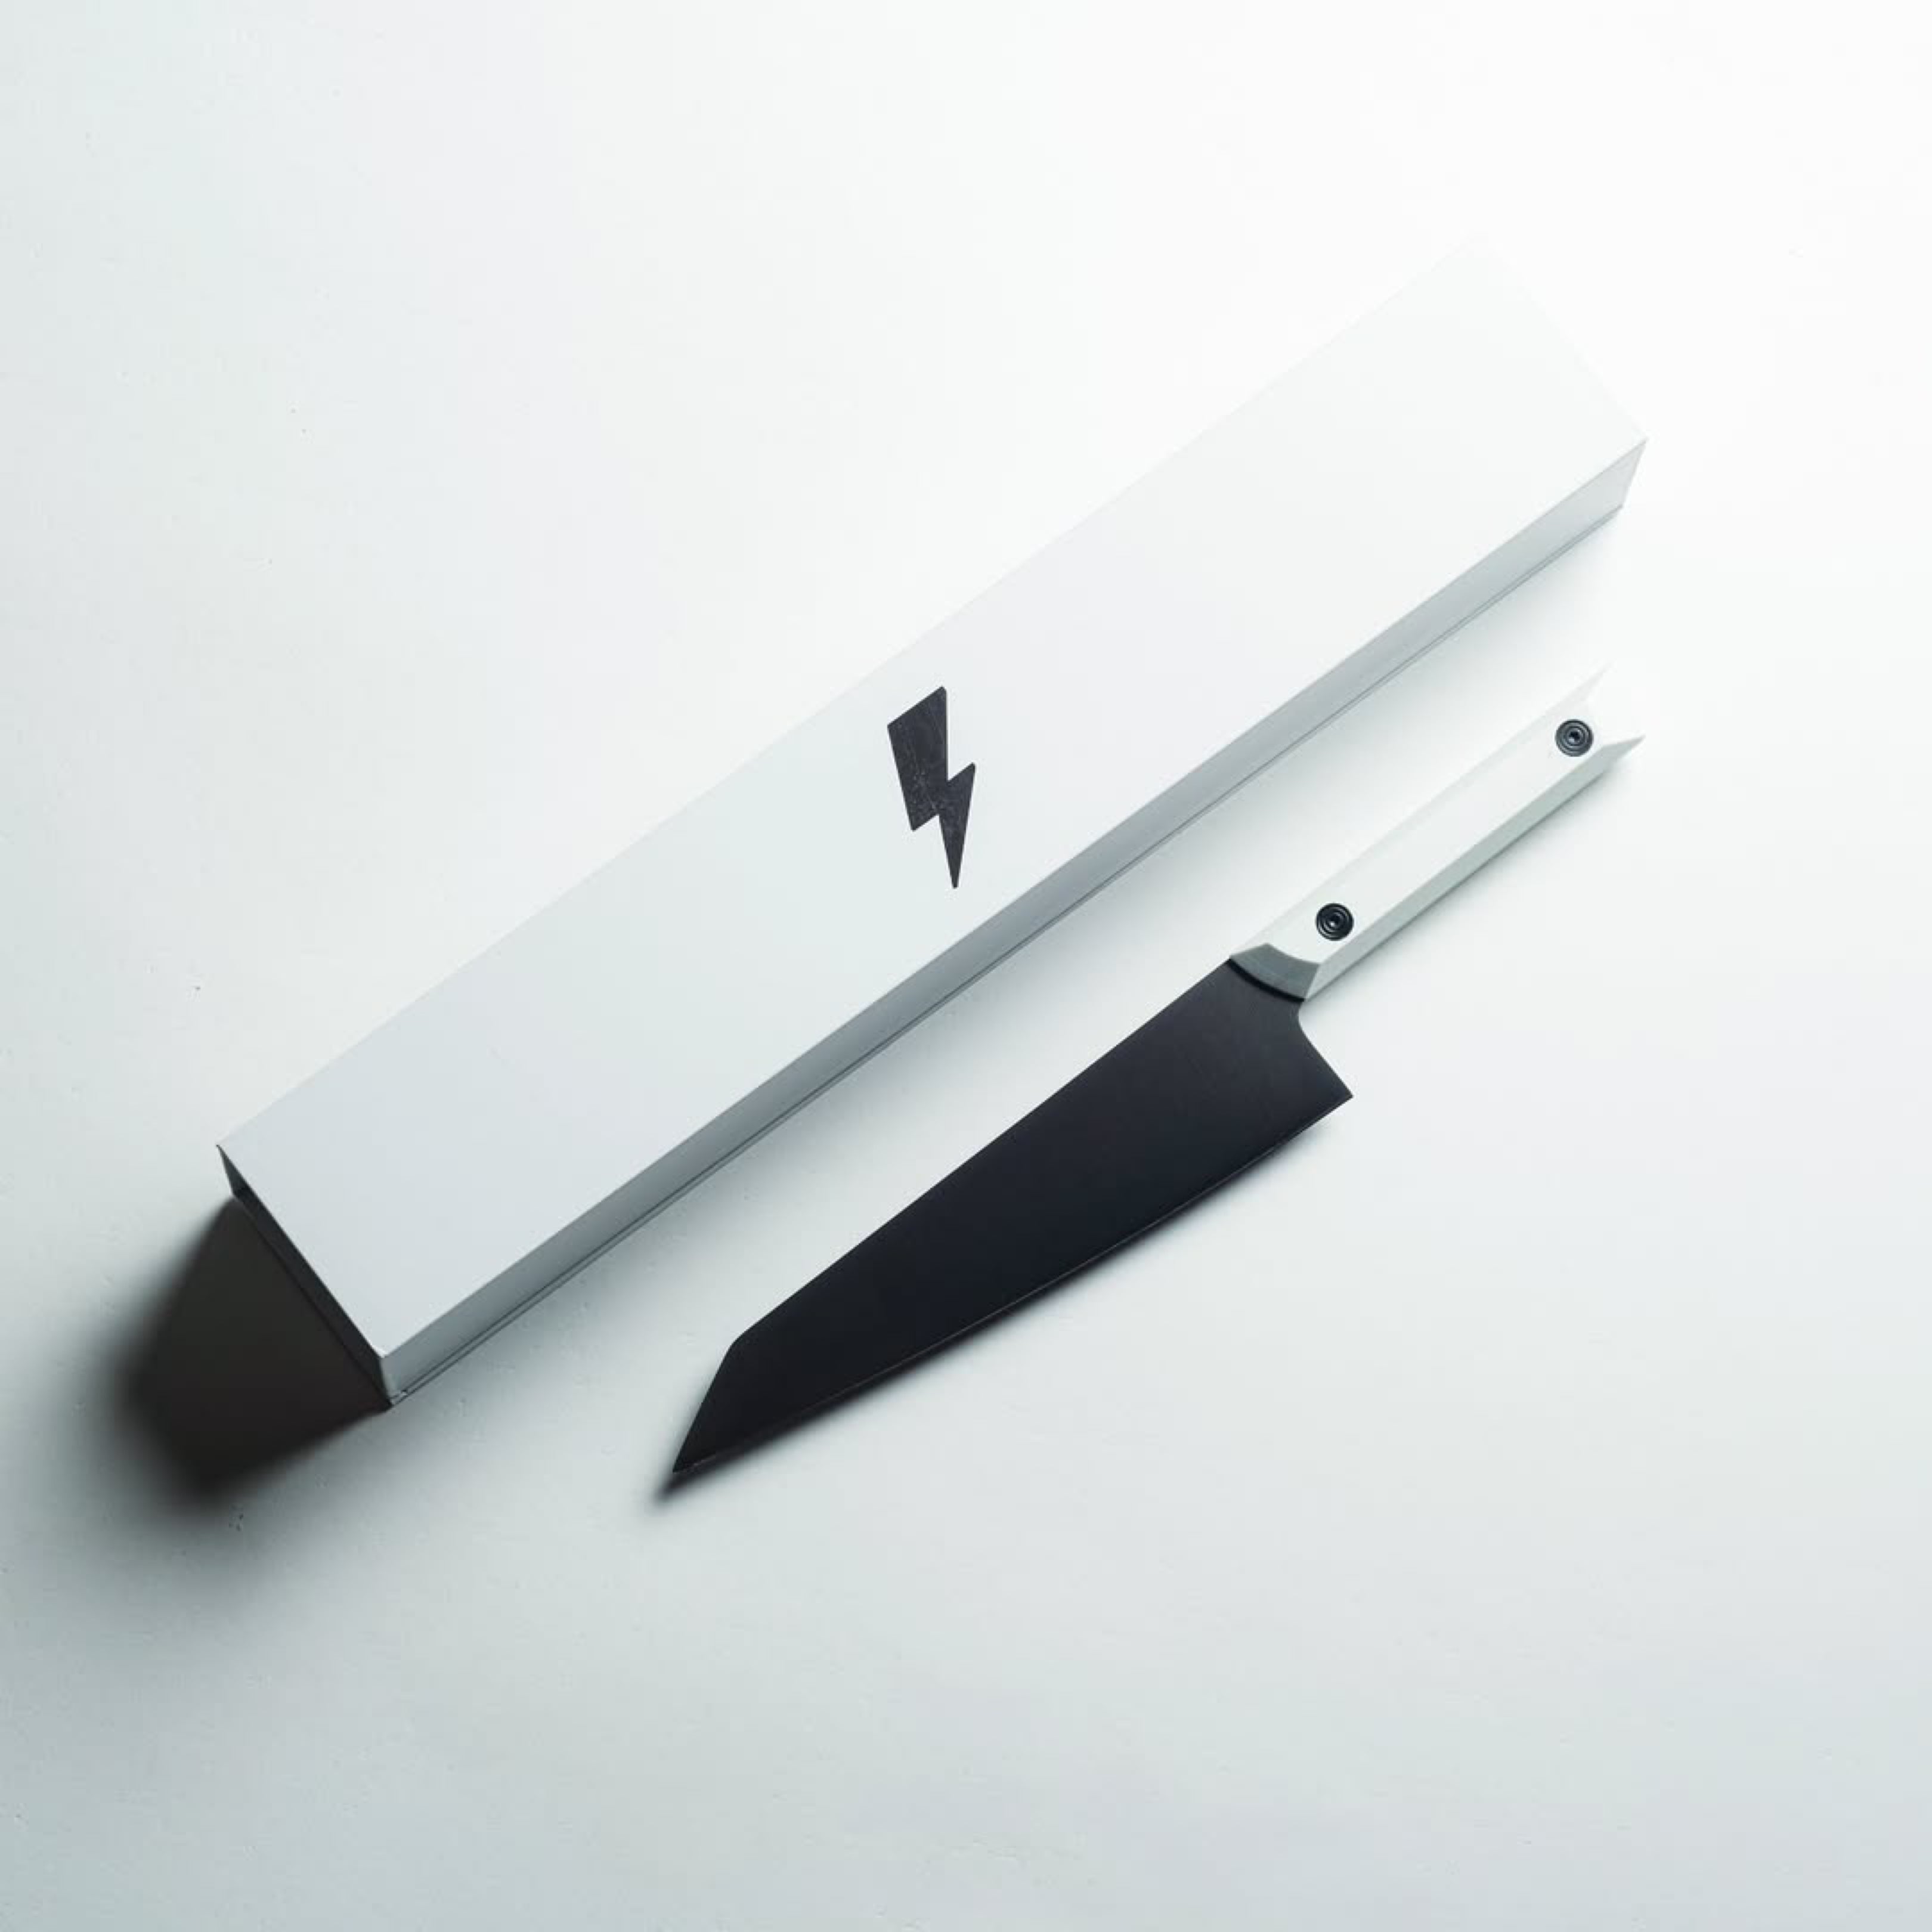
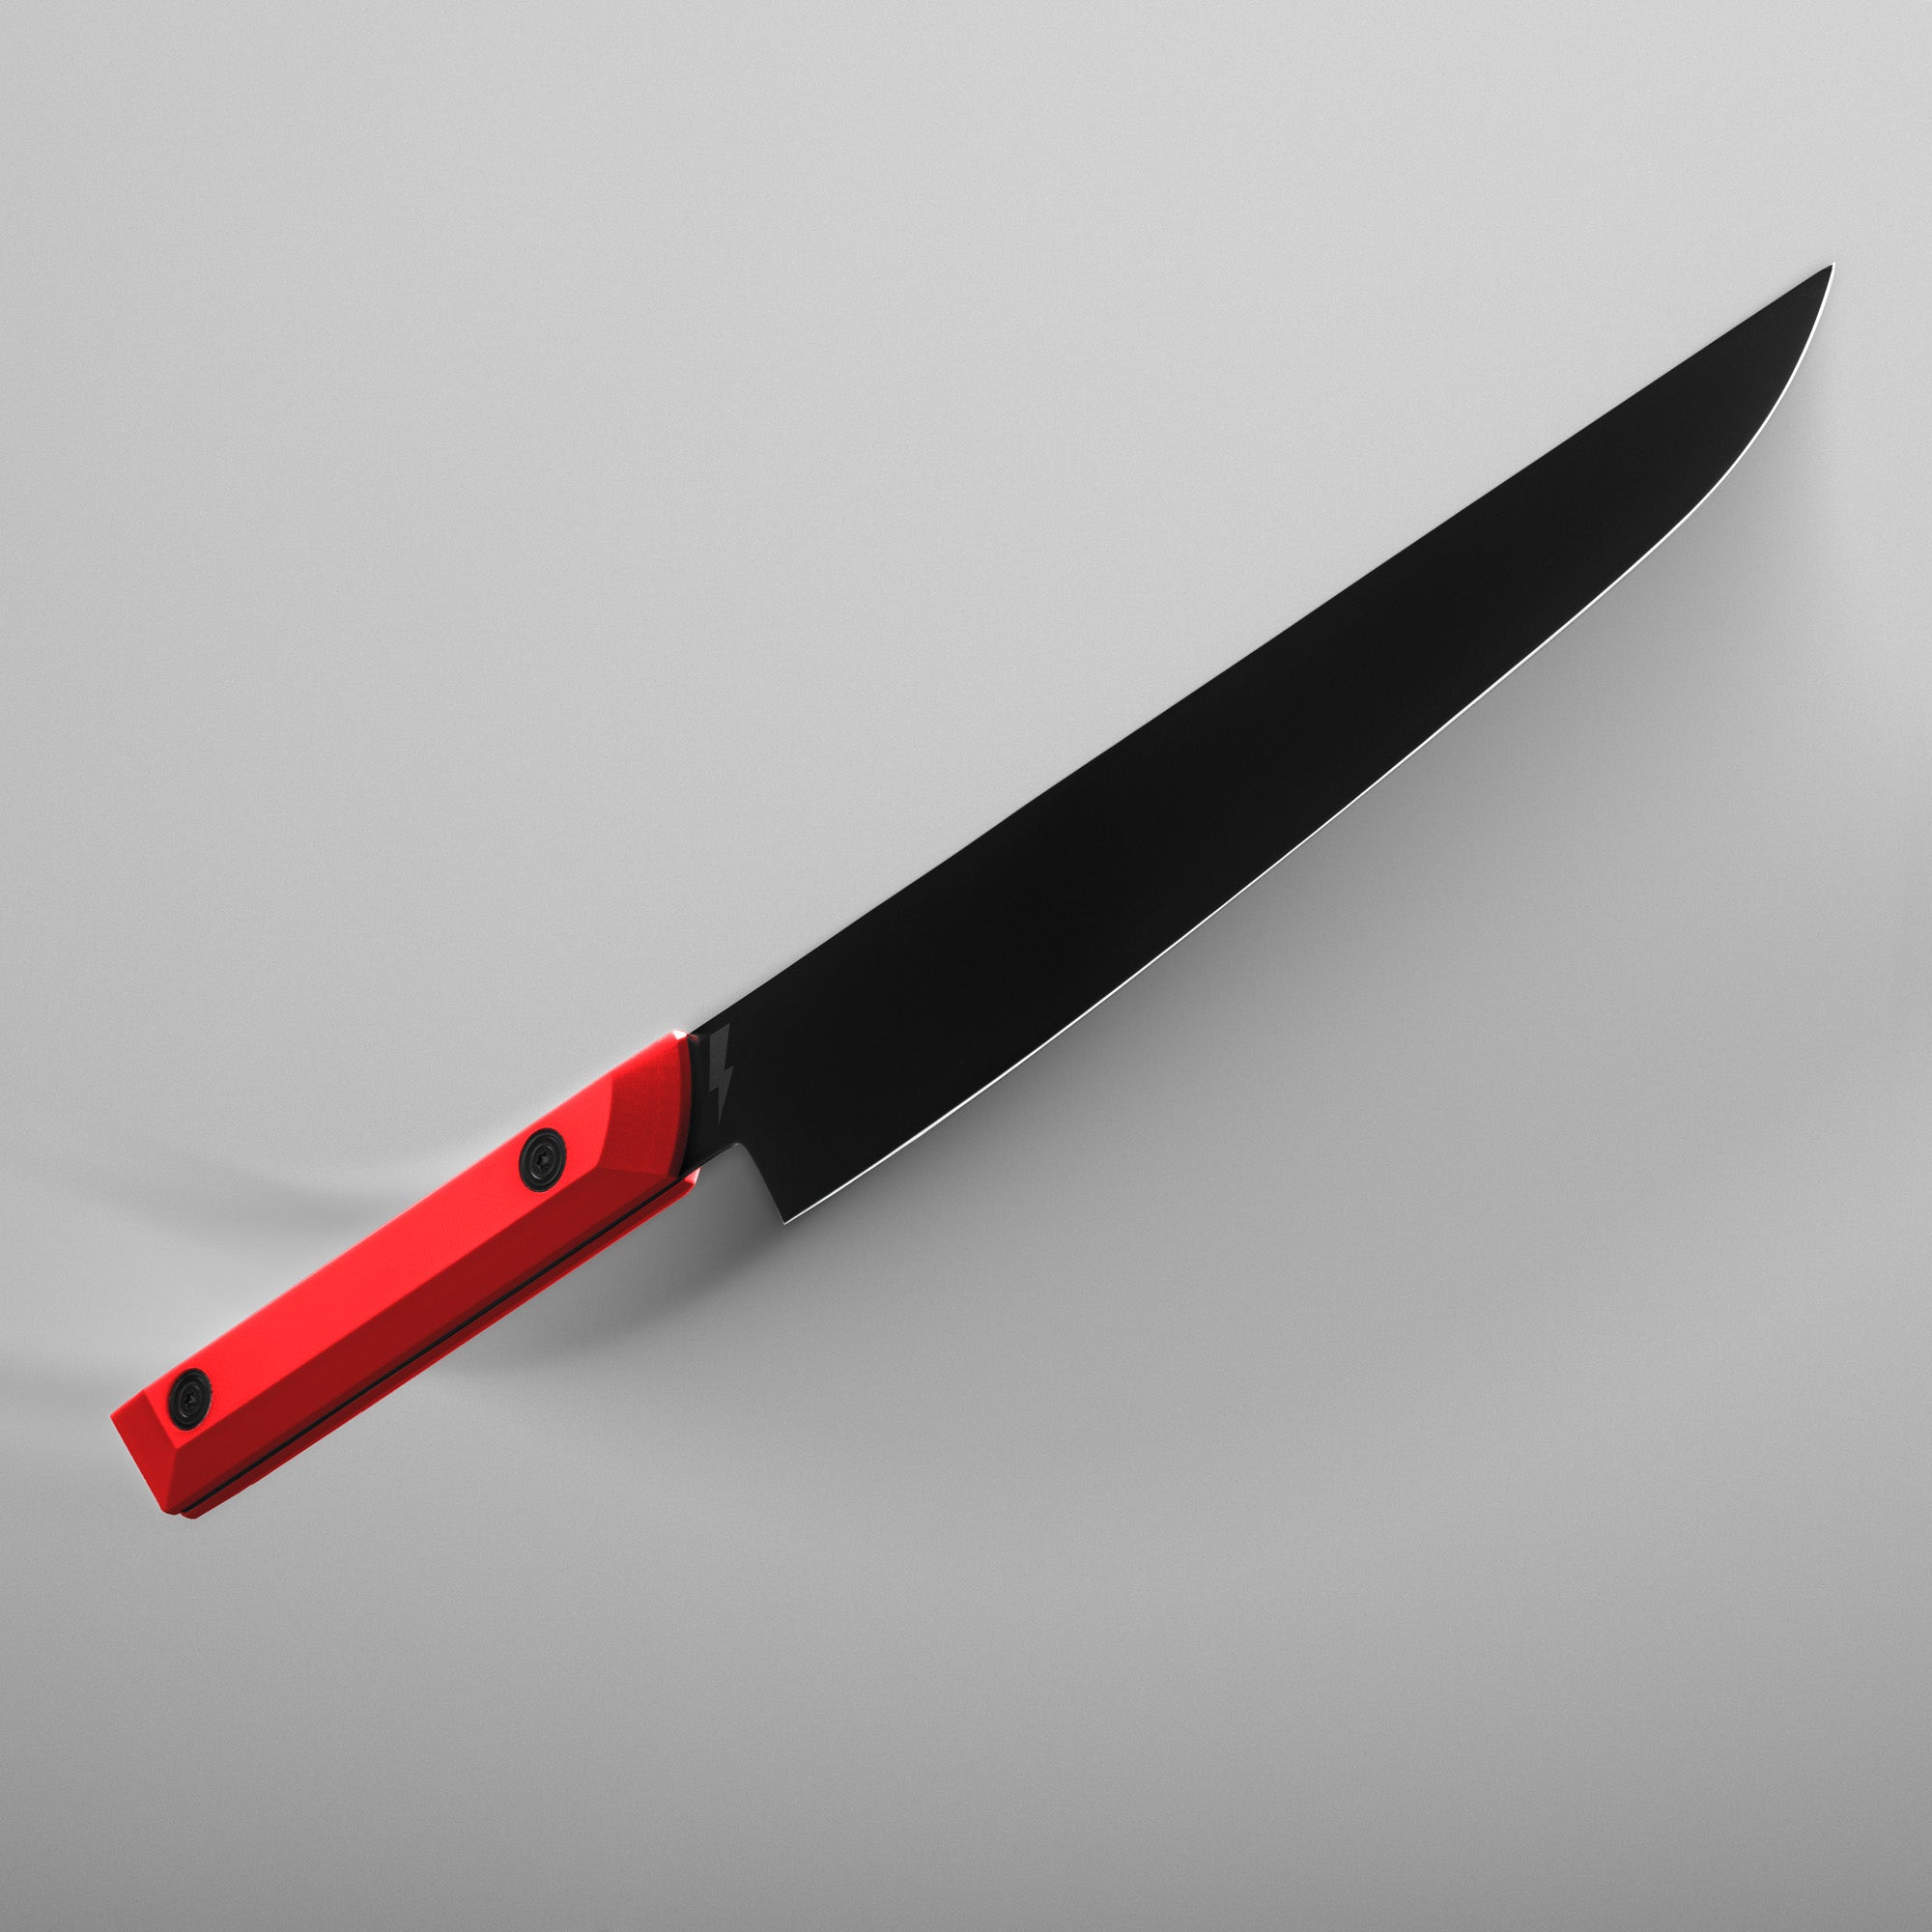
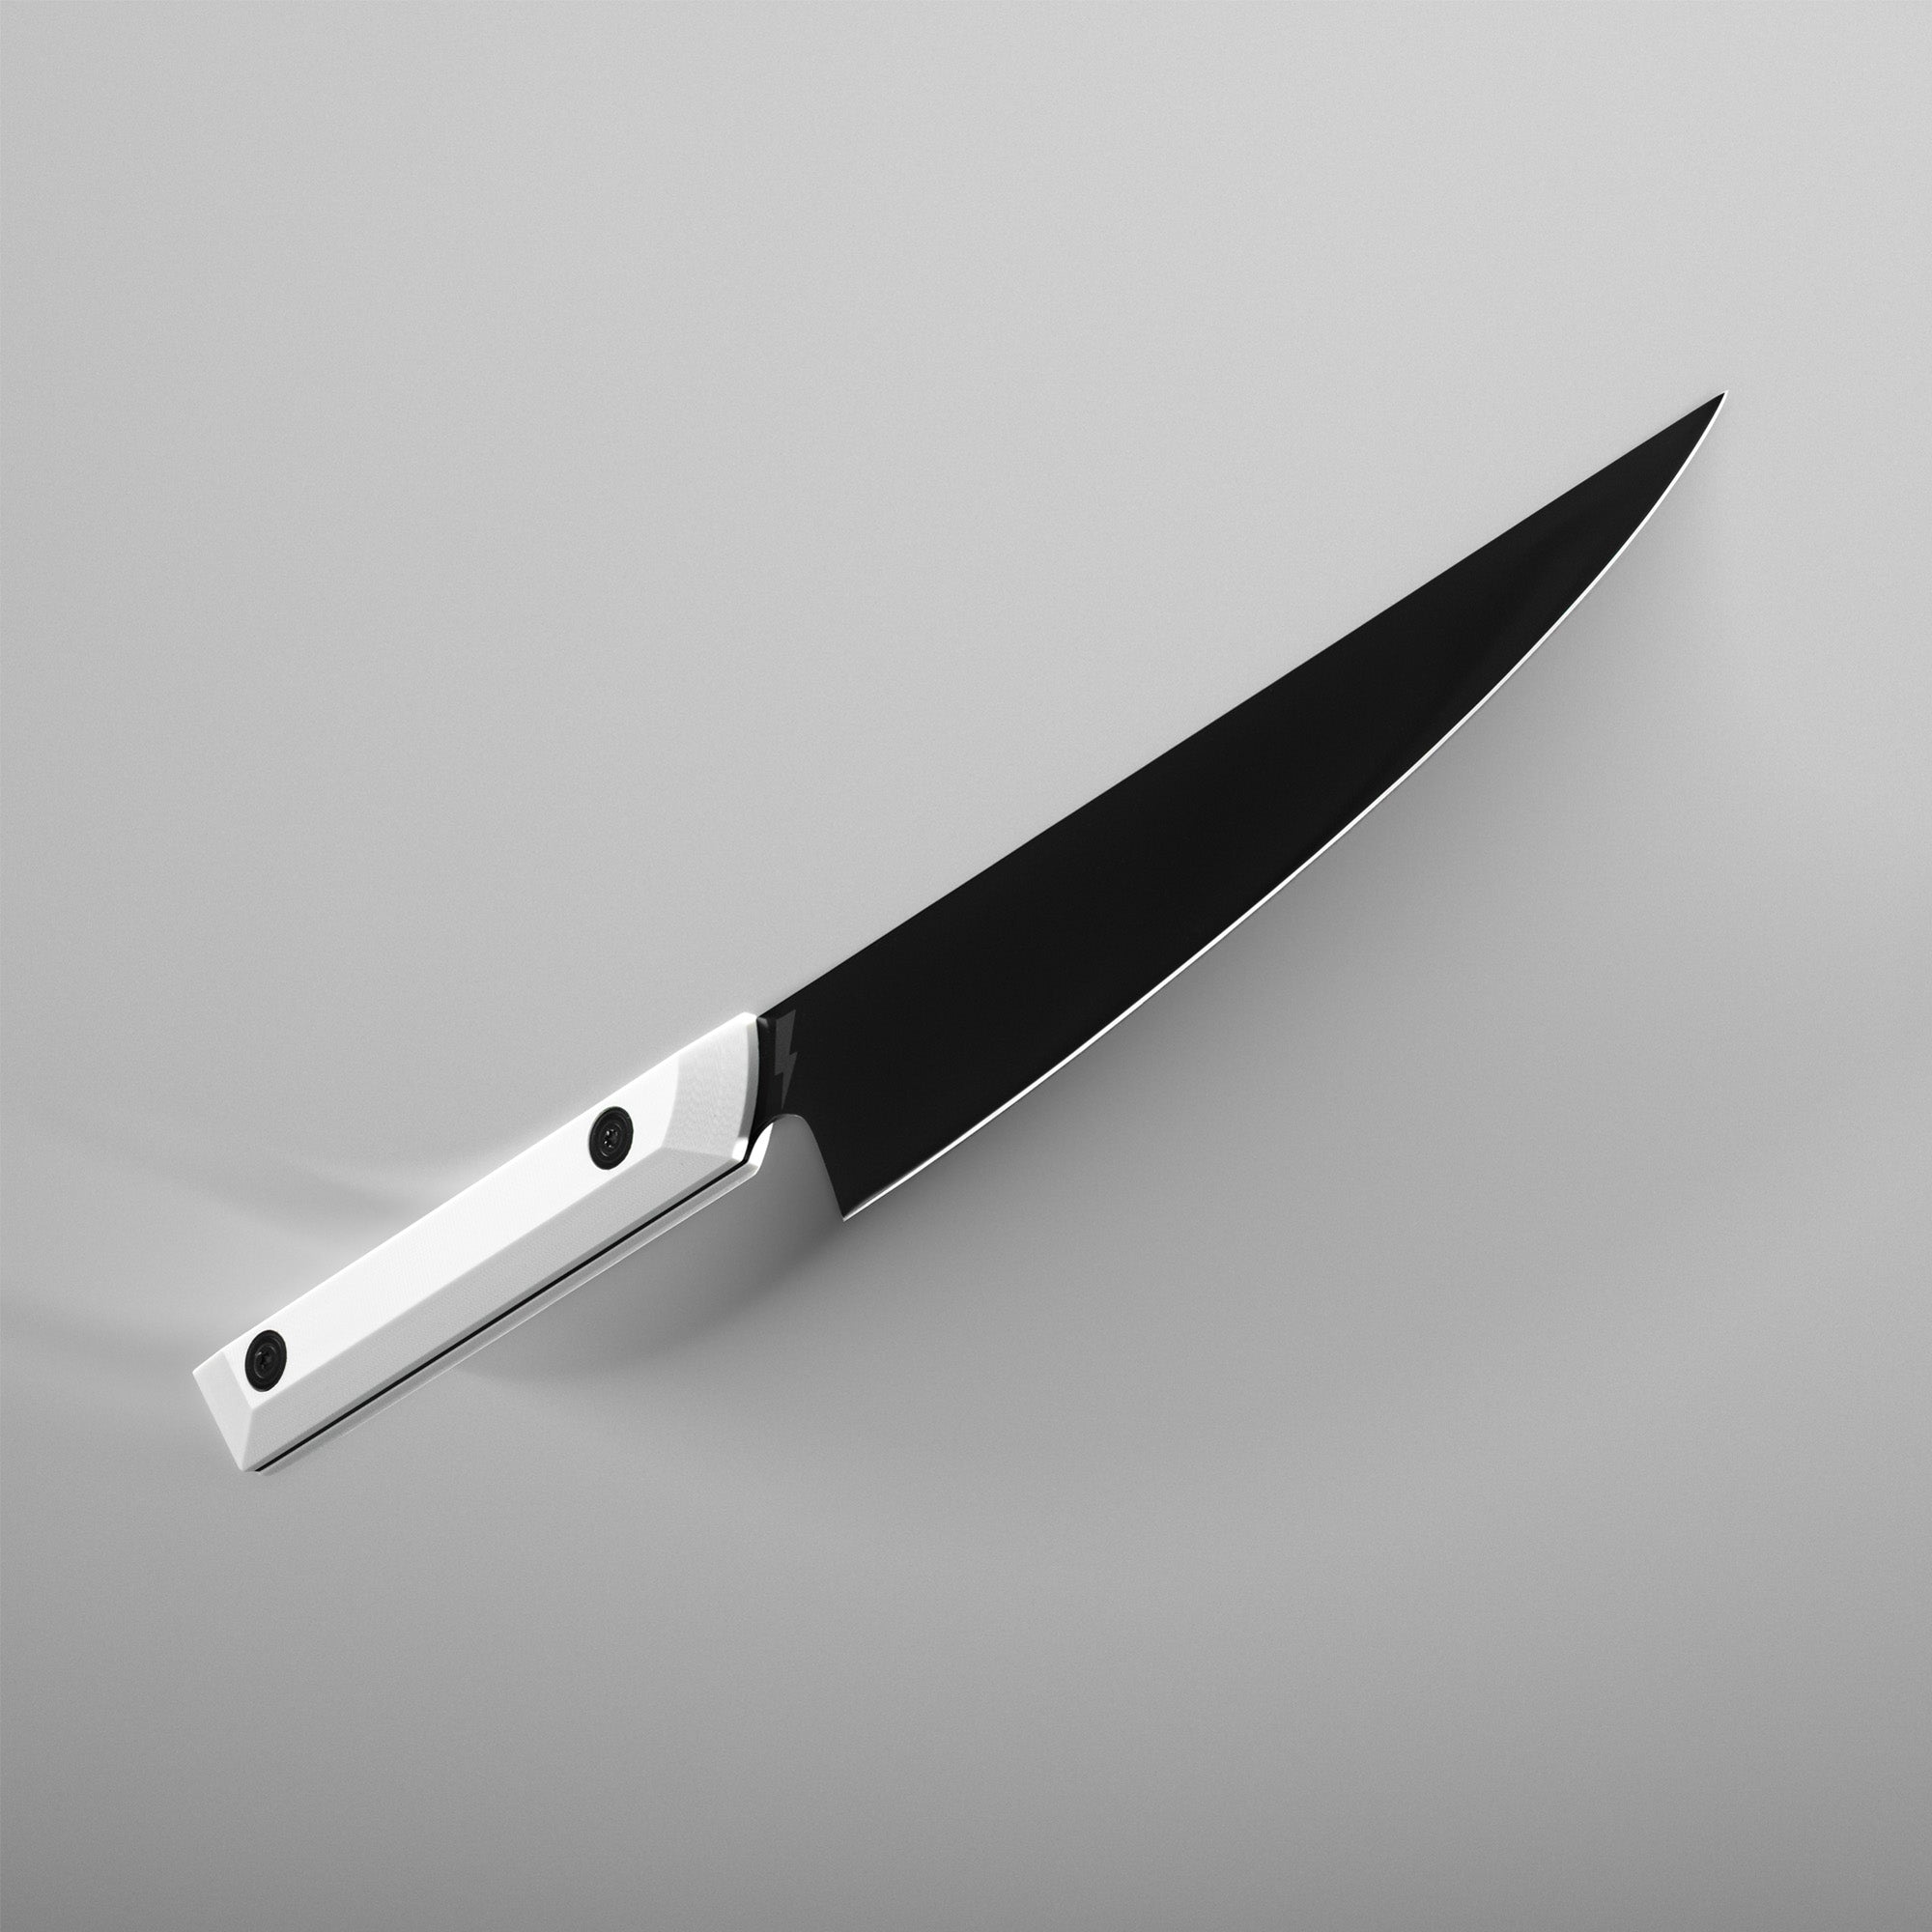
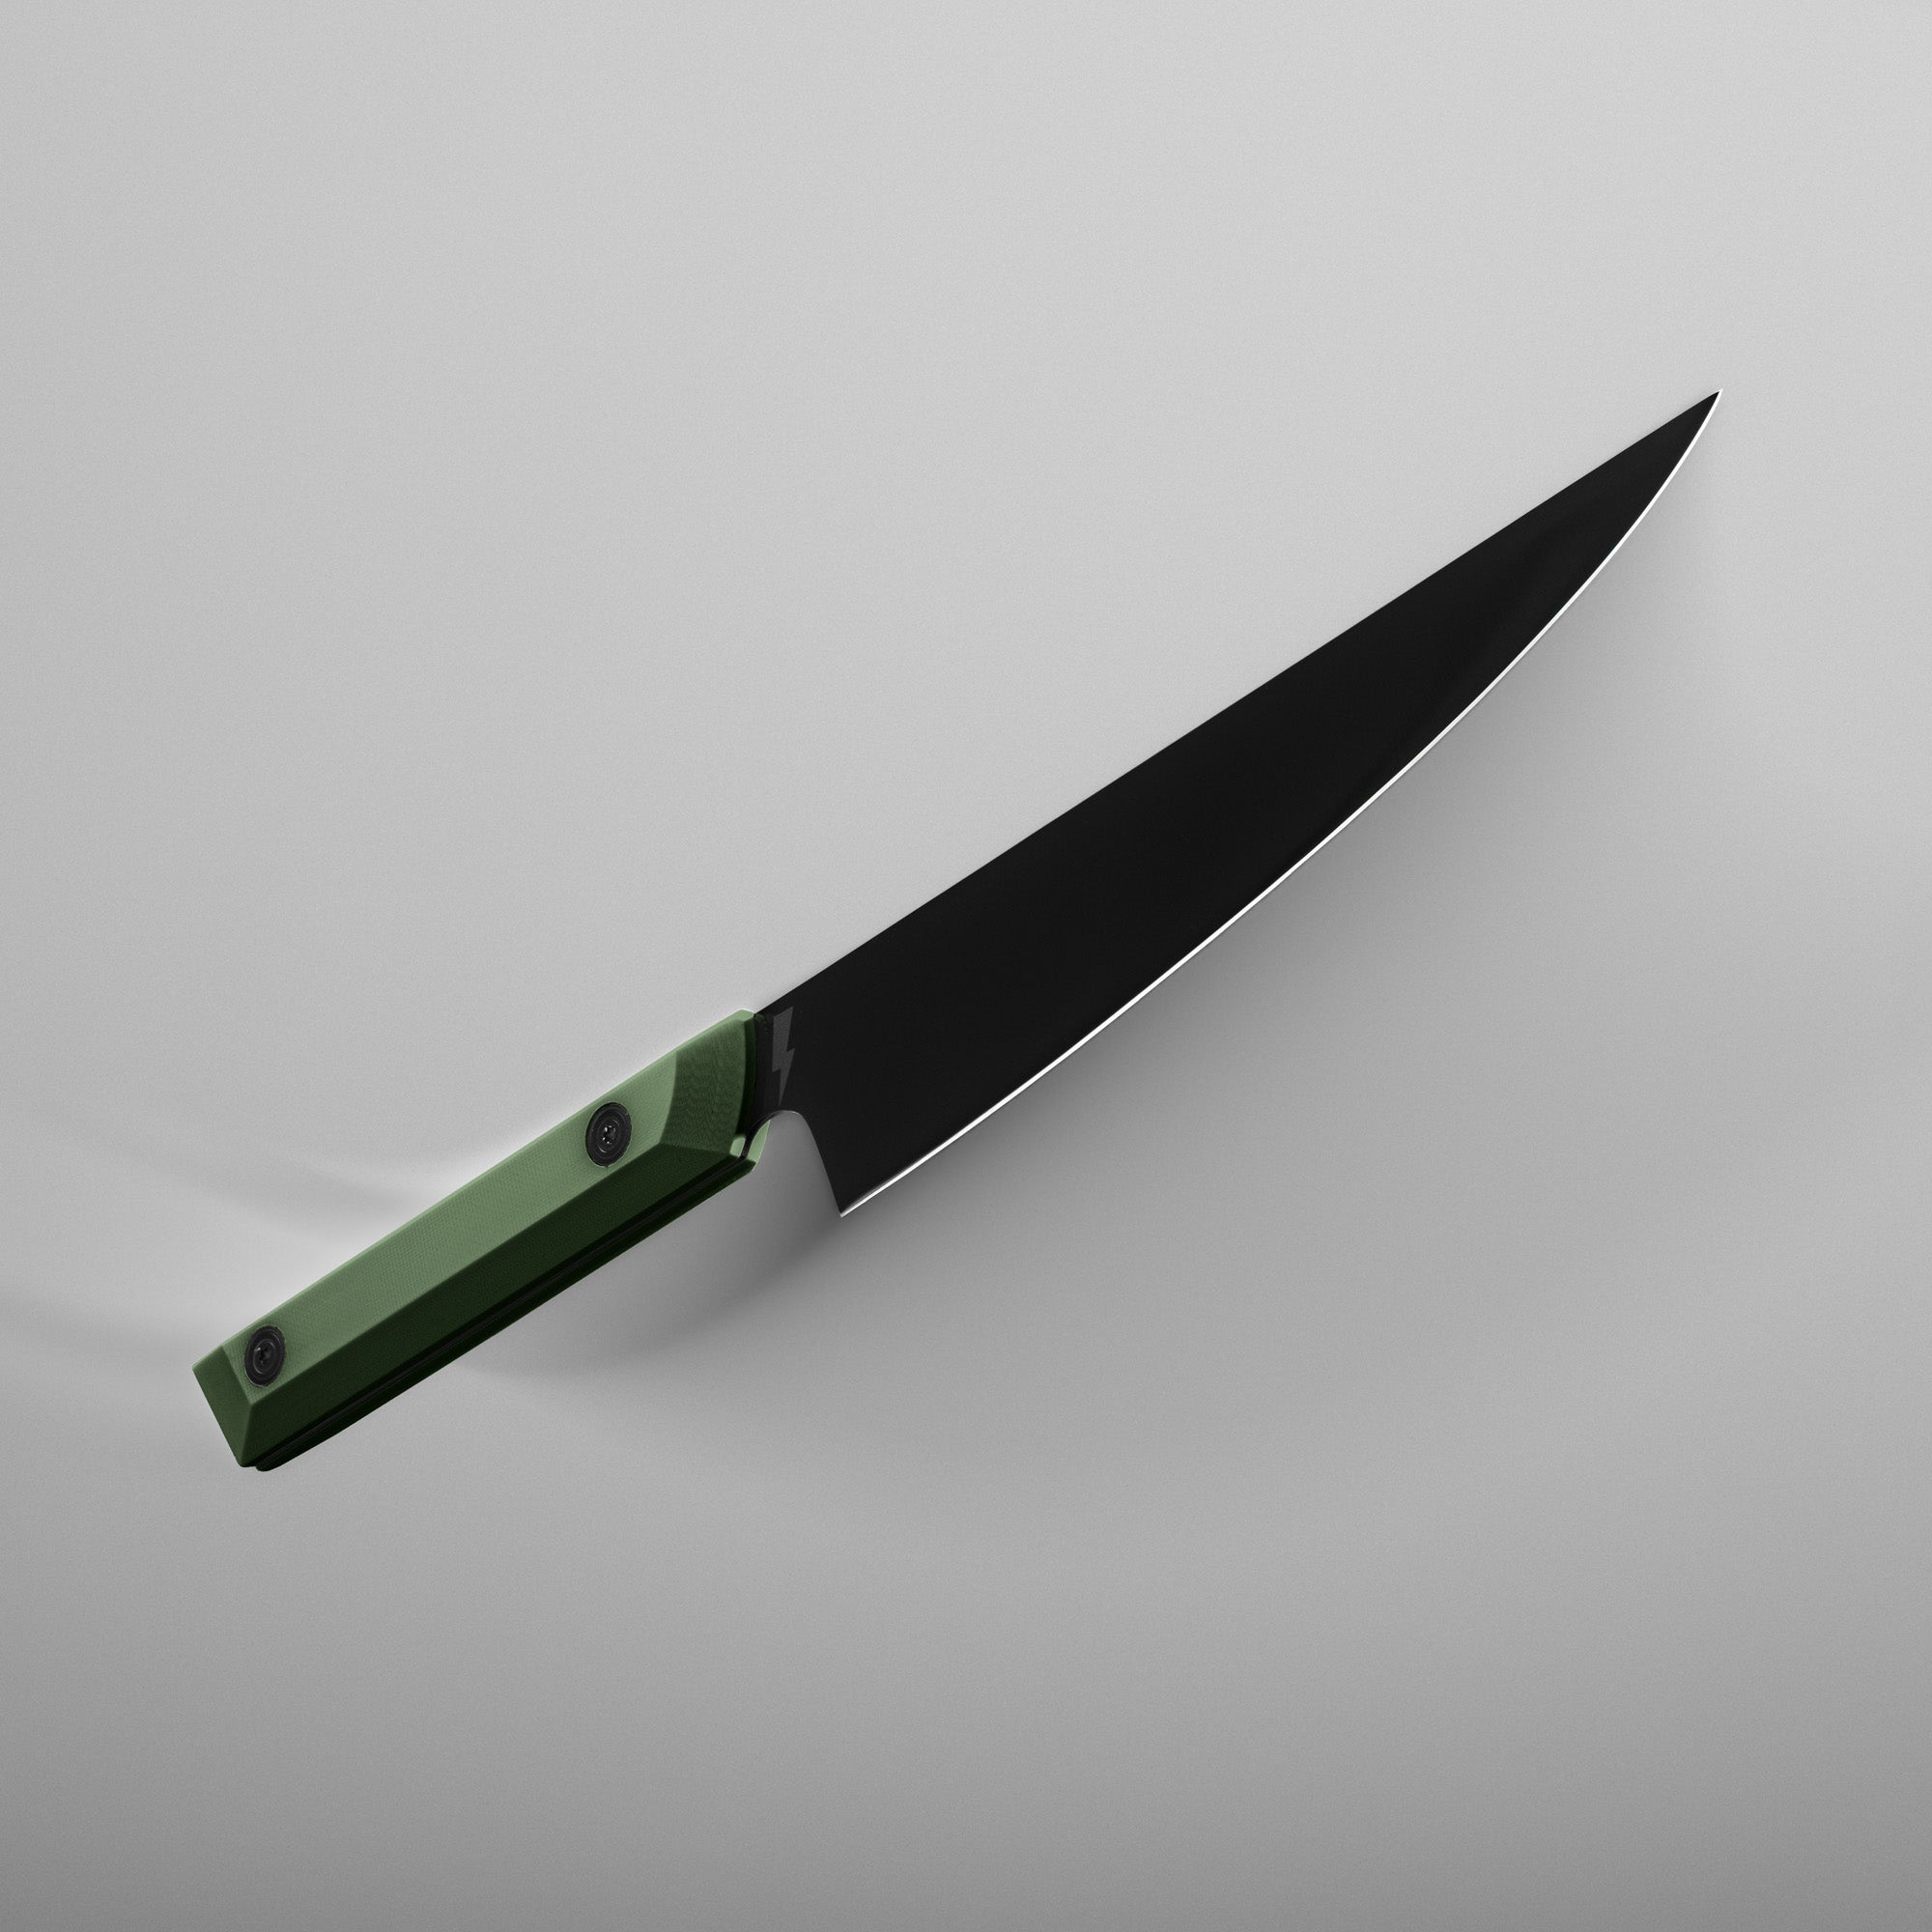
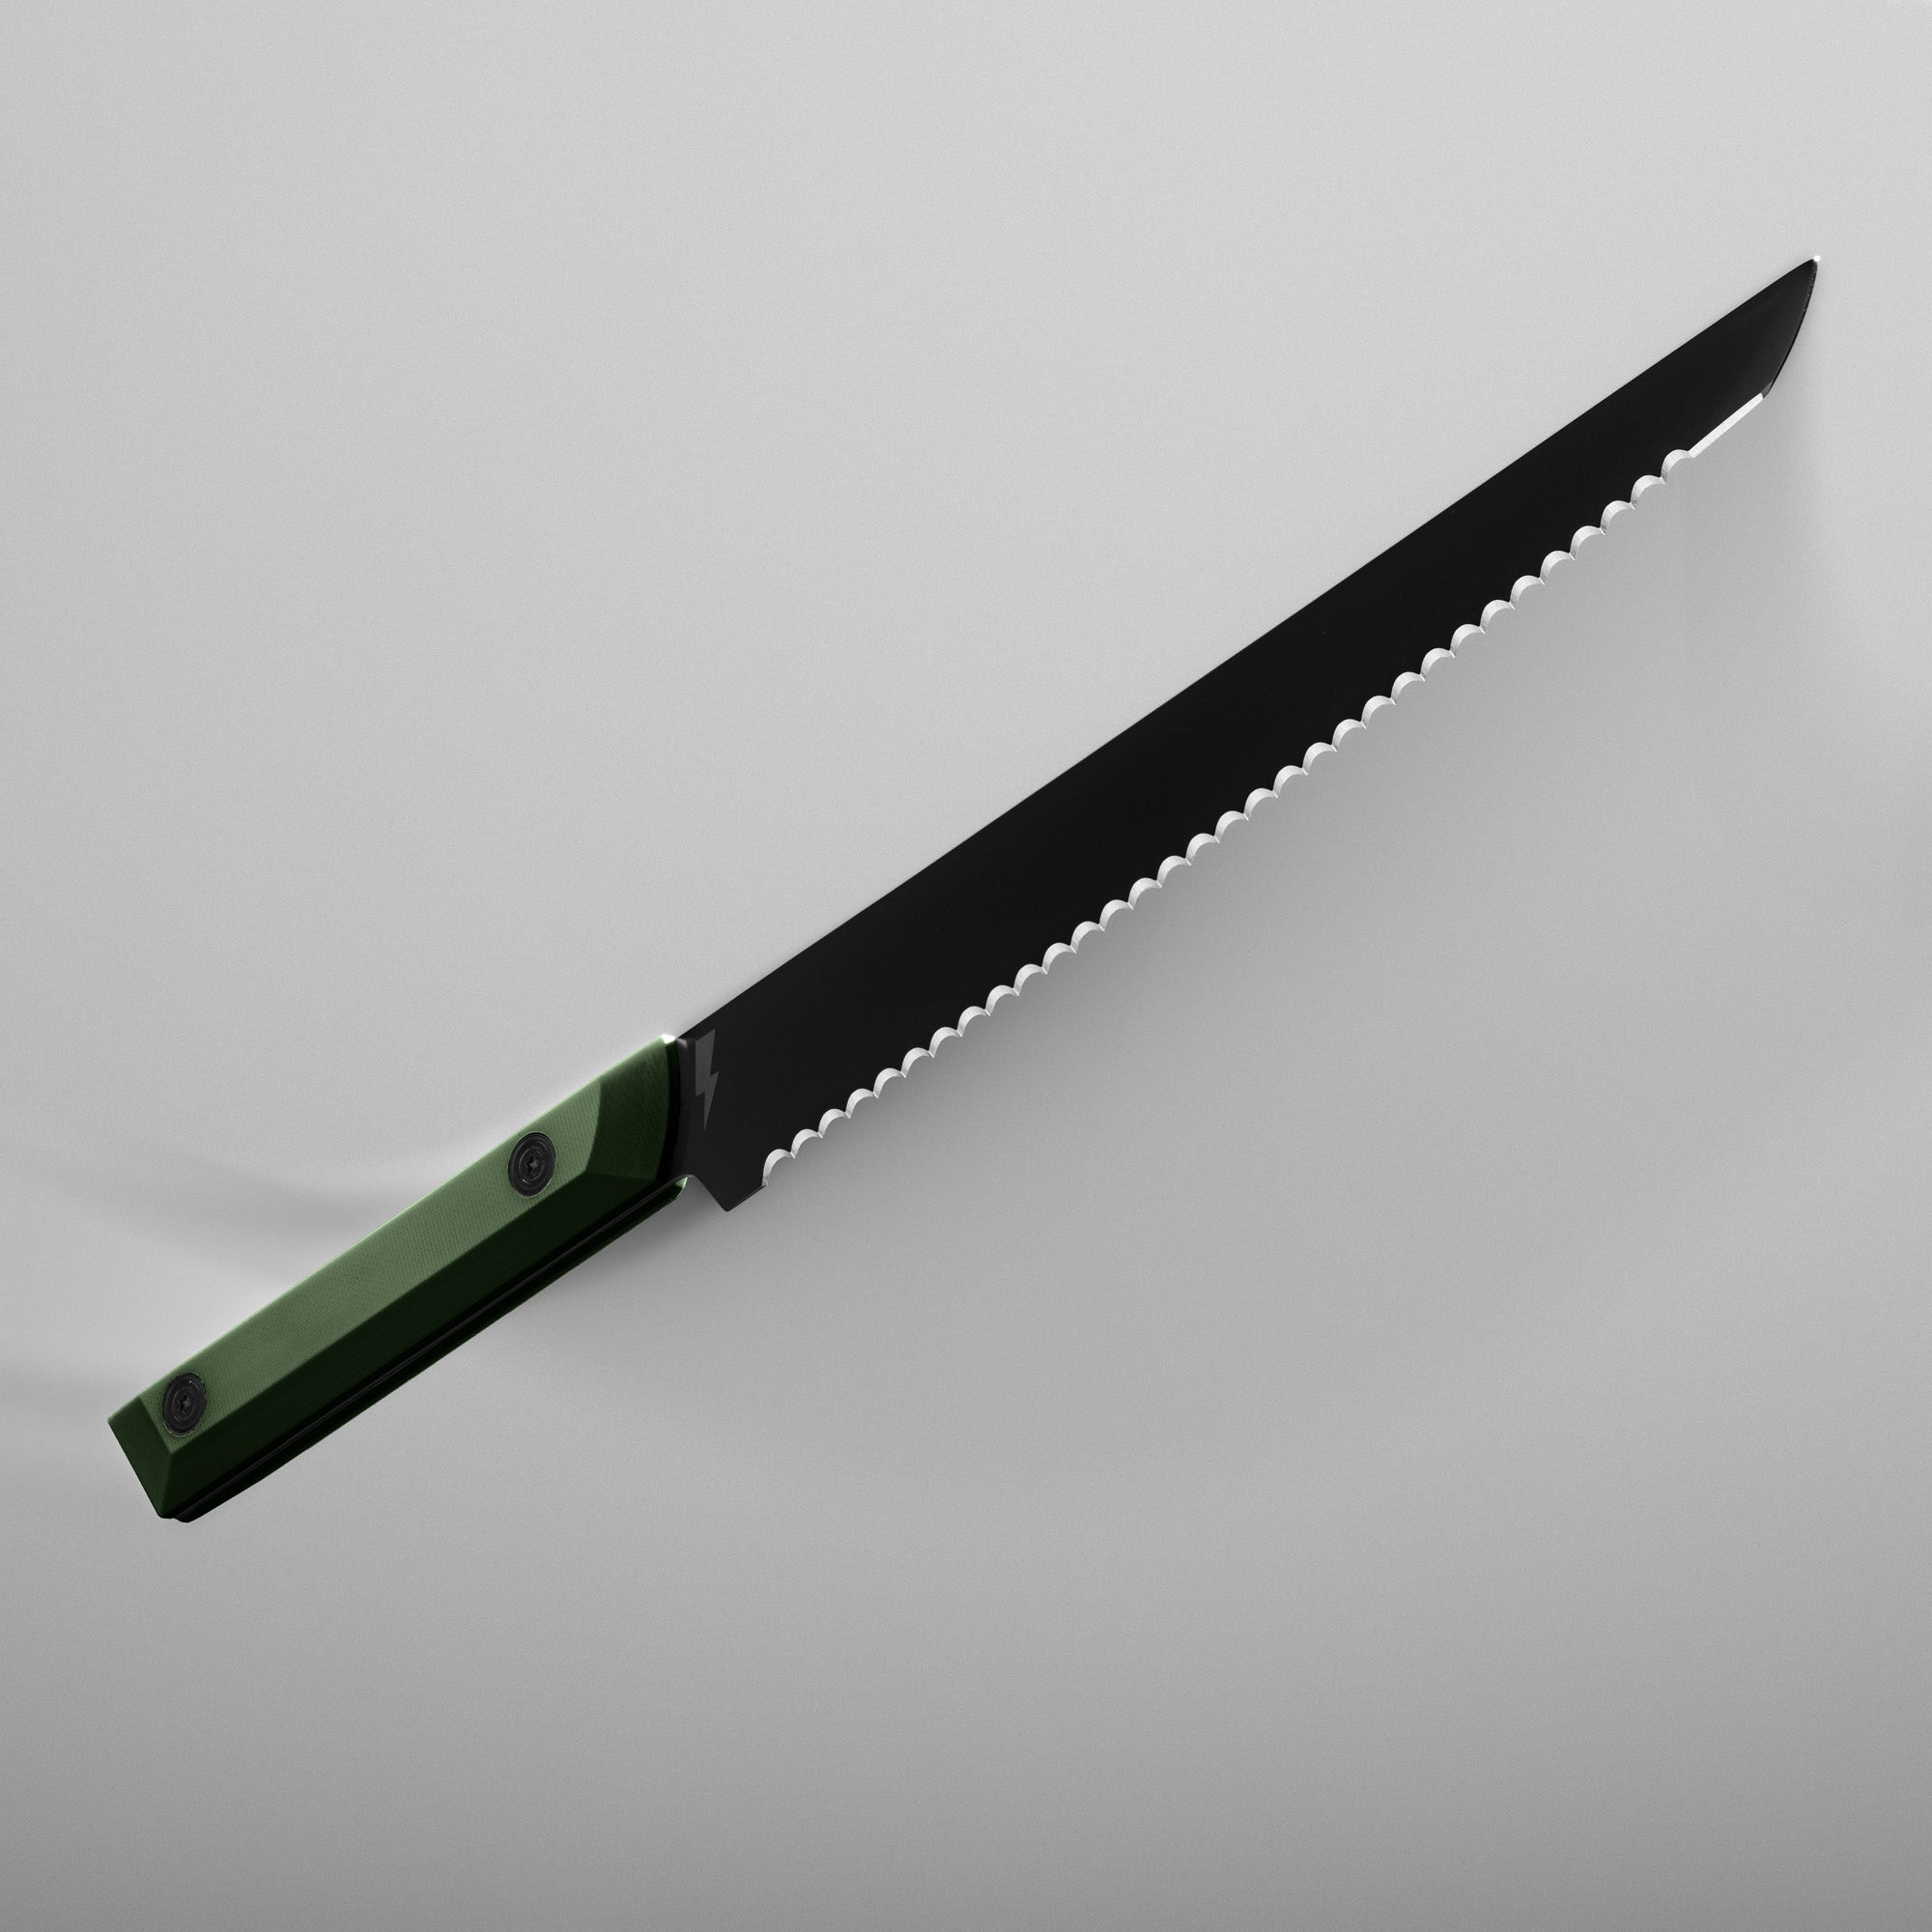
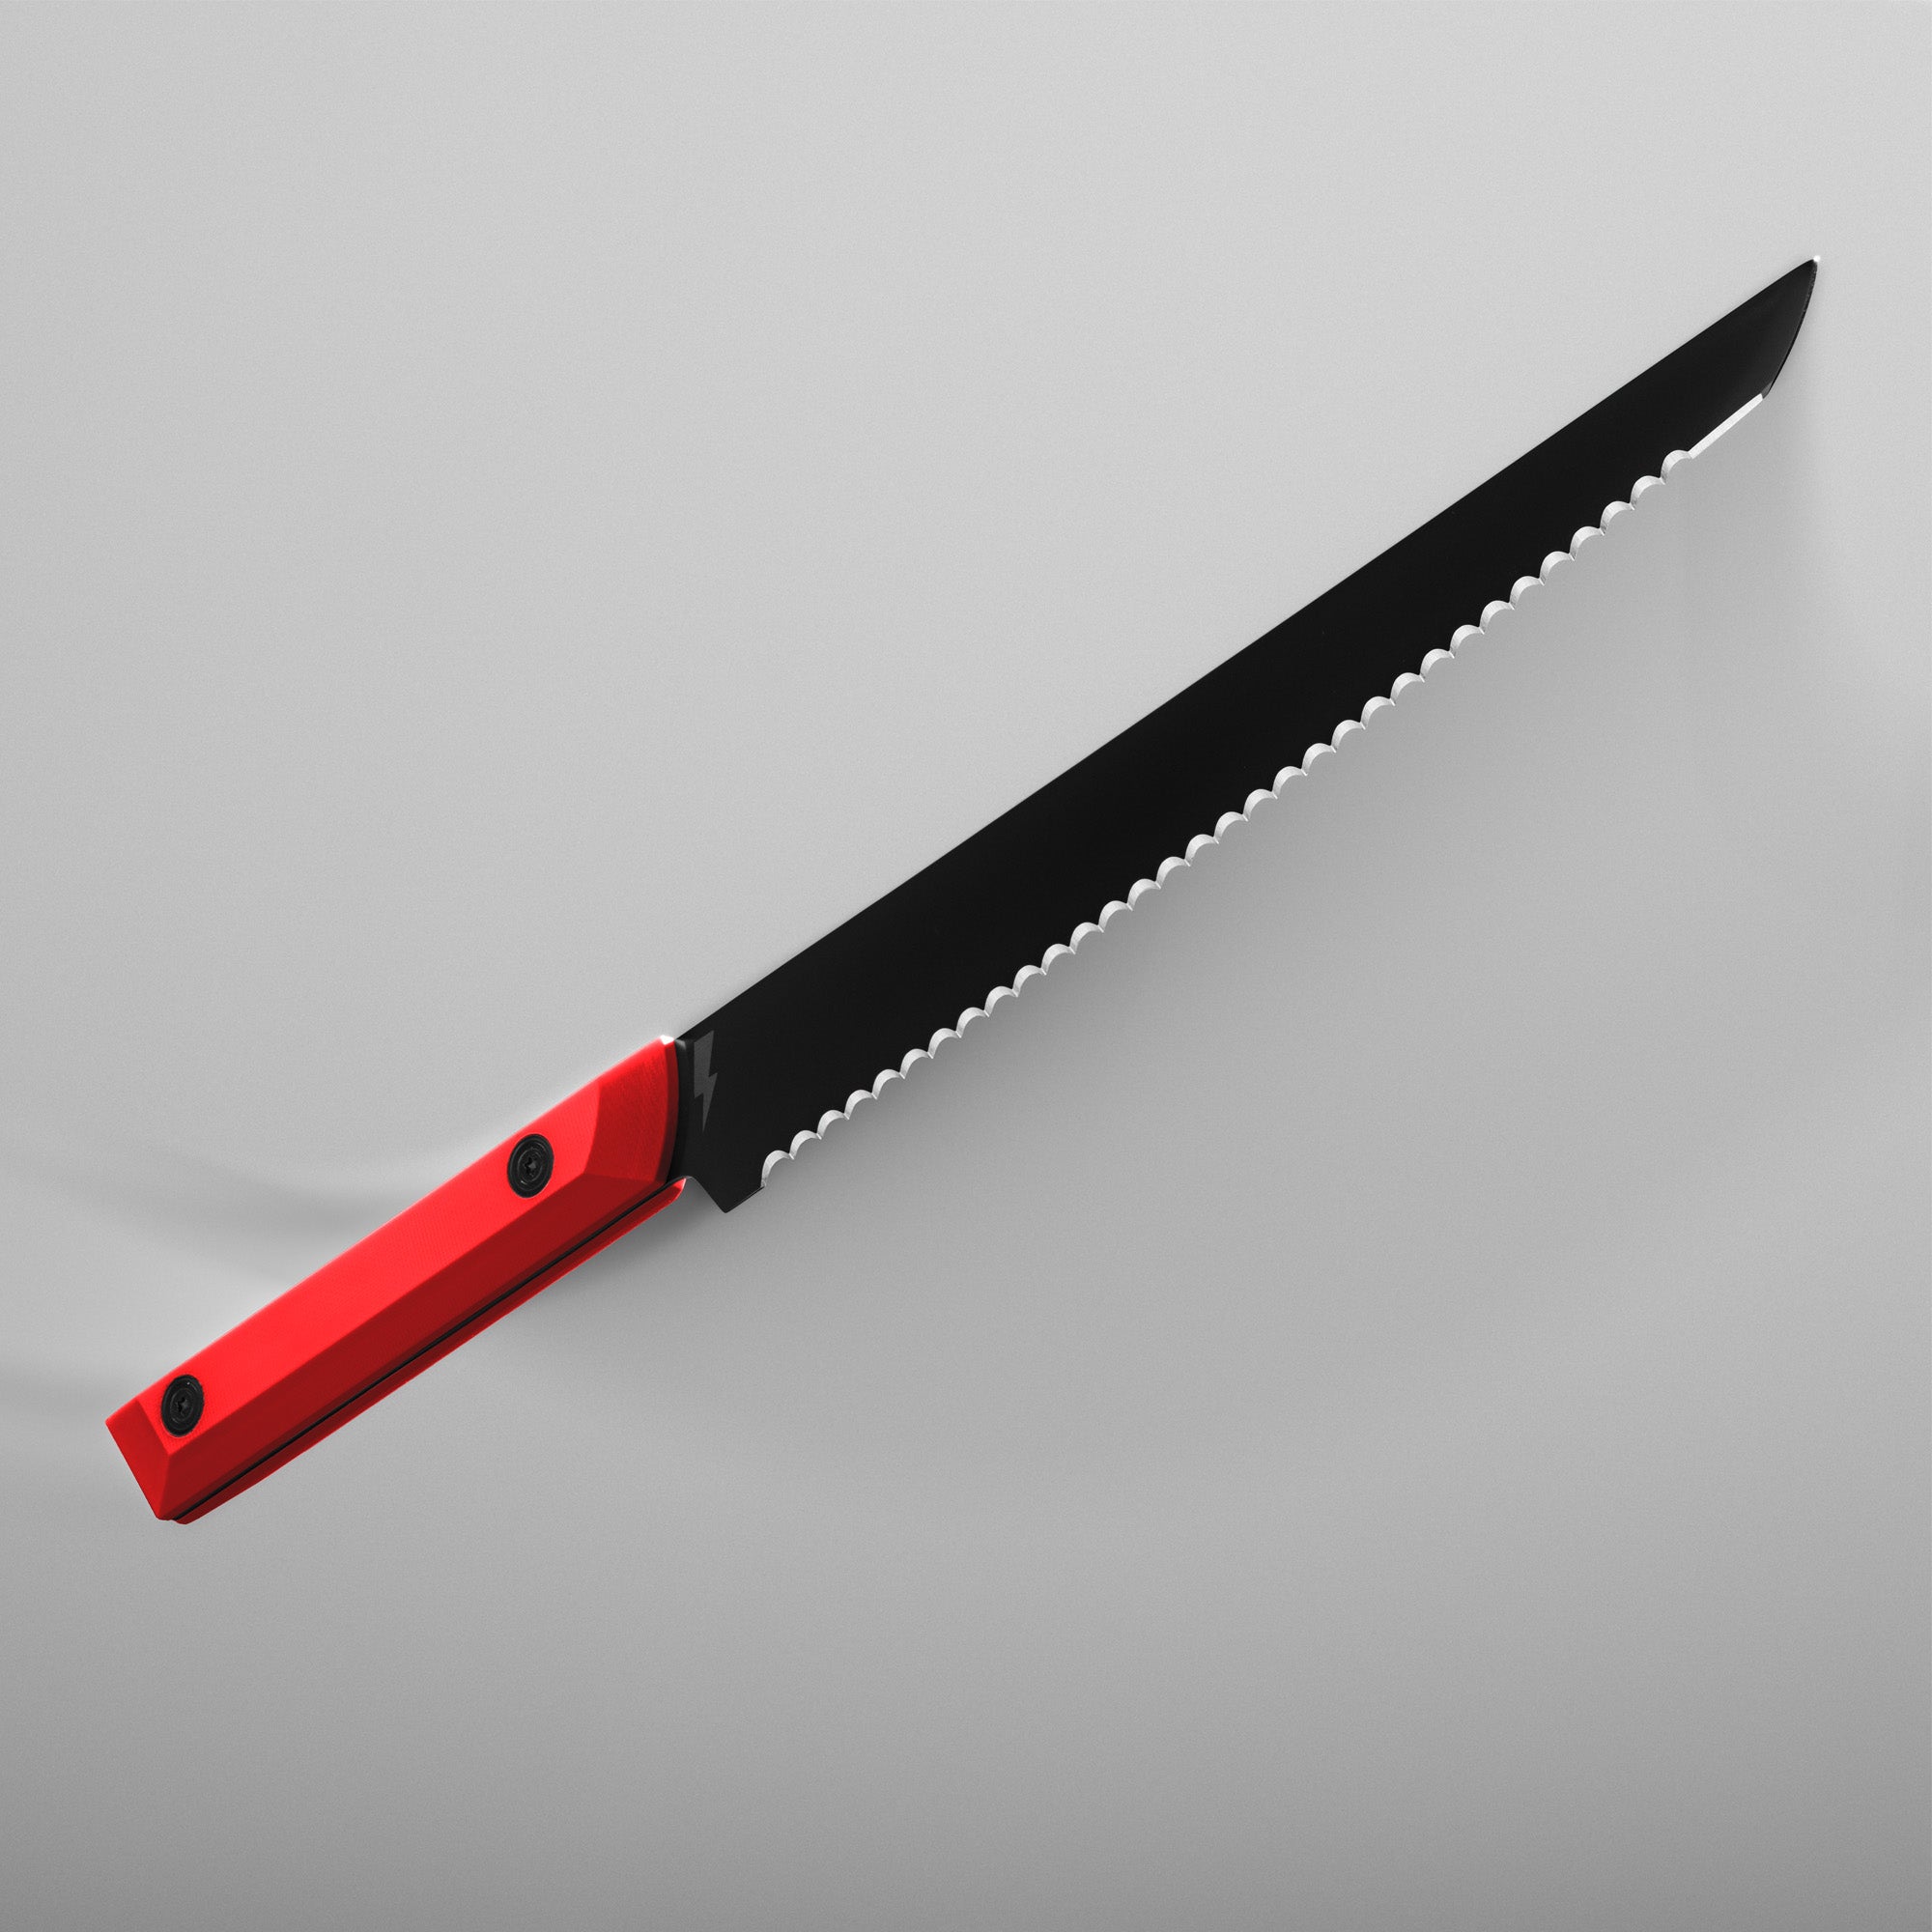
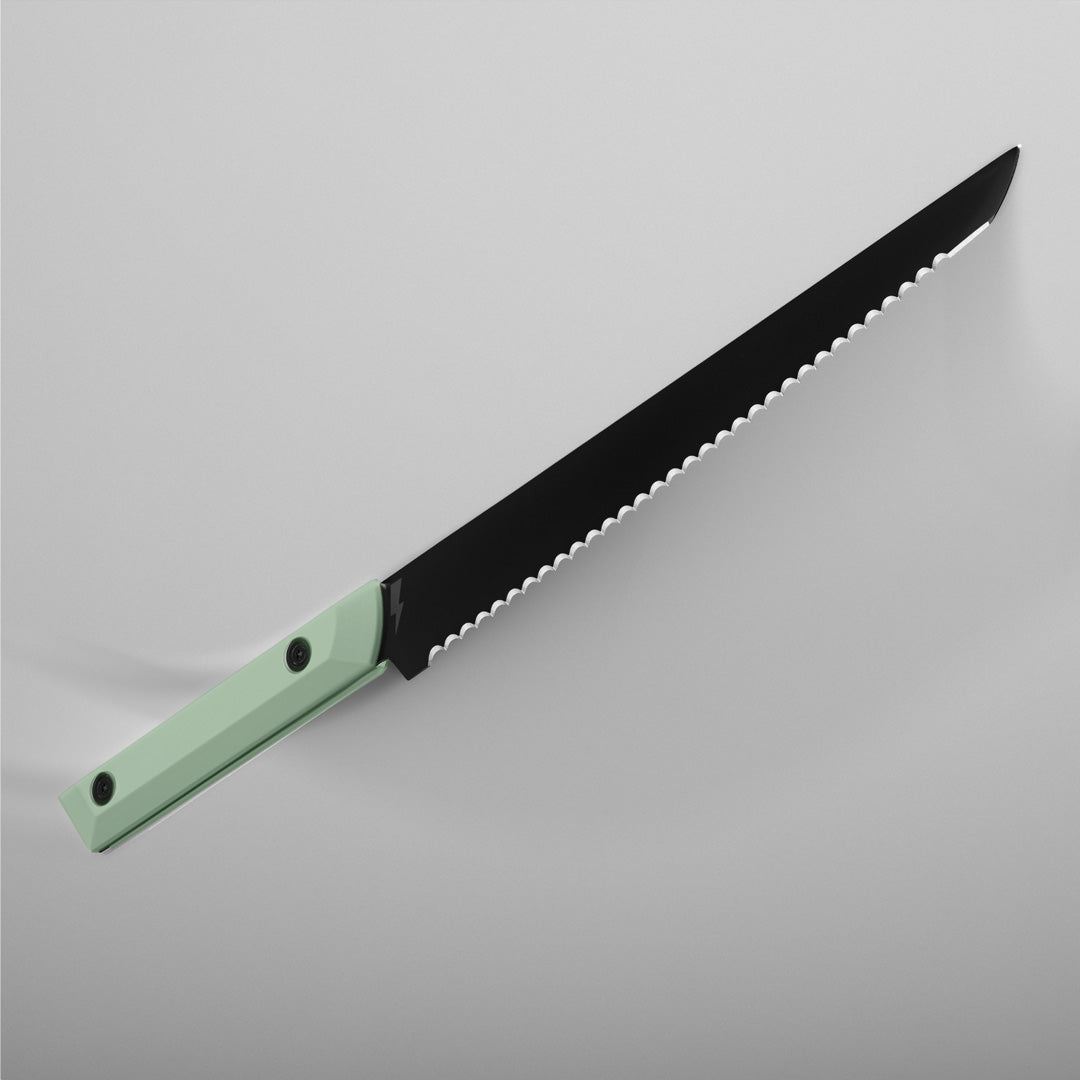
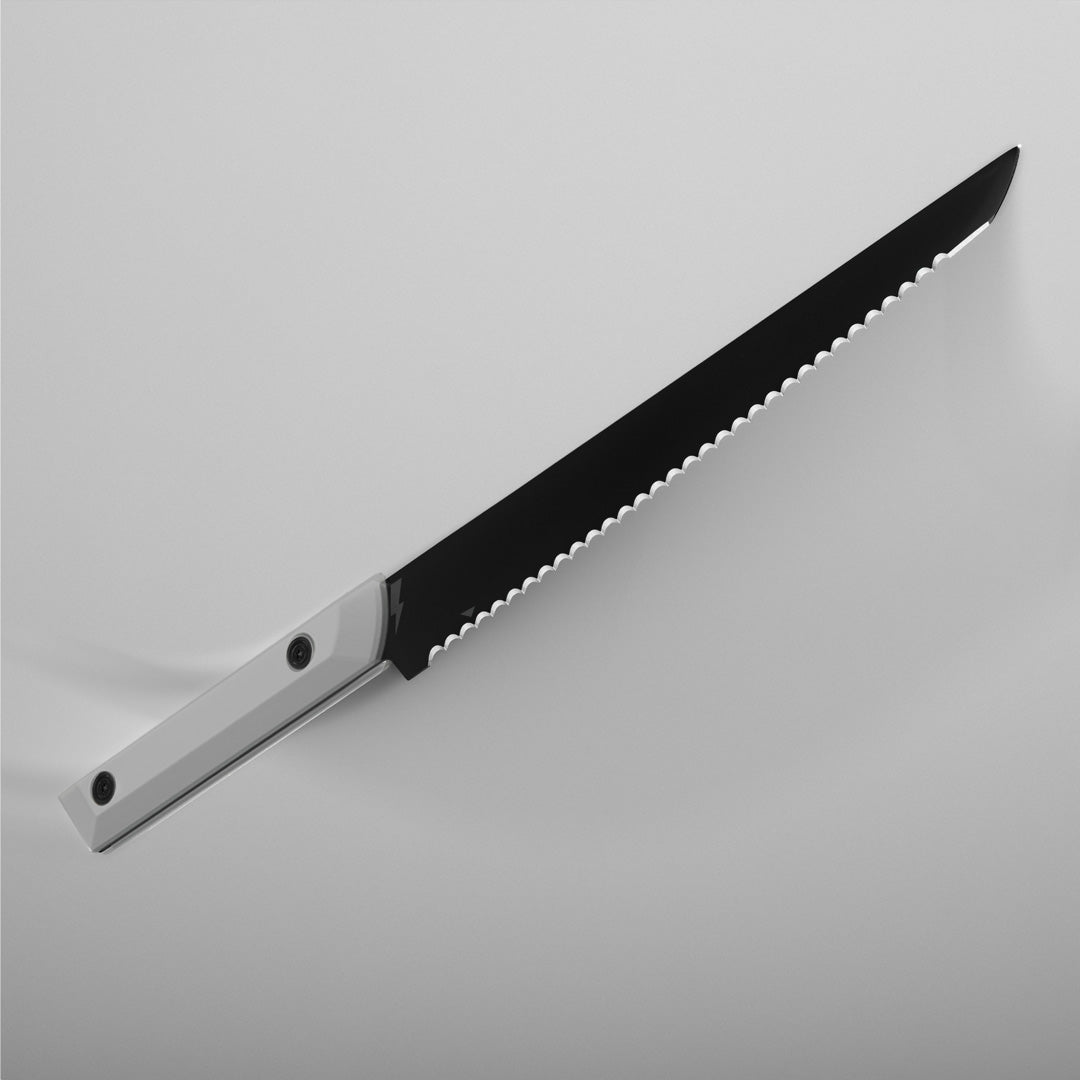
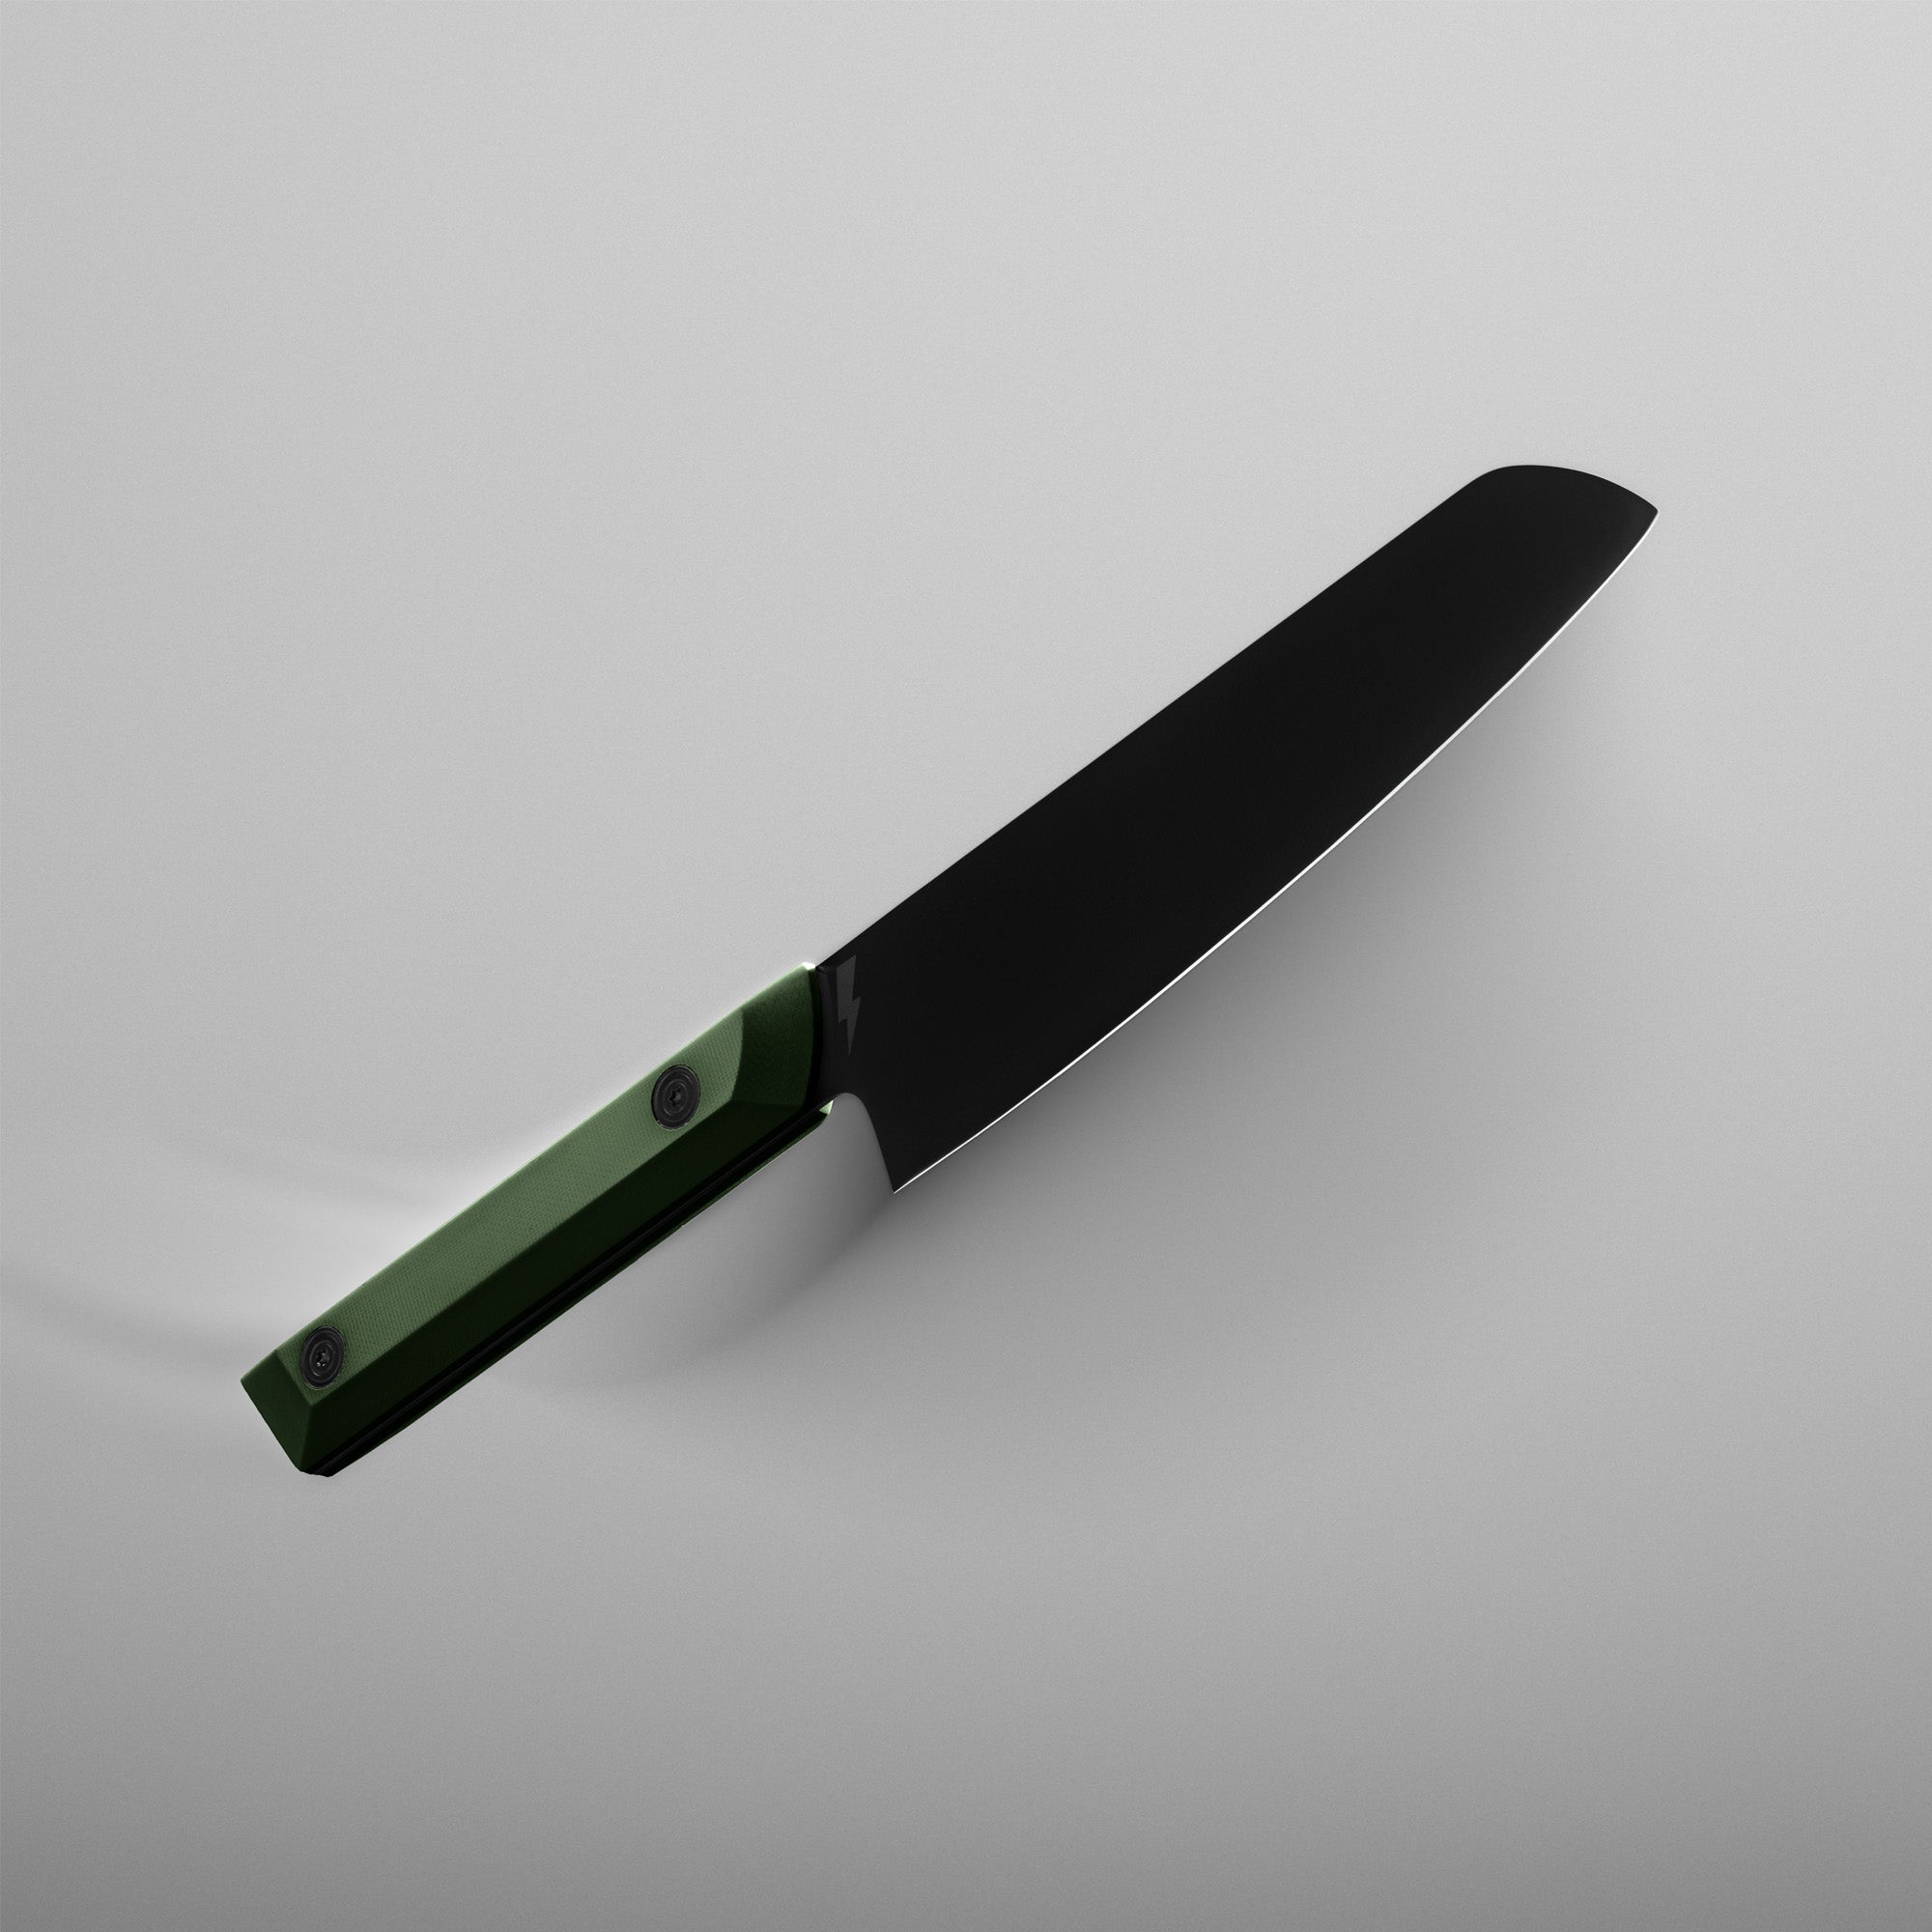
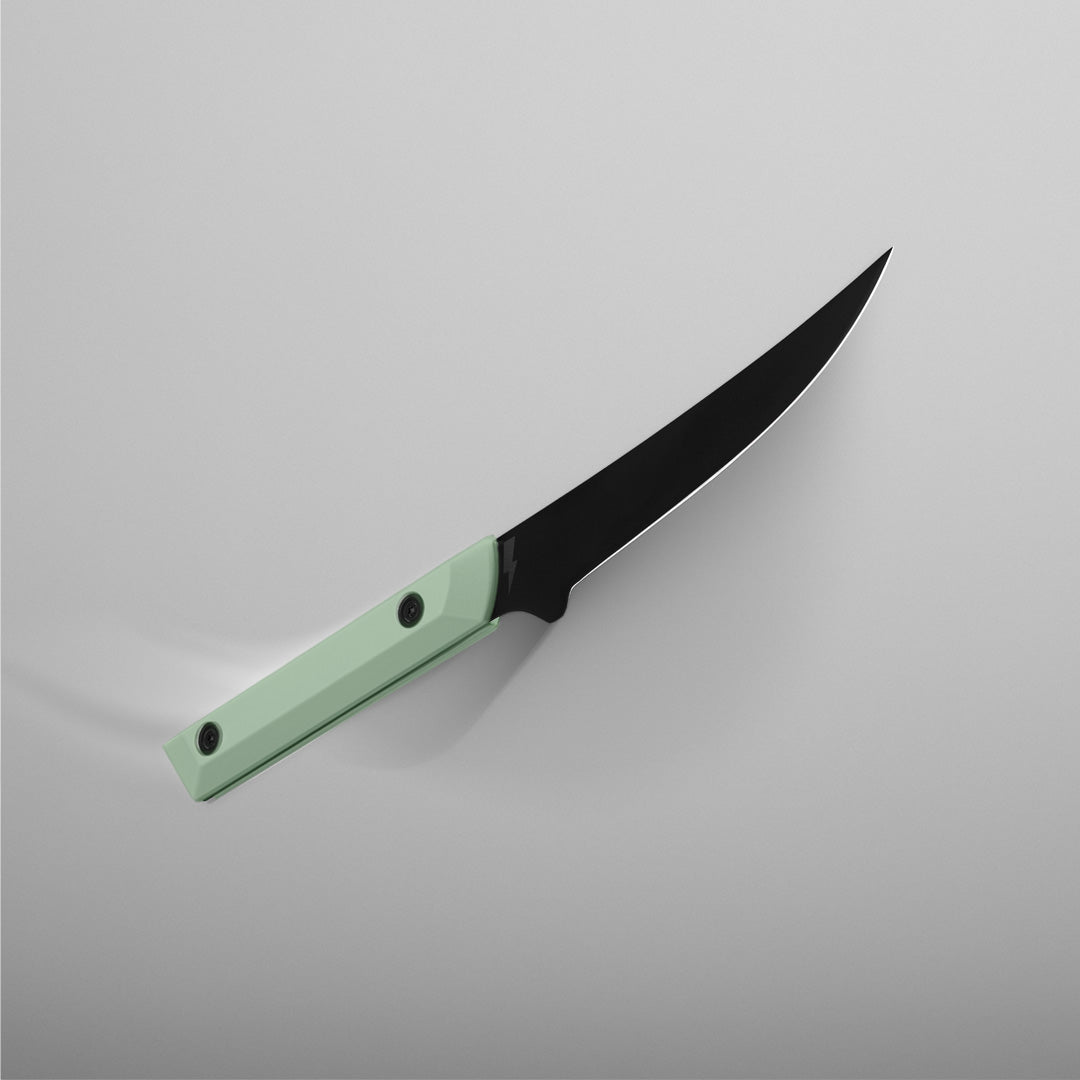
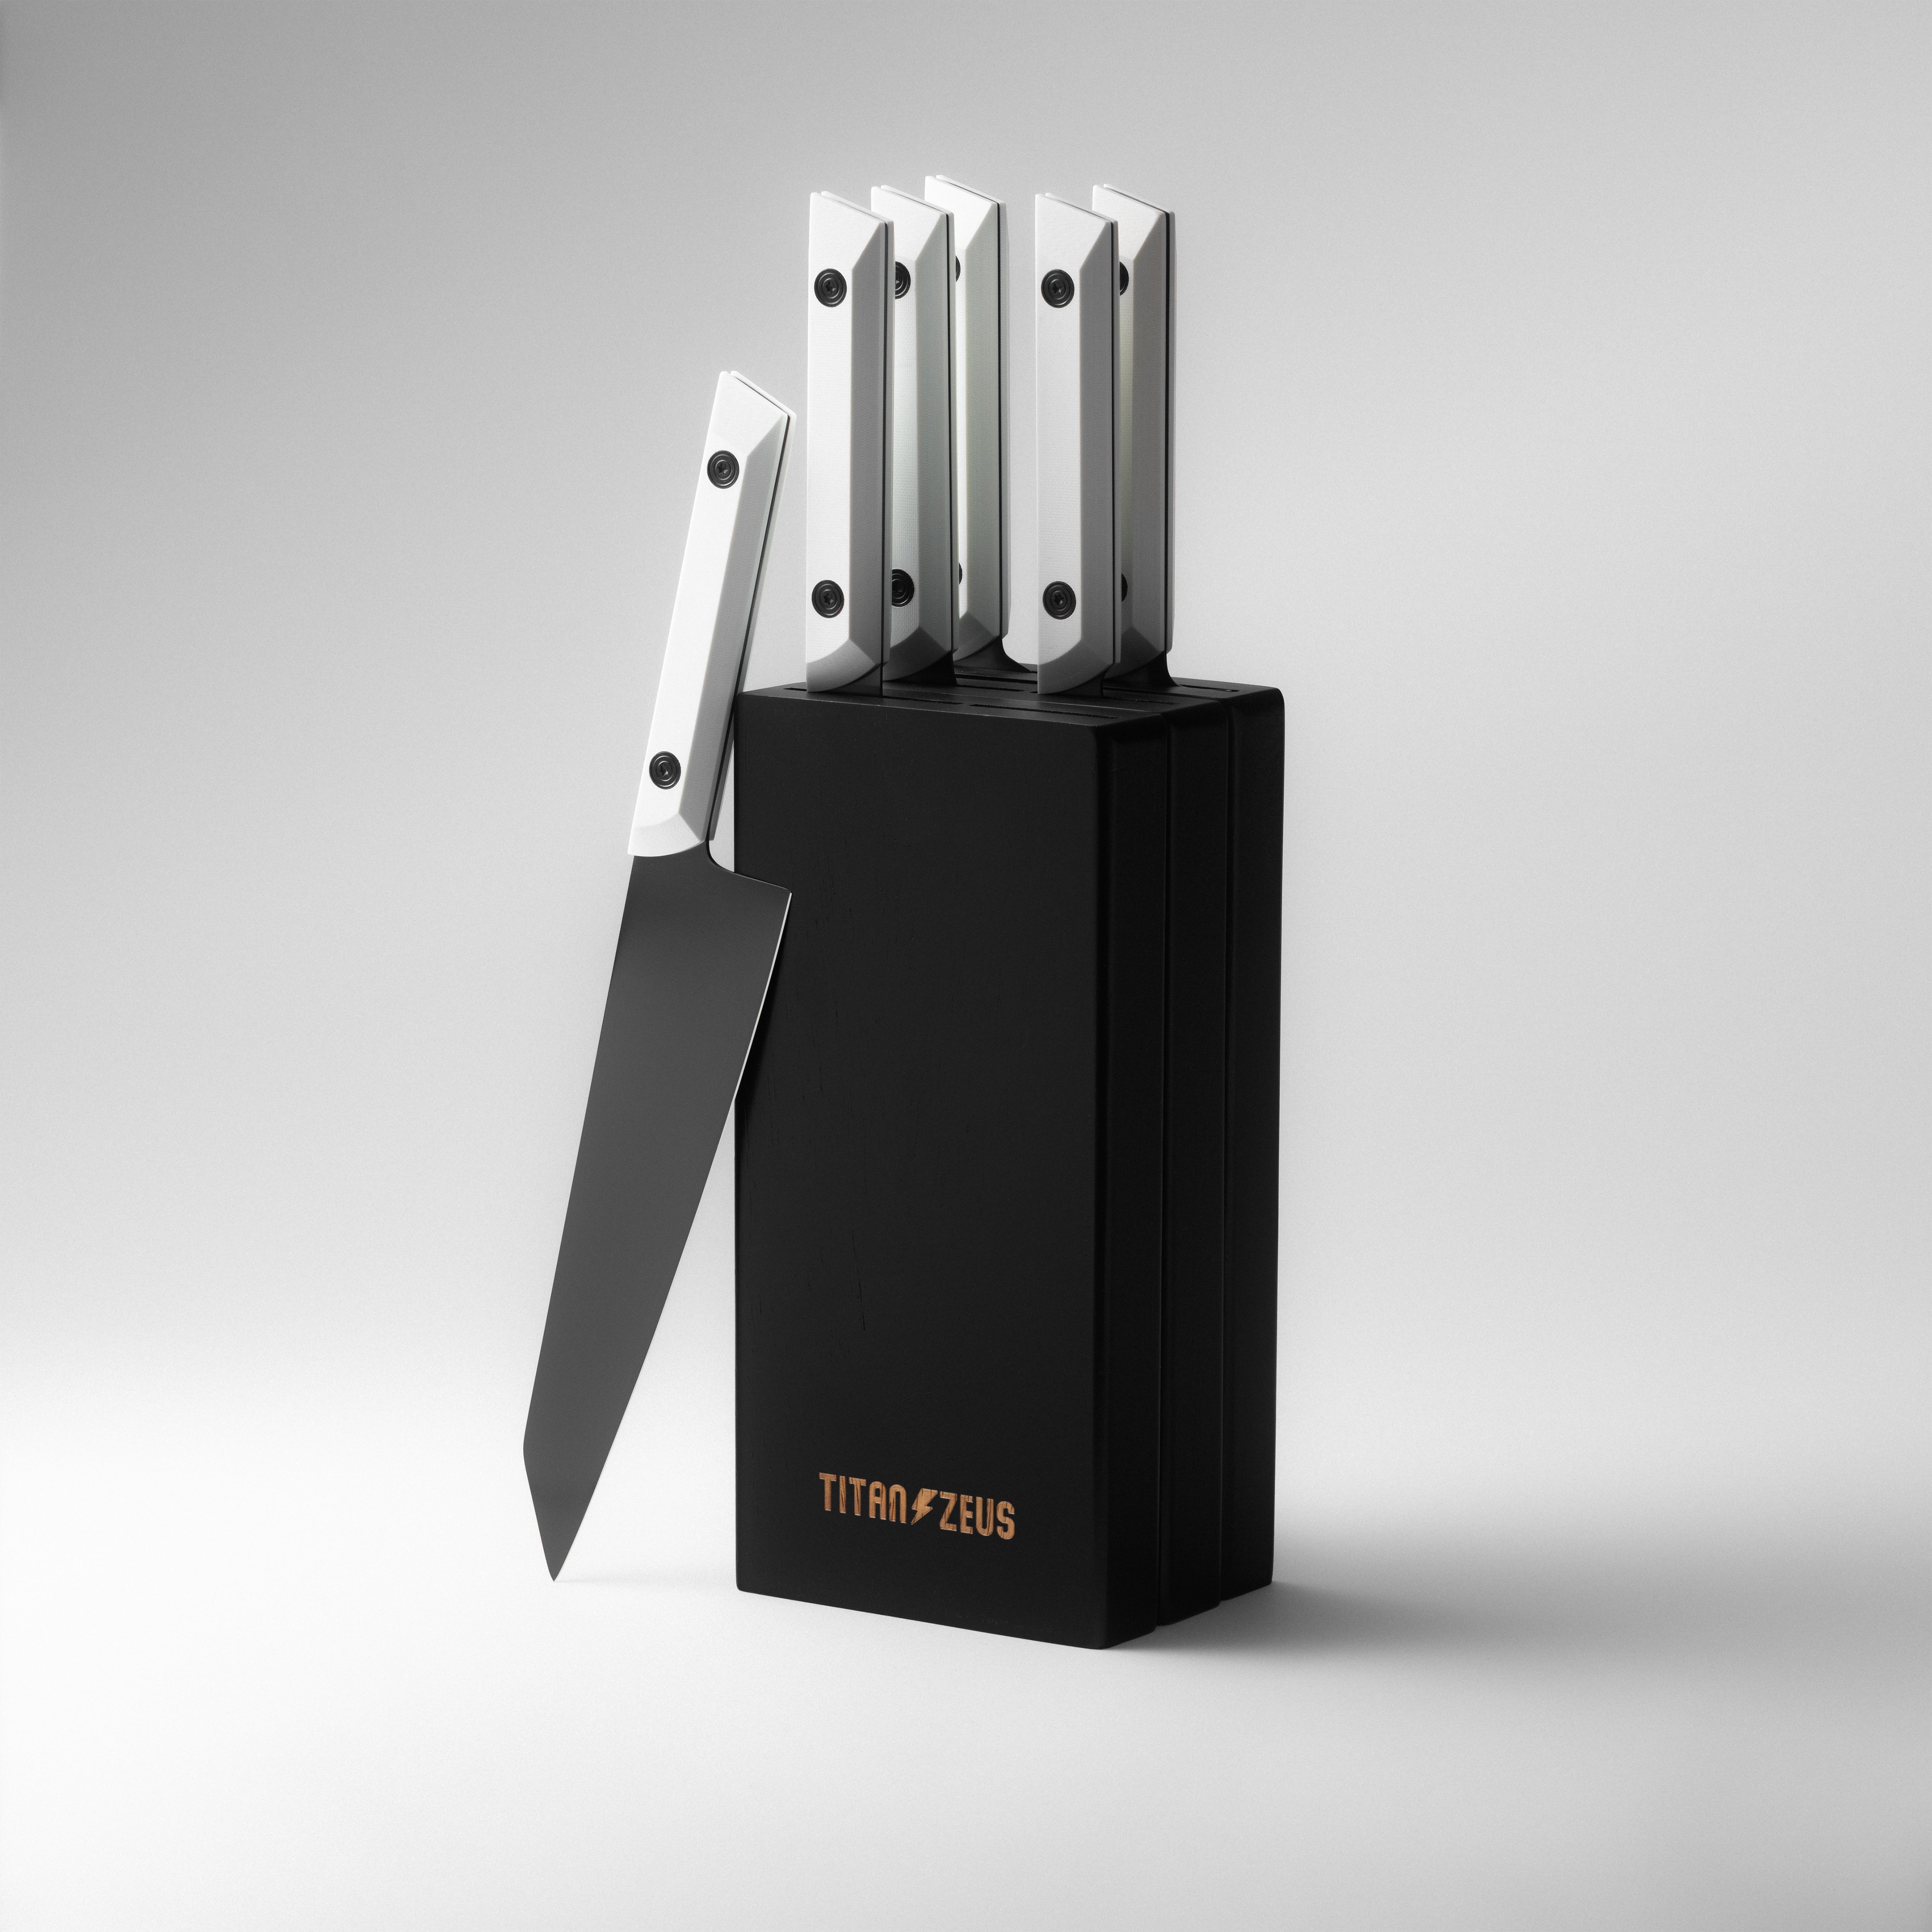
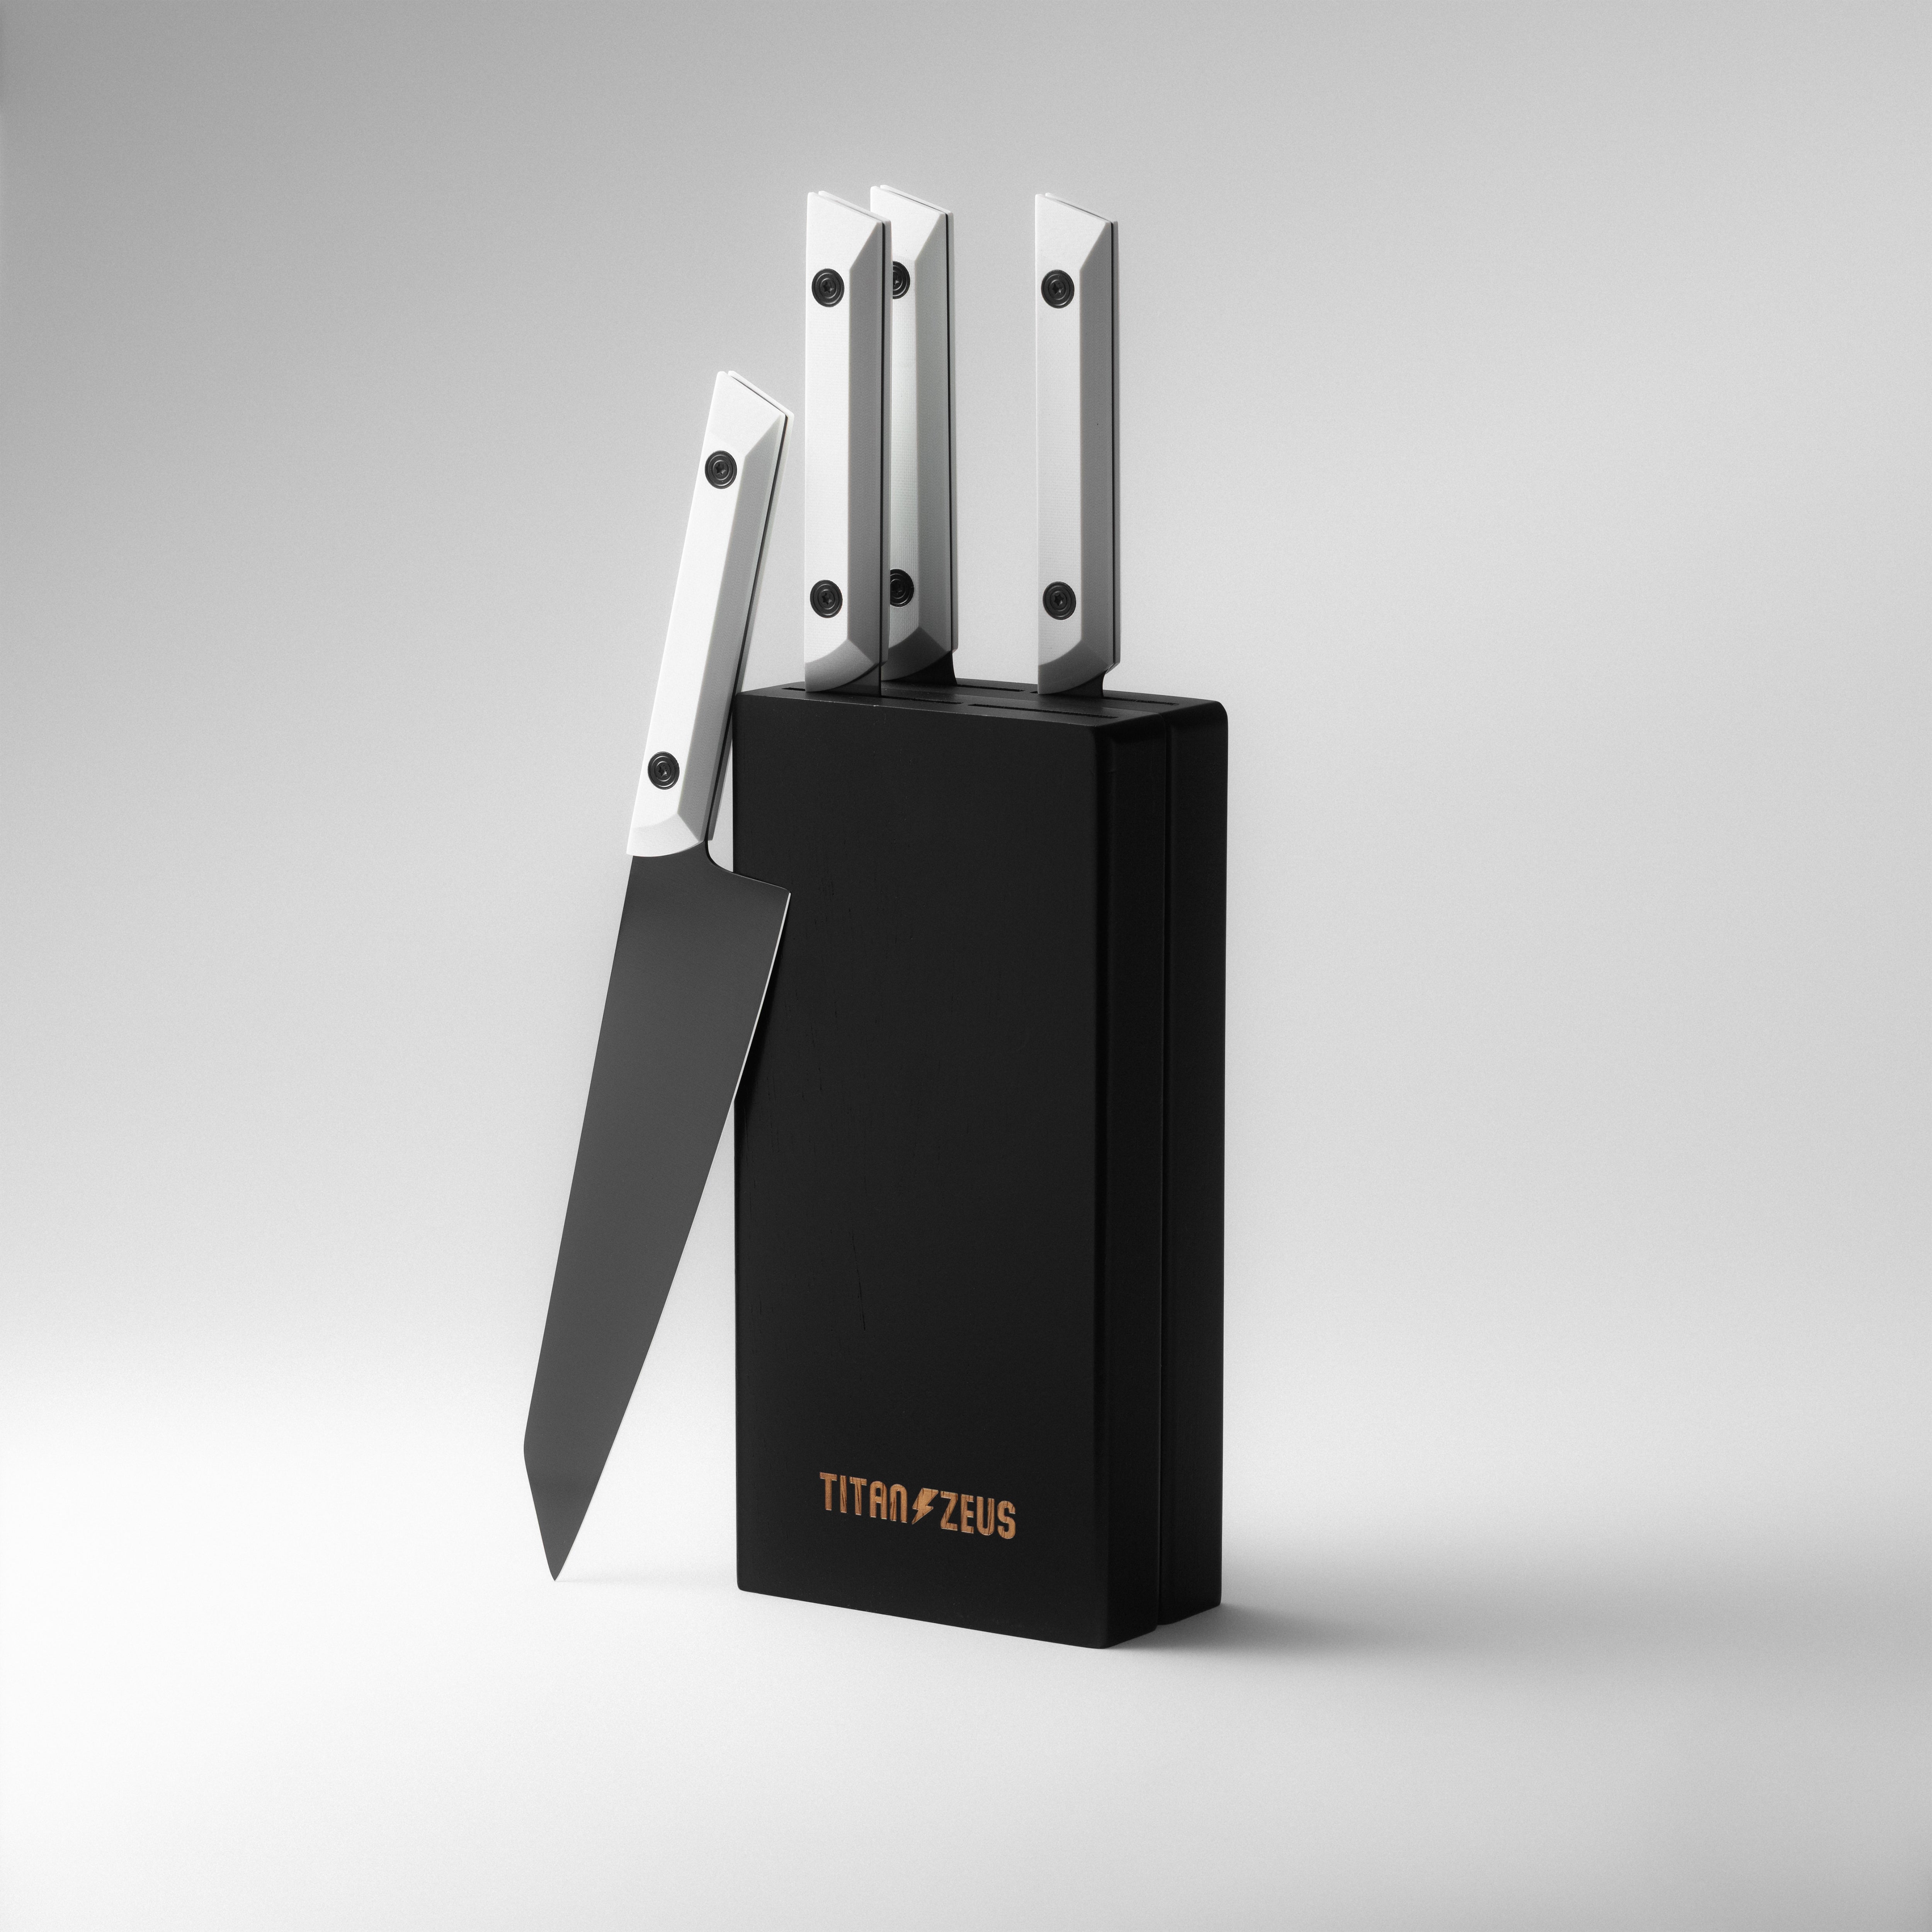
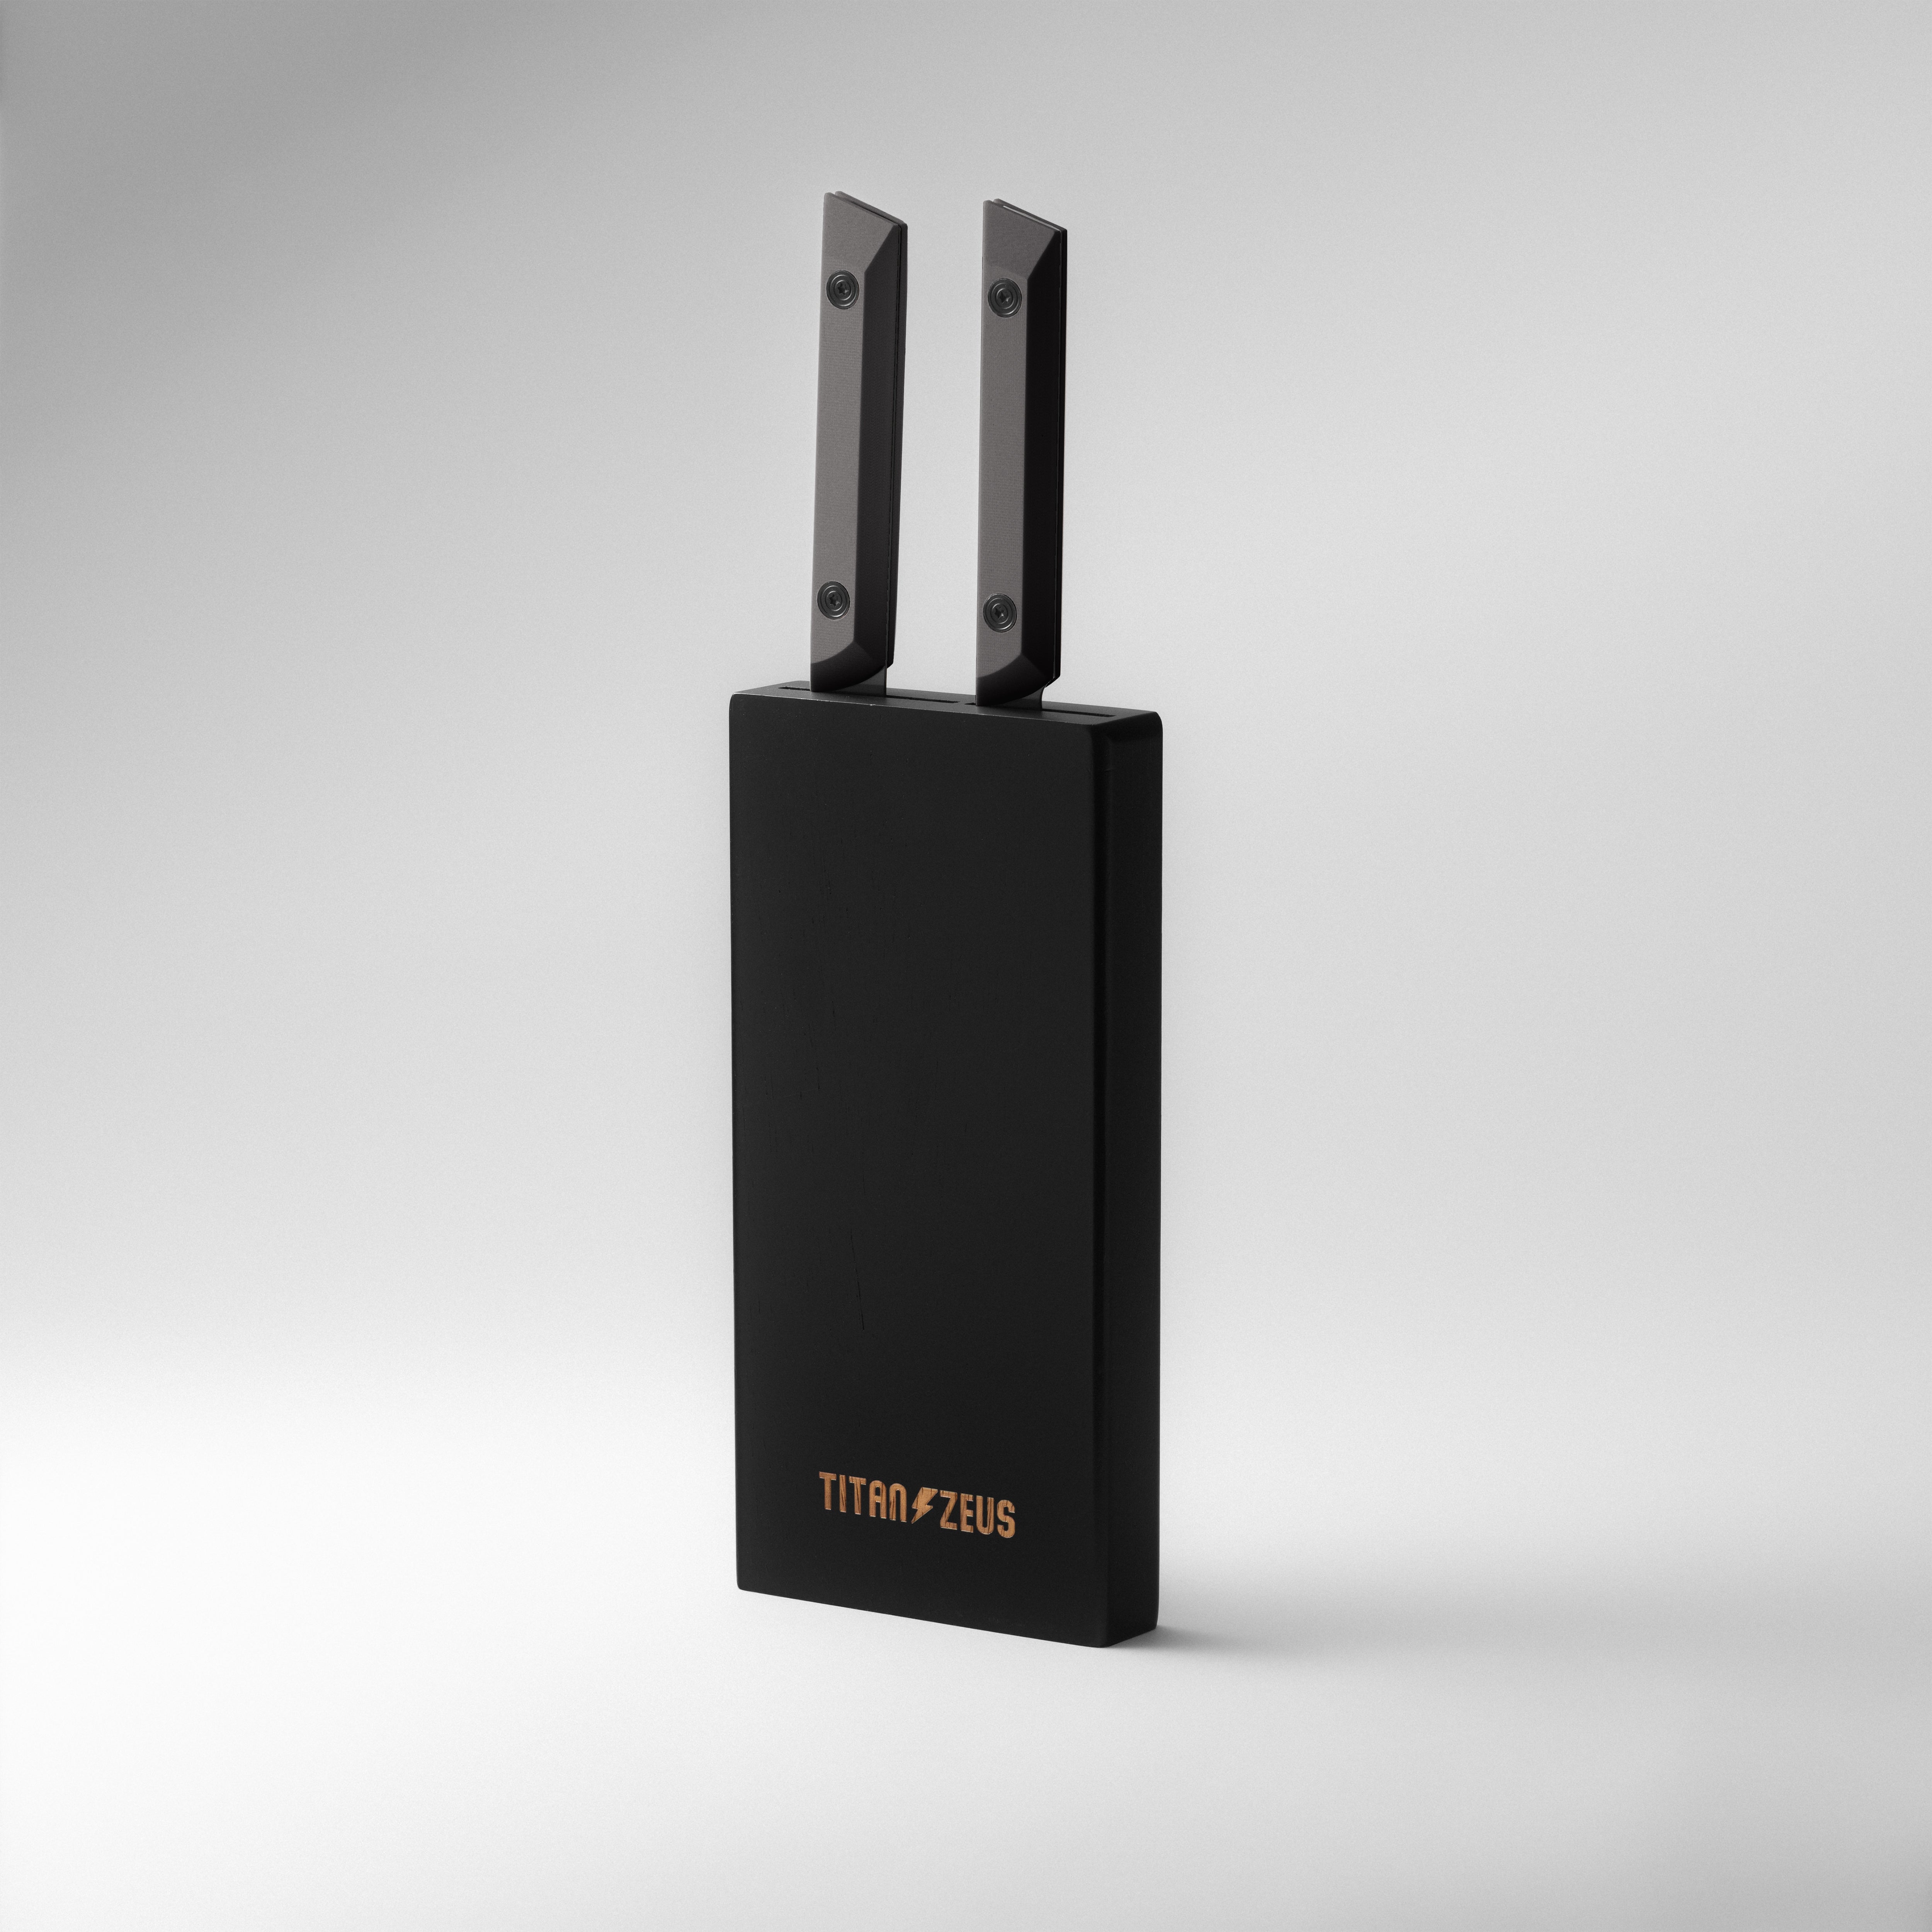
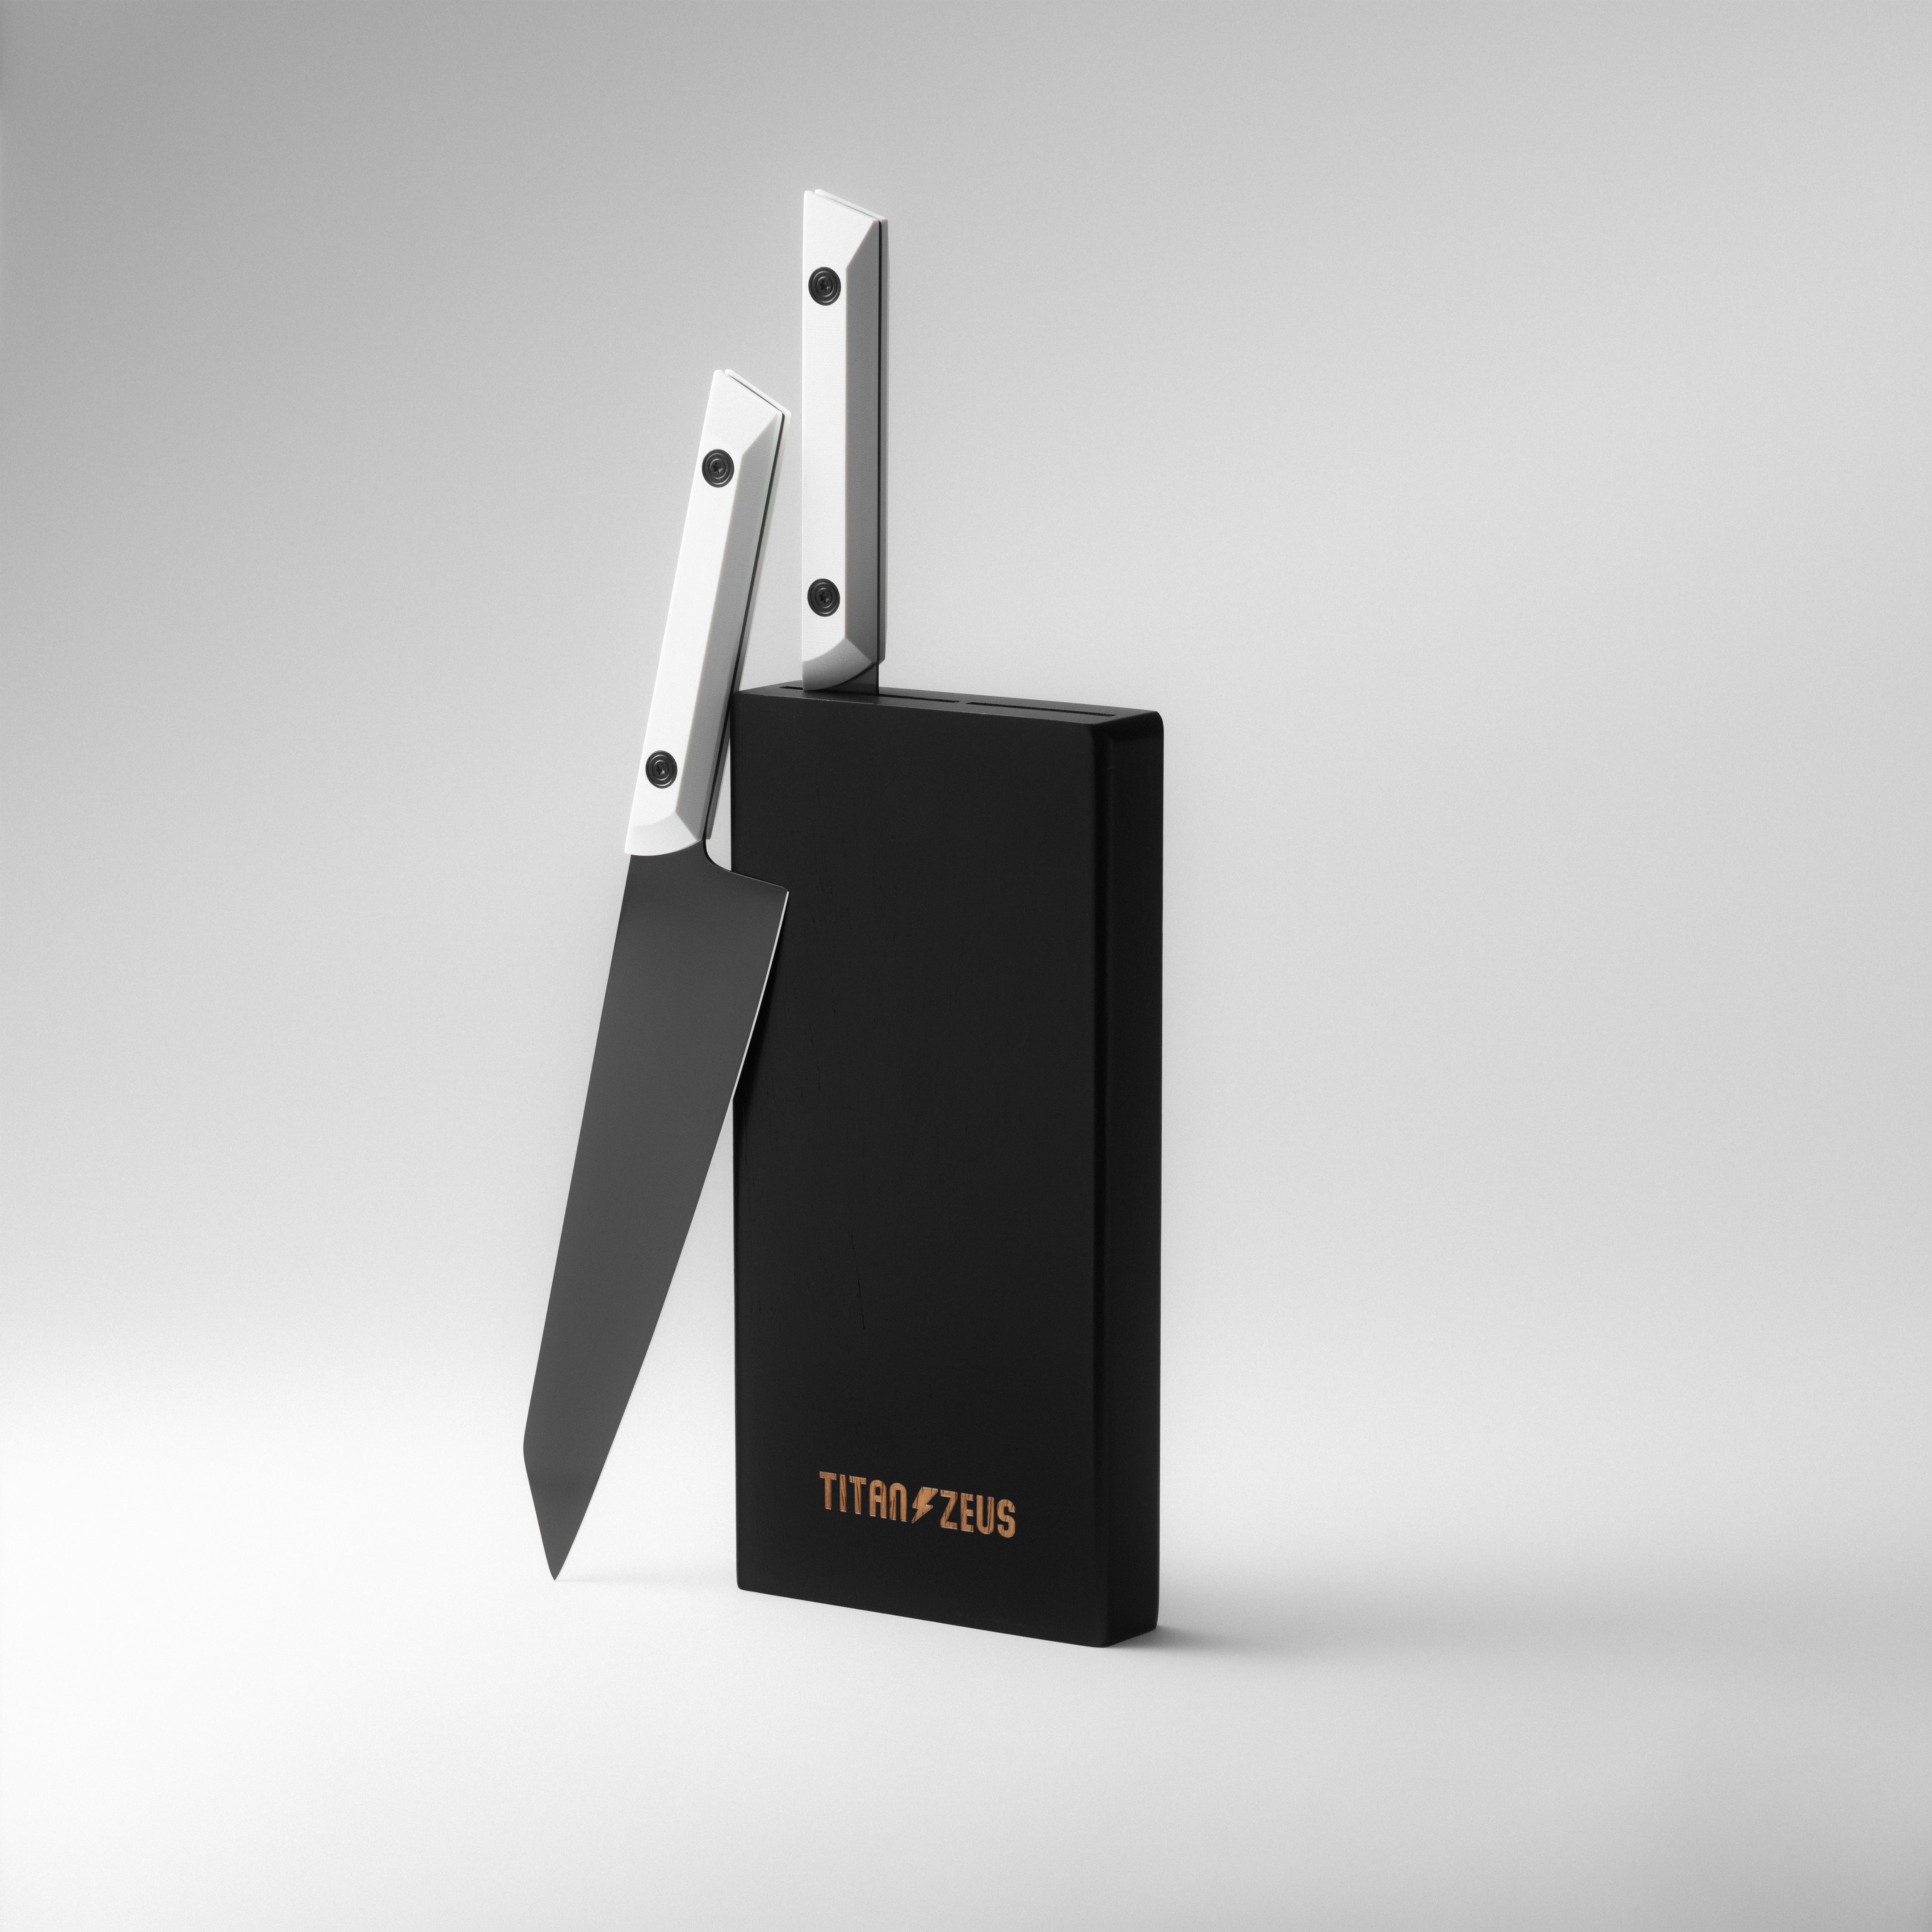
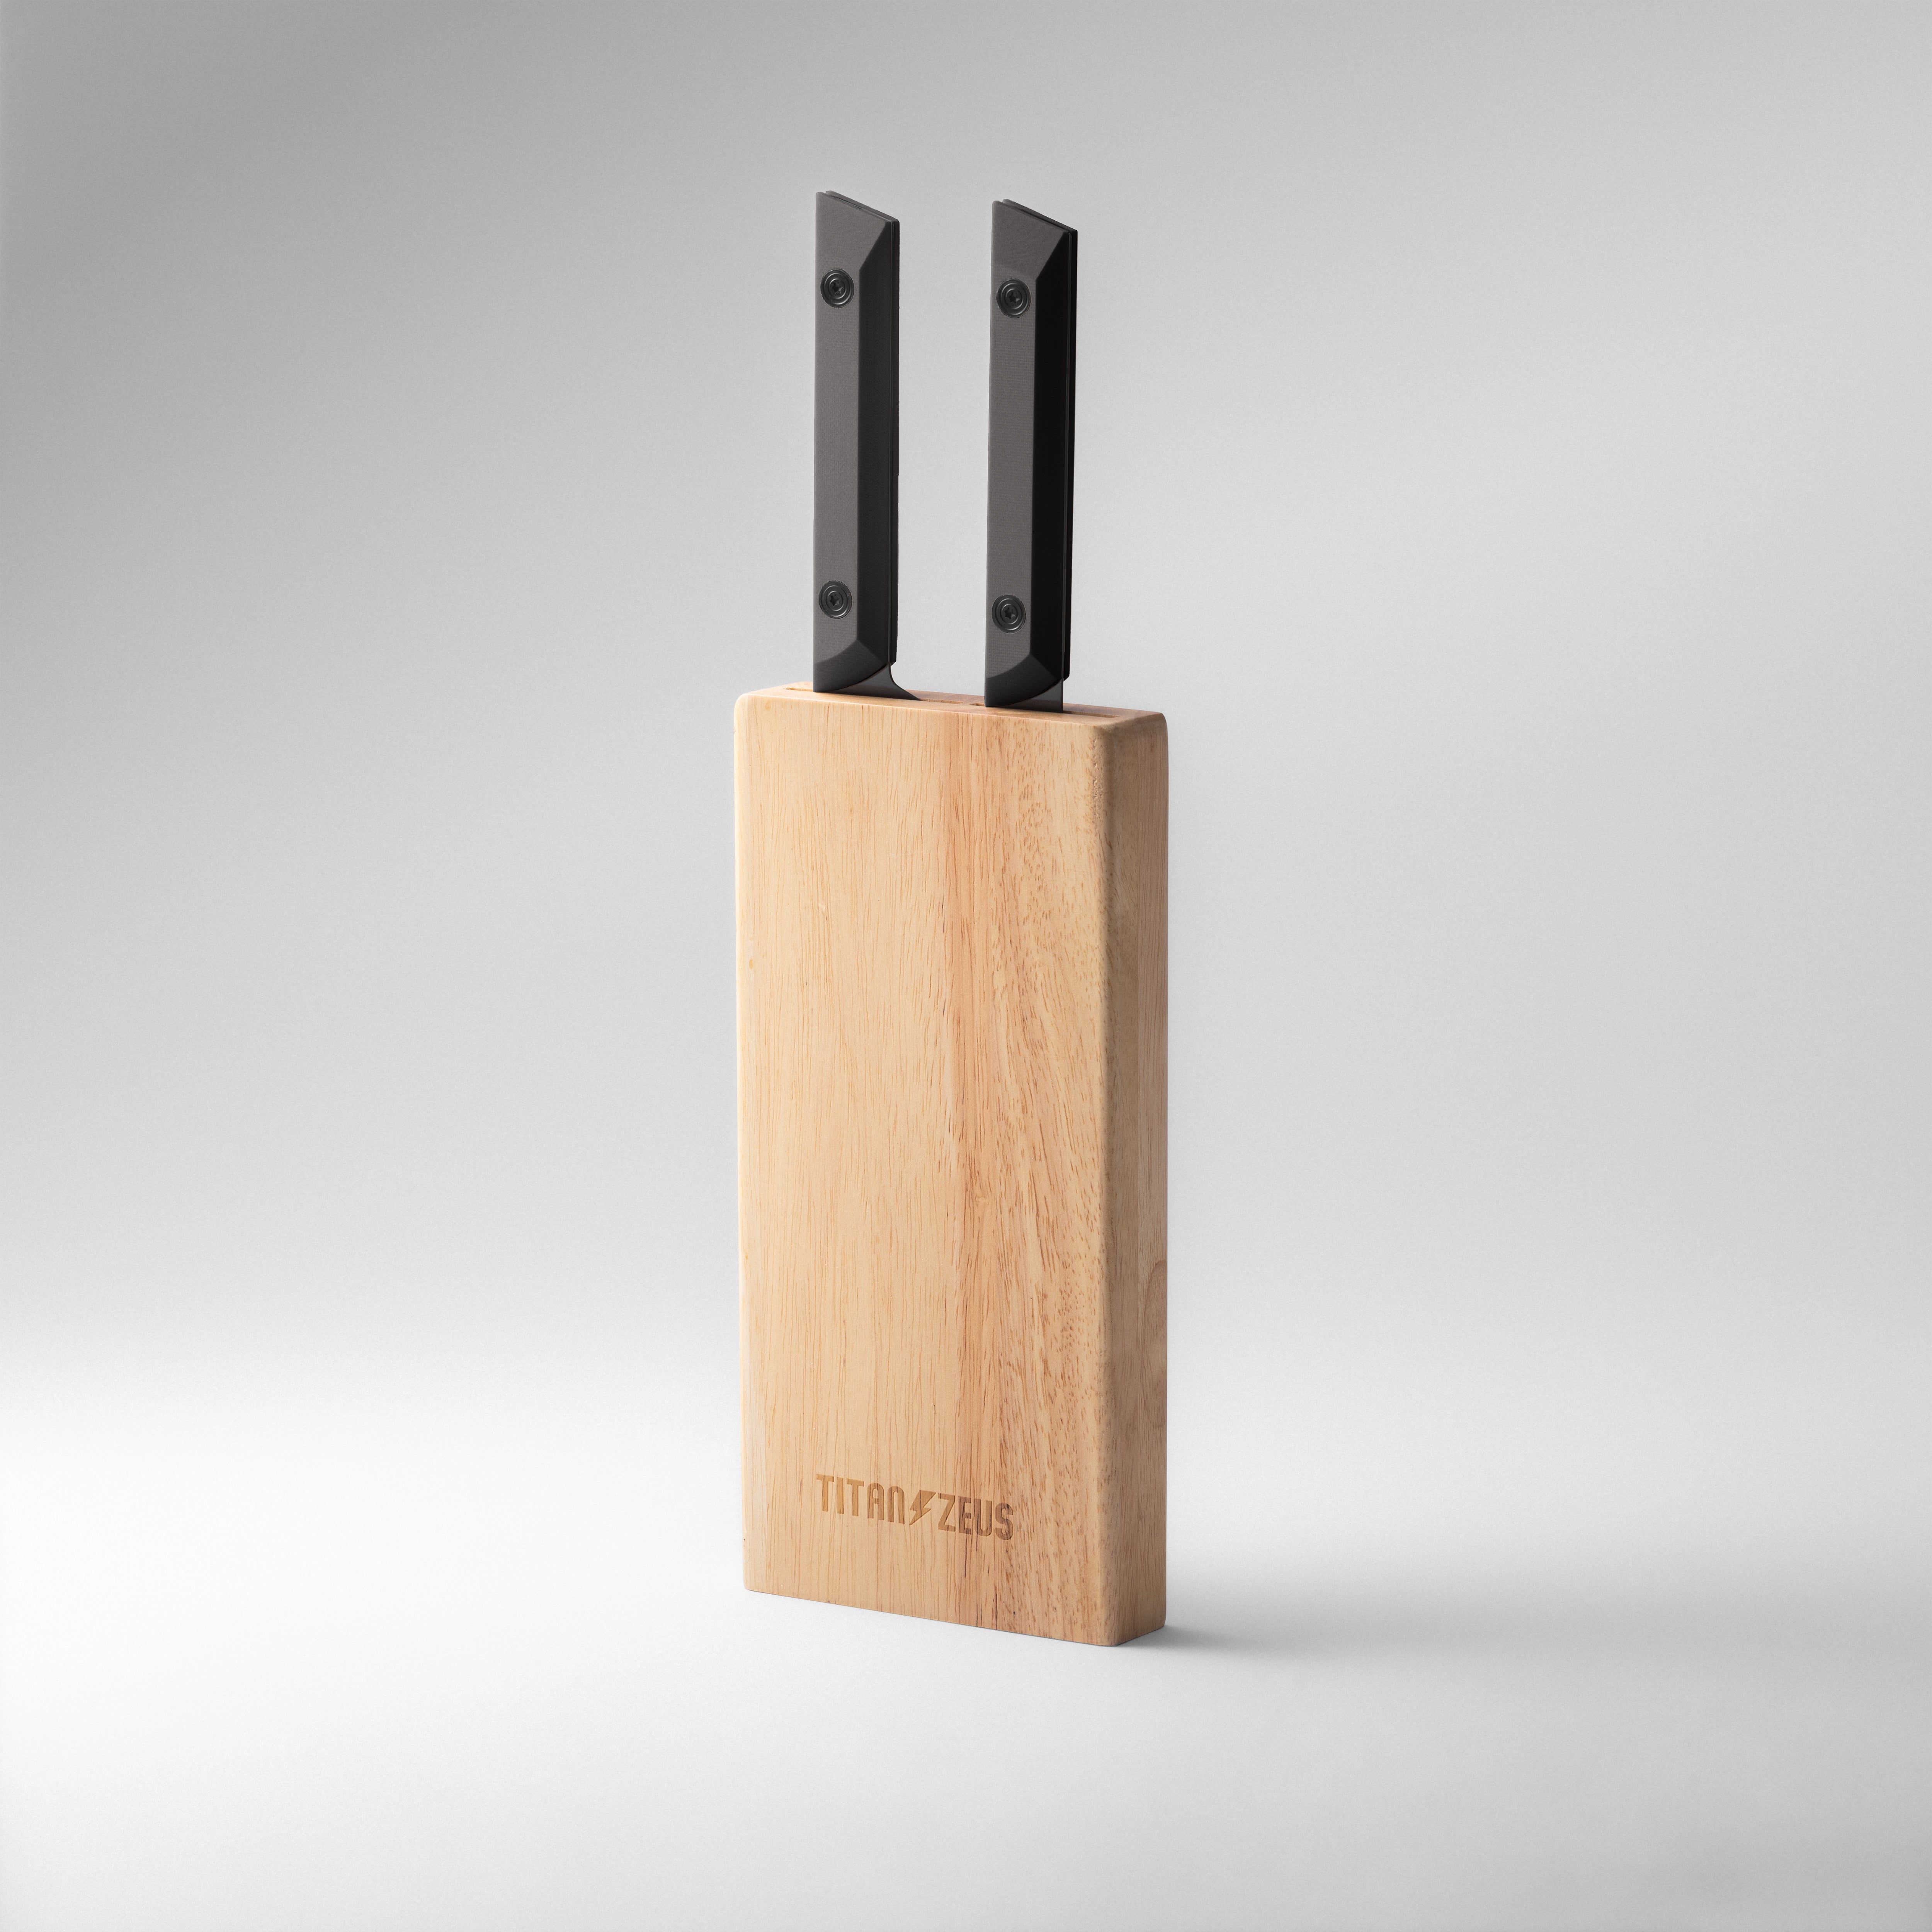
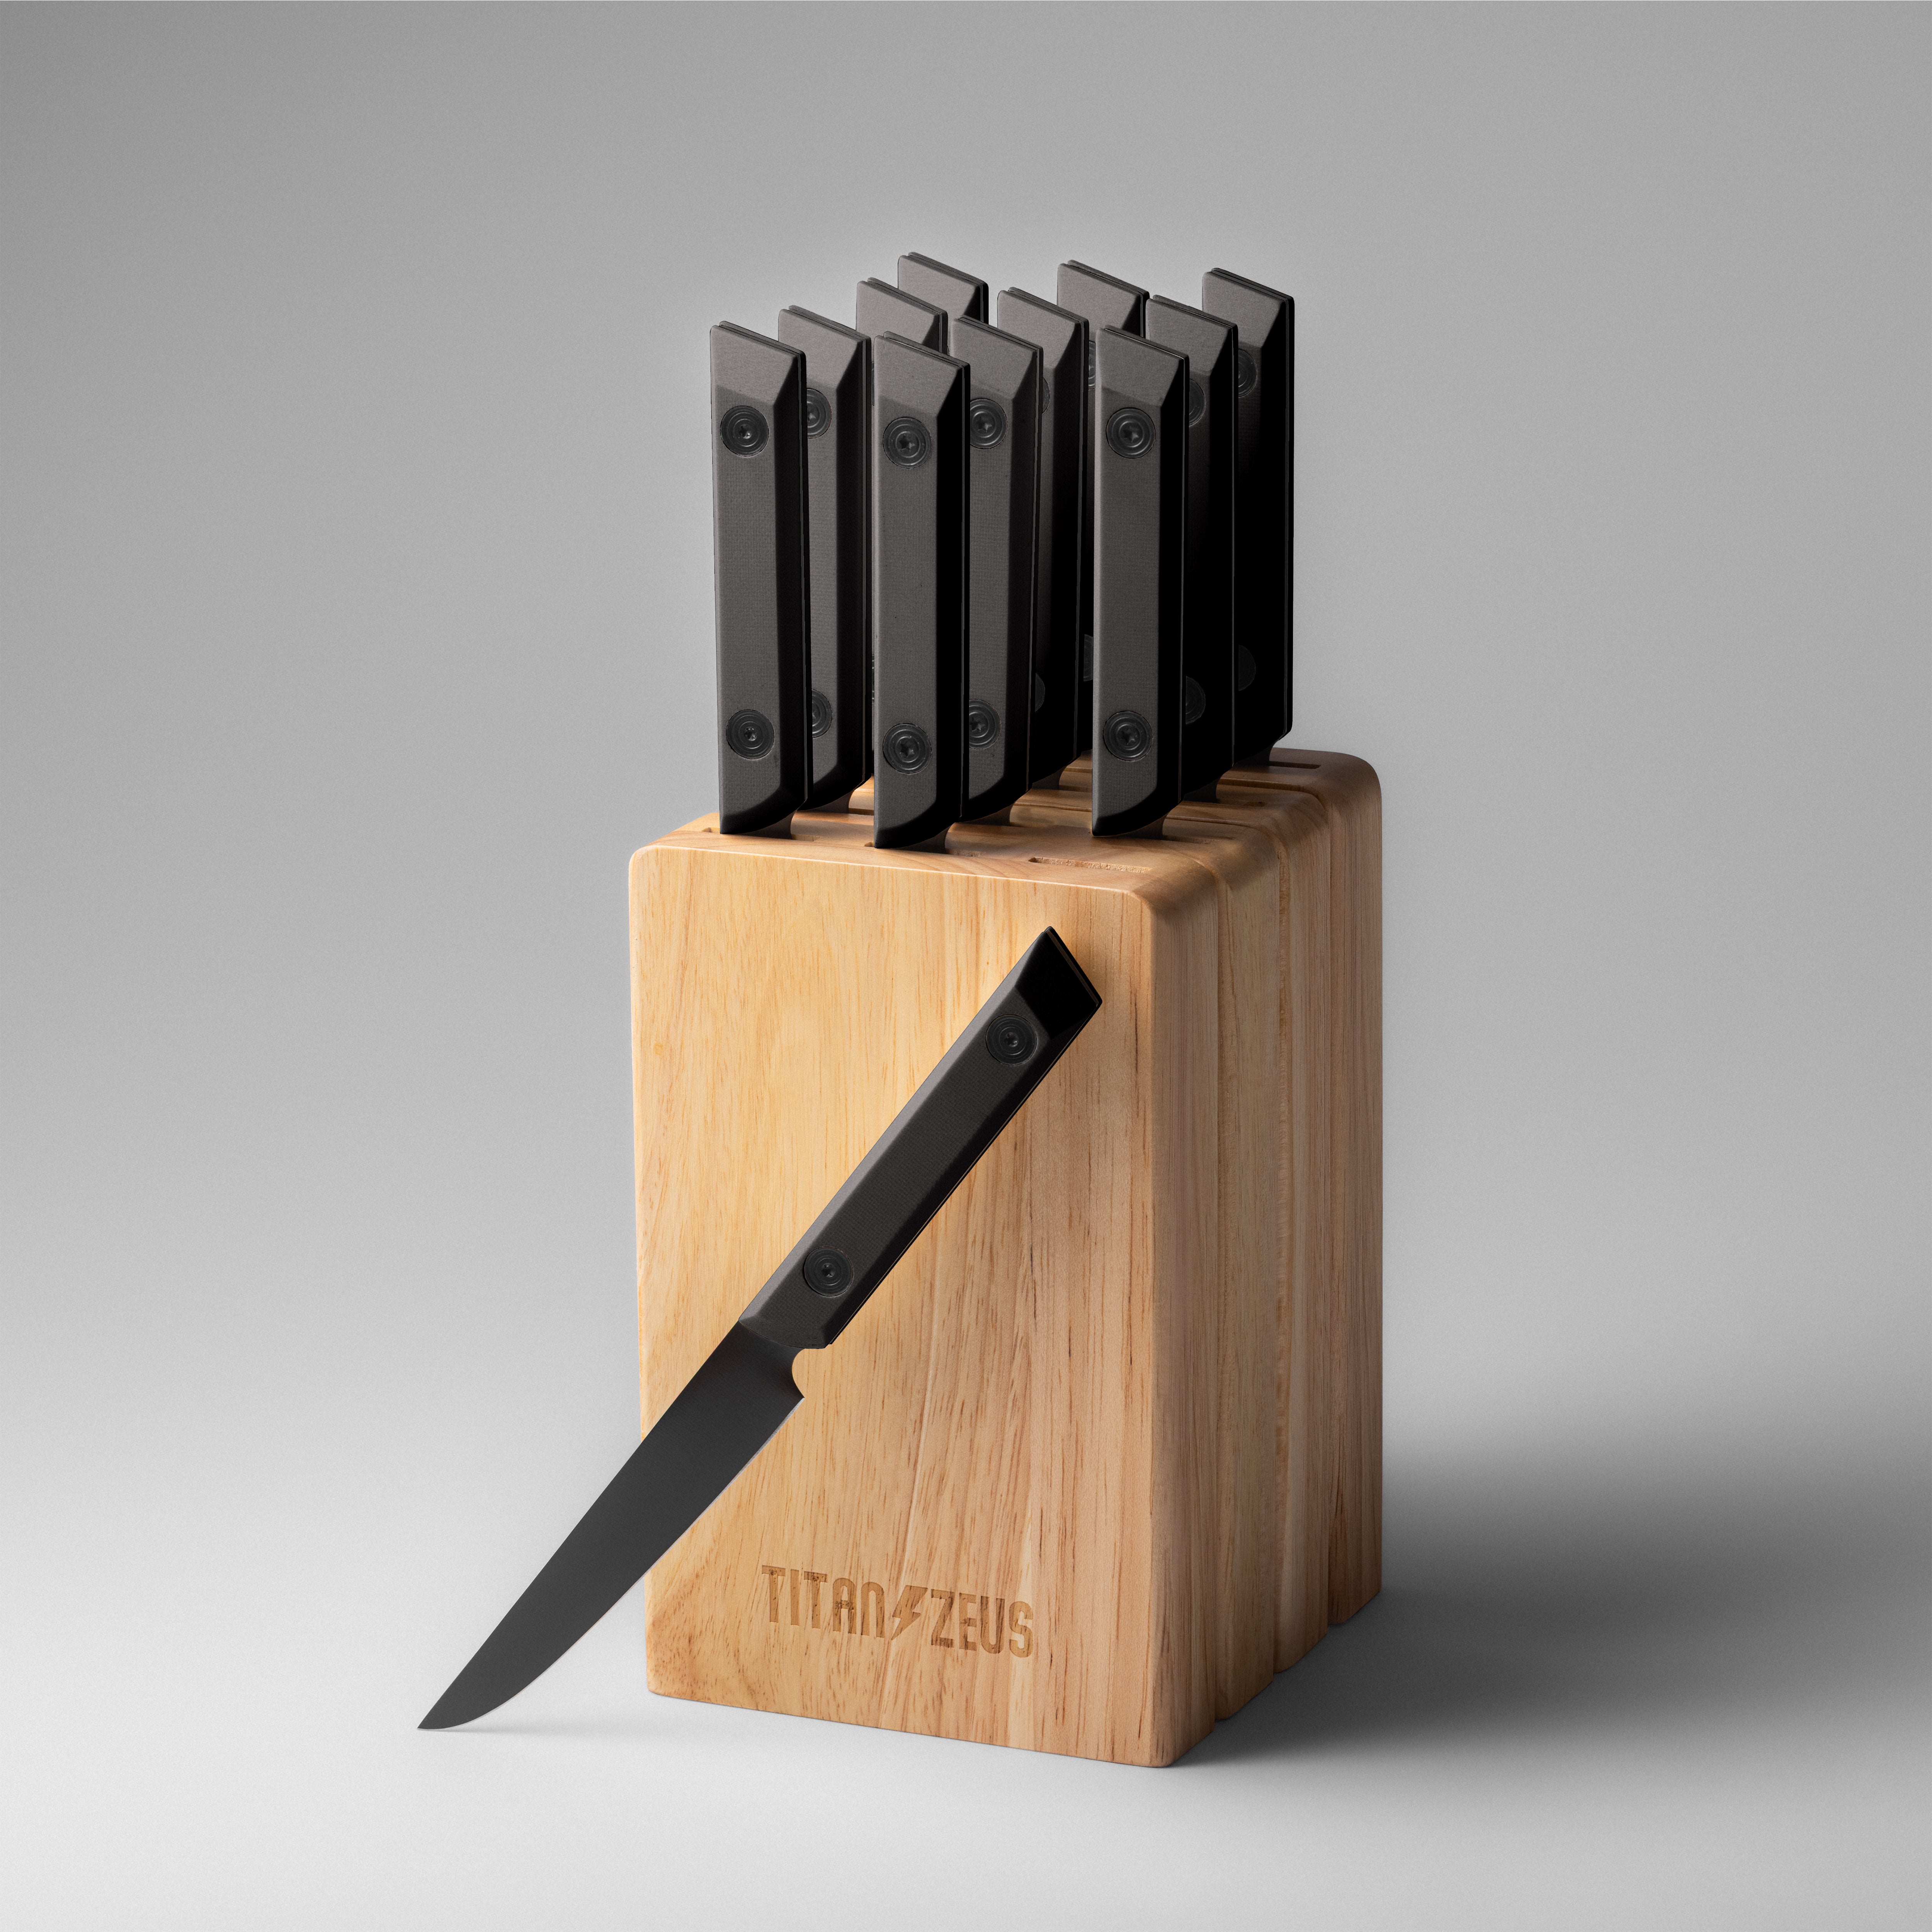
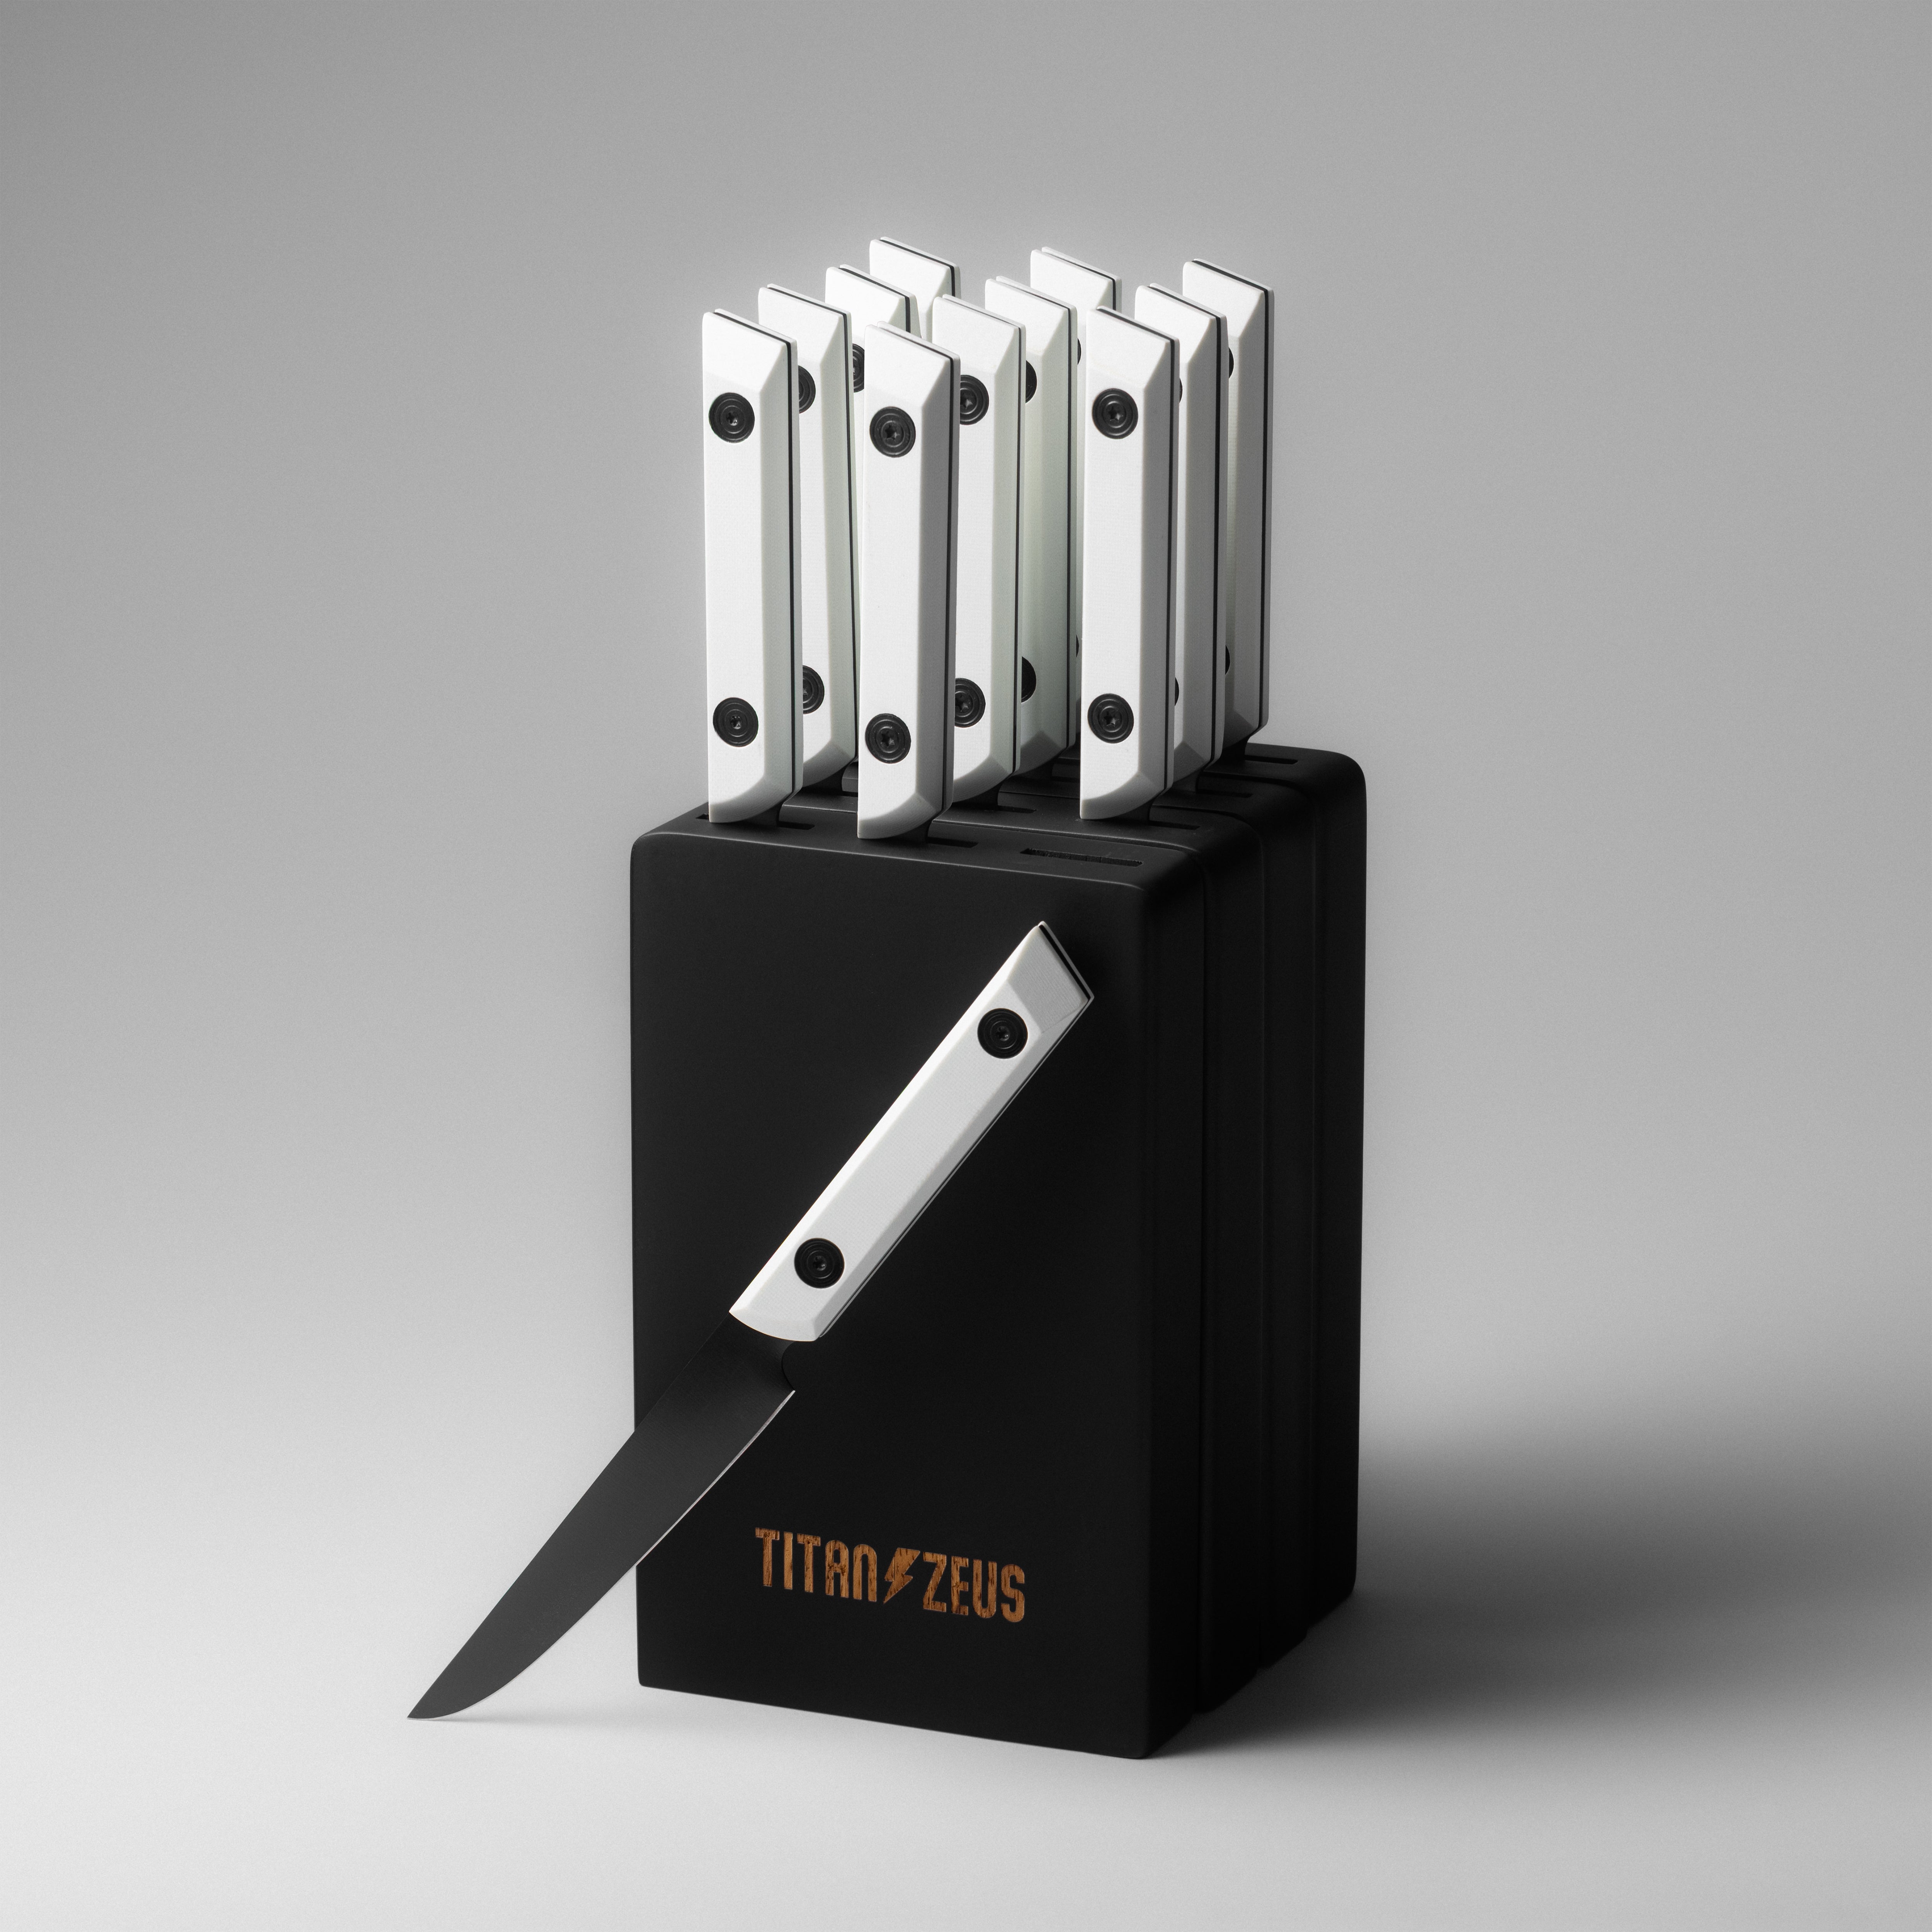
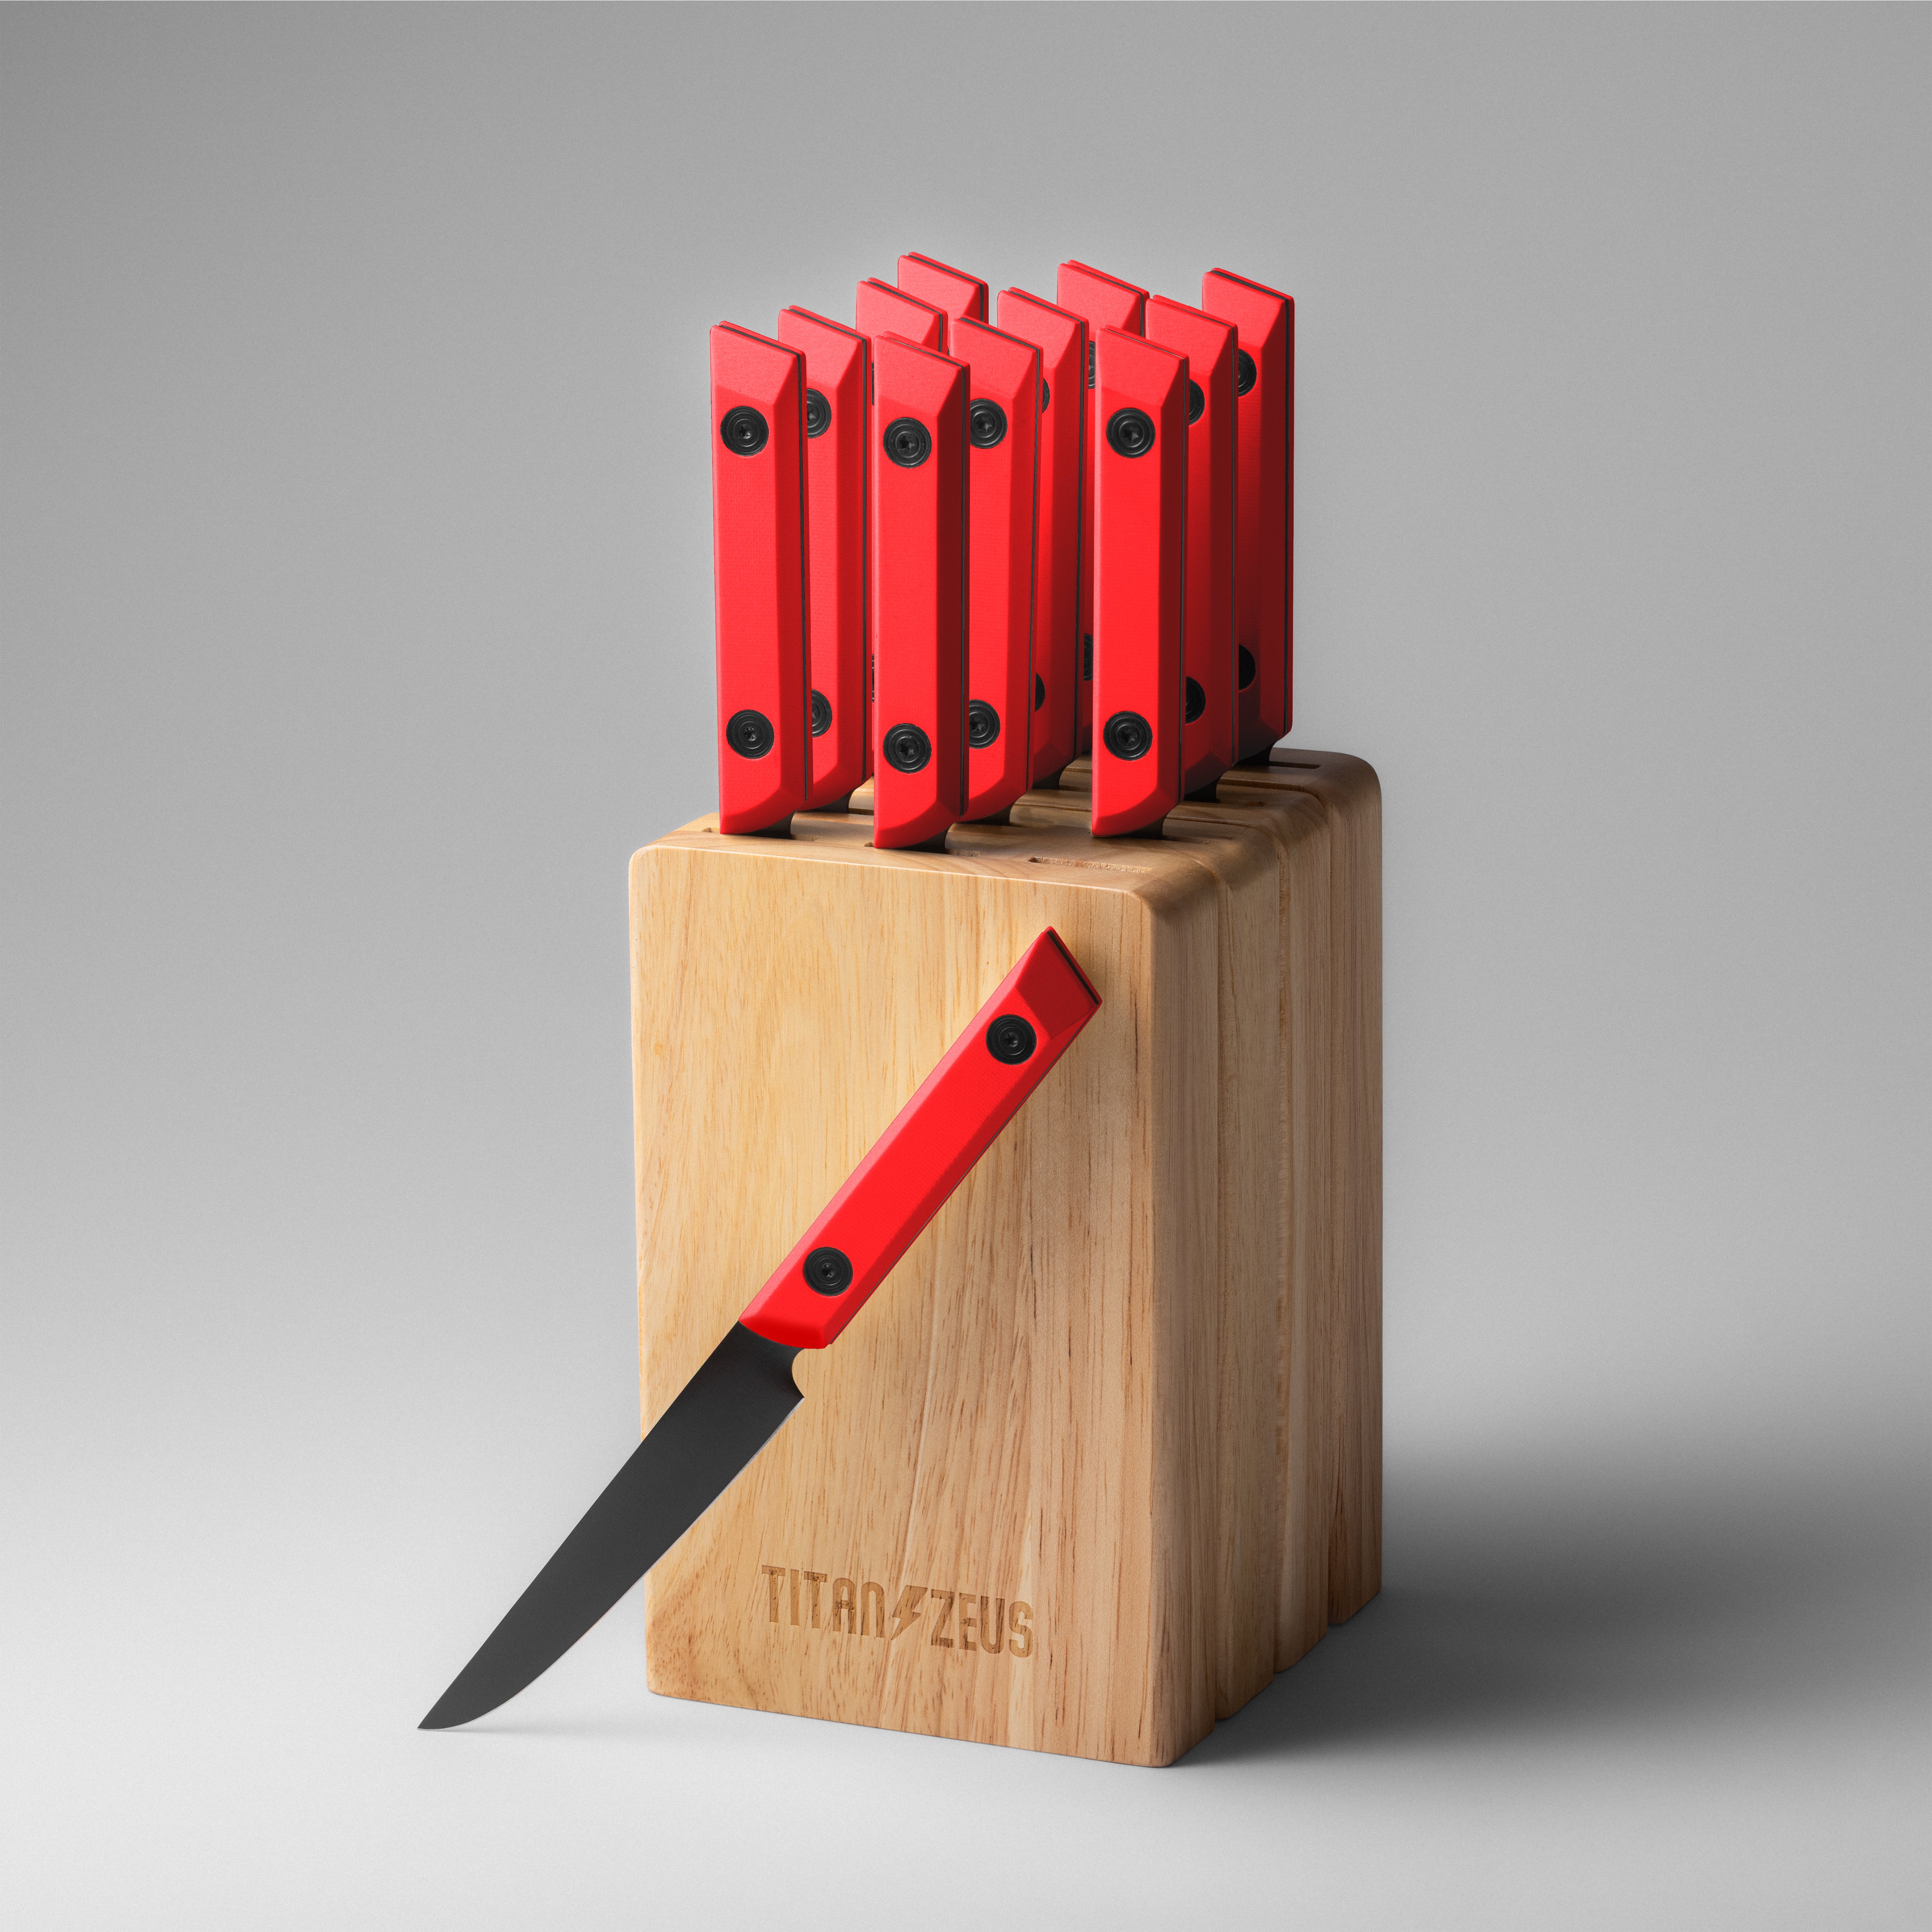
Our removable handle system isn’t just about color — it’s about comfort, balance, and long-term adaptability.
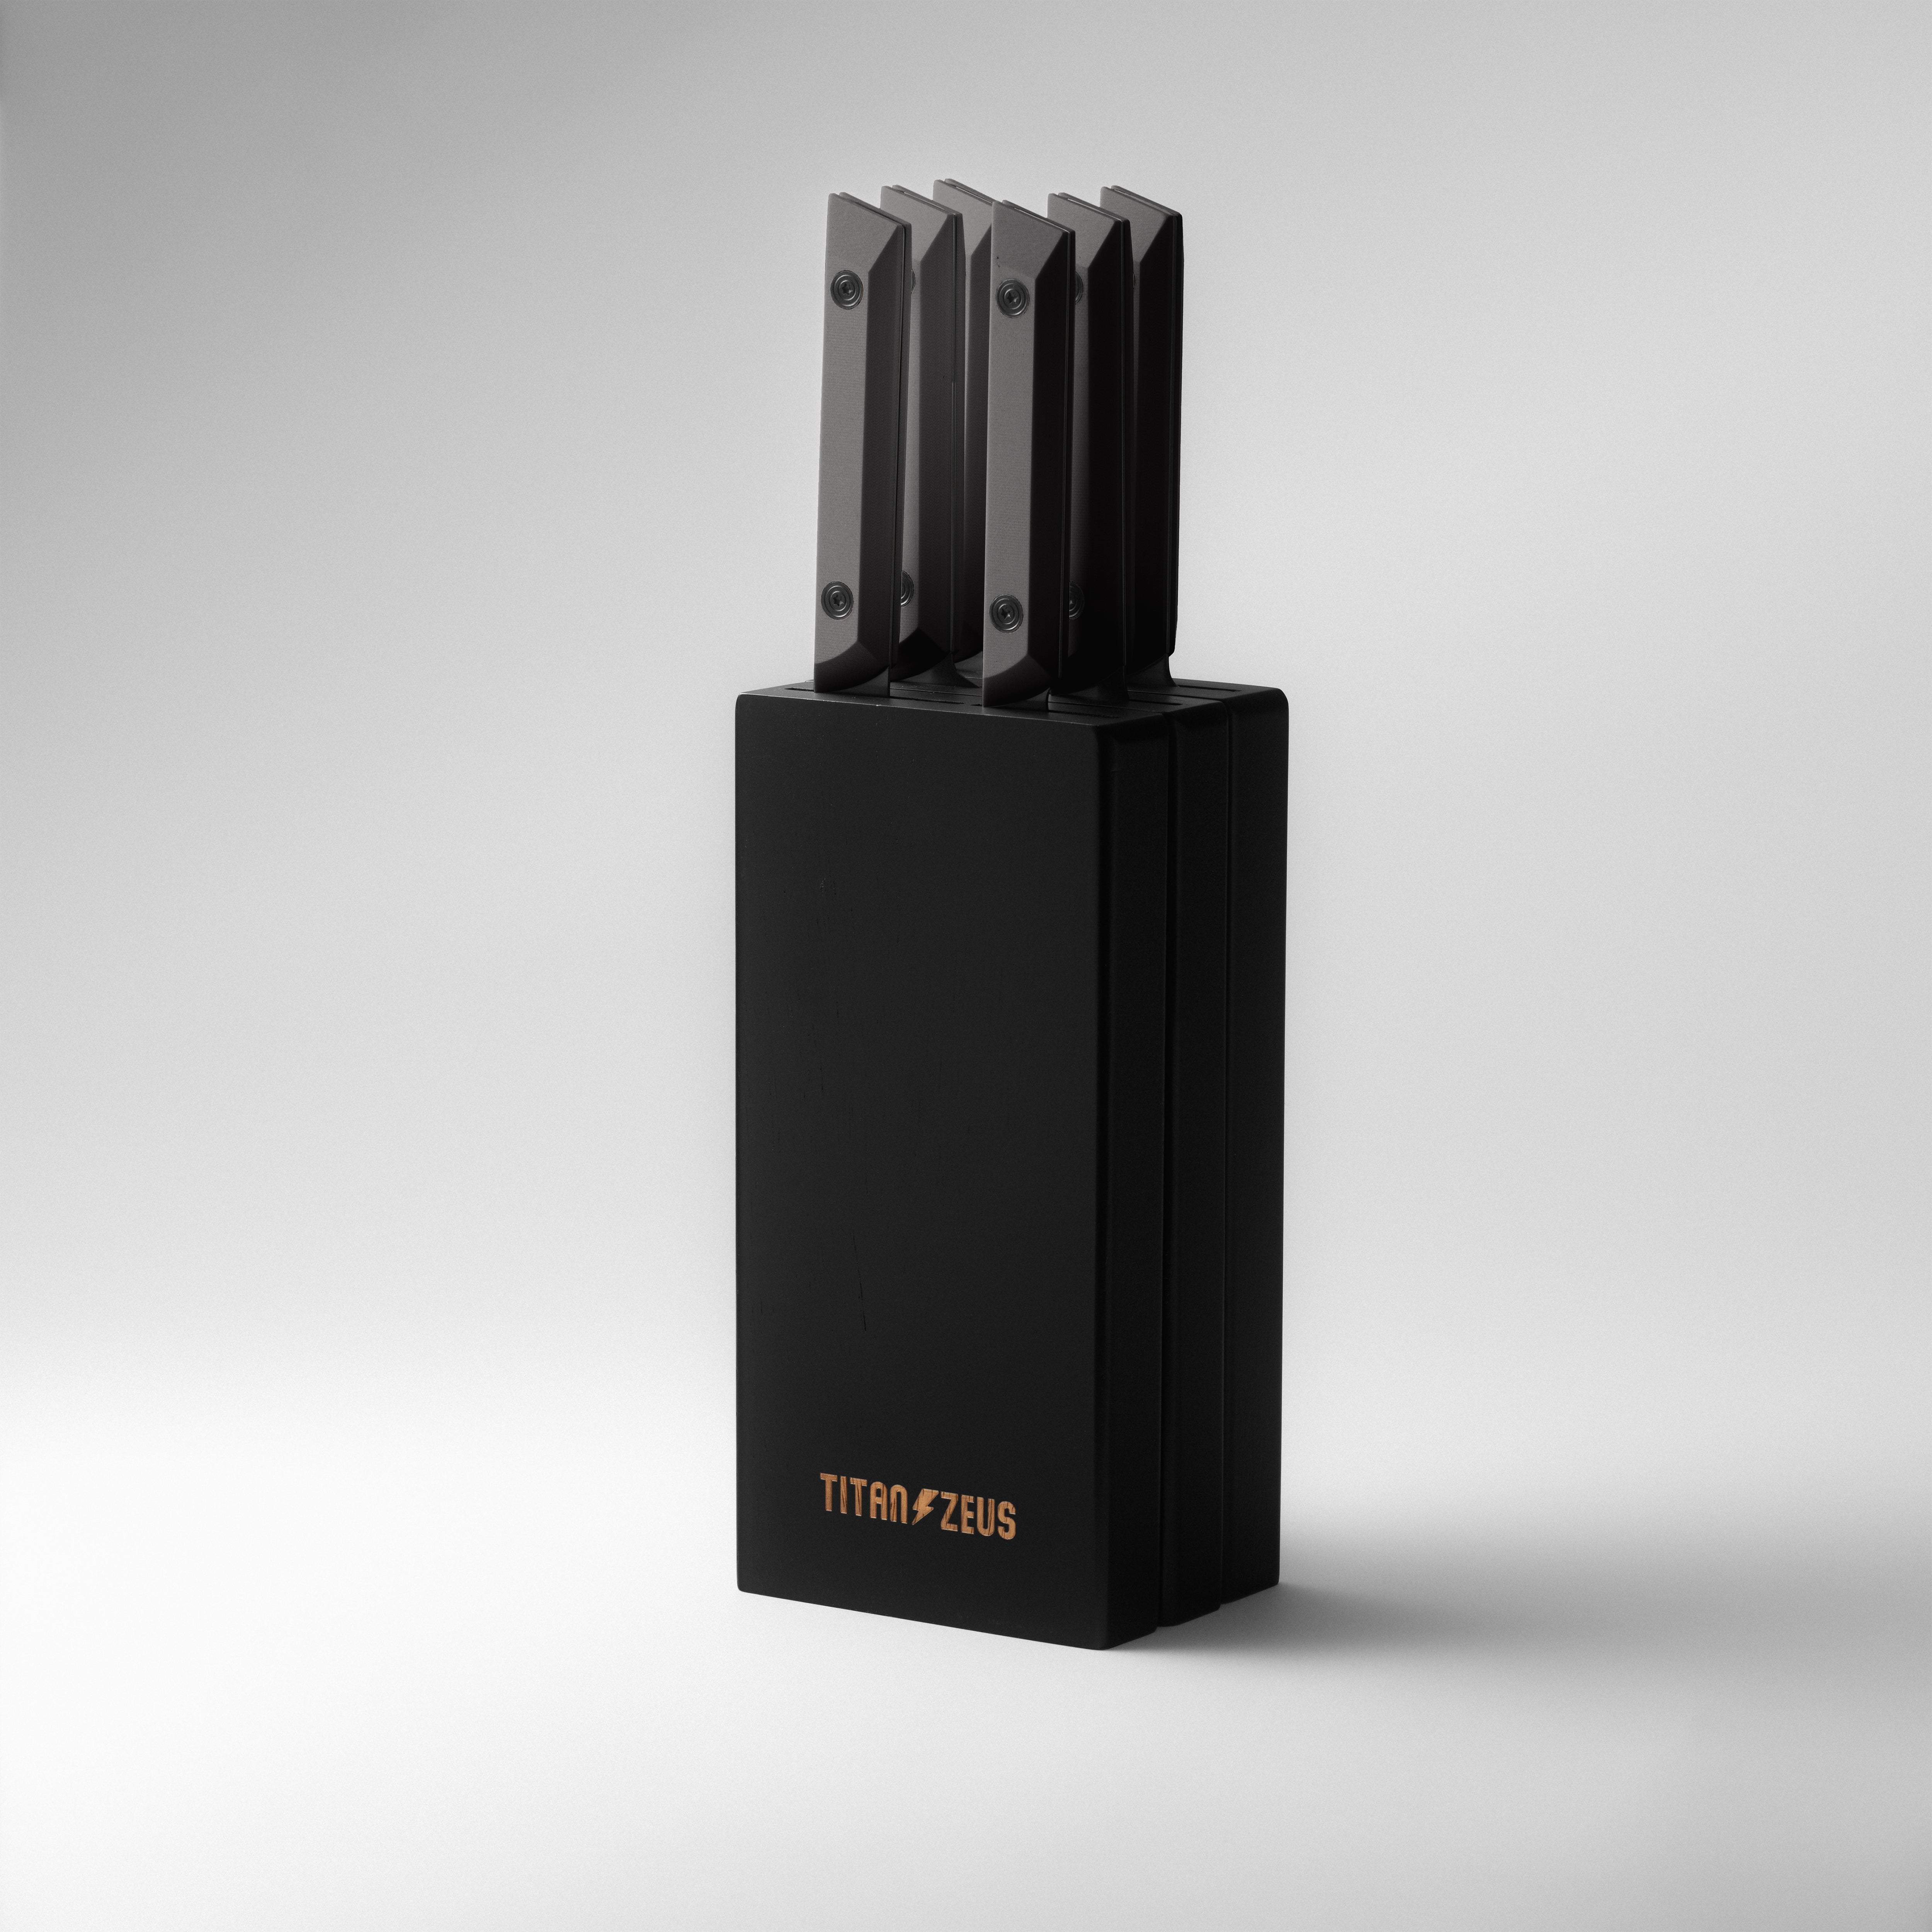
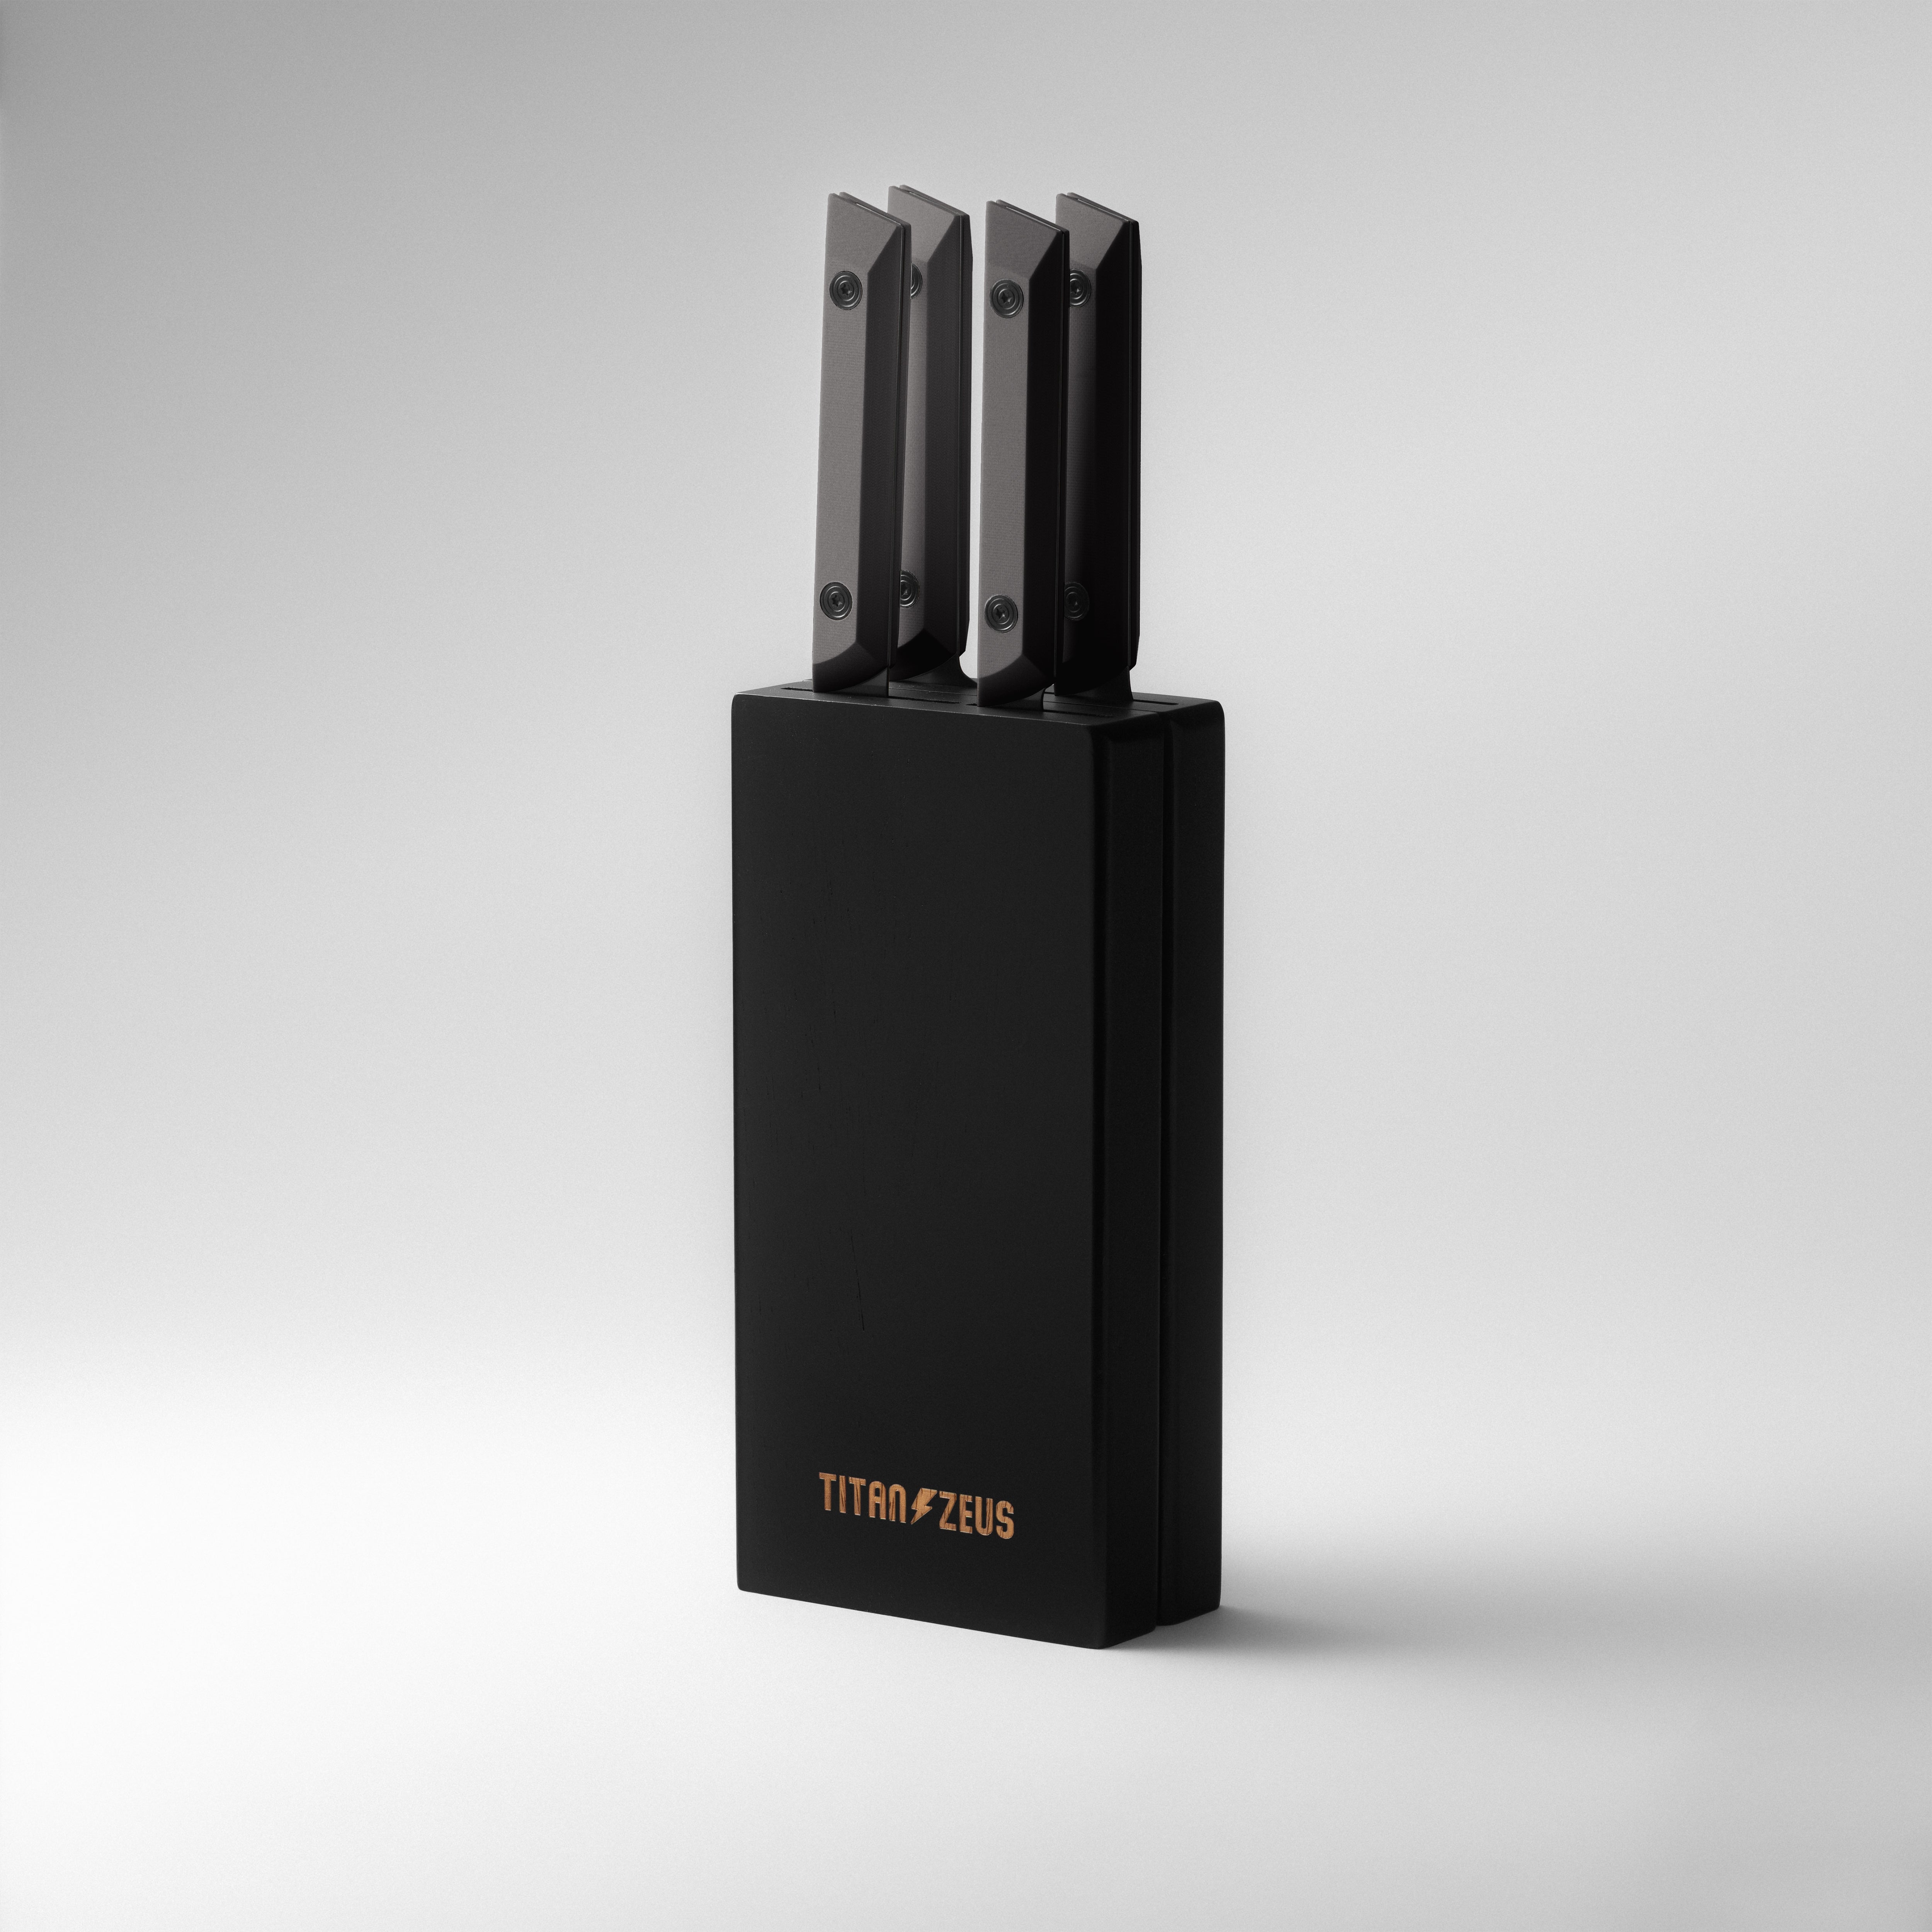
Every handle is secured with a two-screw retention system, making it easy to swap colors, clean hard-to-reach areas, or adjust your grip over time. Paired with our Modular Knife Block, you can shape your knife setup around how you cook — not the other way around.
Smarter Coating - Cleaner Blade
Our titanium nitride coating adds surface hardness, improves corrosion resistance, and helps reduce surface-level bacterial buildup. This is a proprietary process we named TITANOX.
While not a disinfectant, titanium and titanium-based compounds have been shown in laboratory settings to limit bacterial adhesion compared to uncoated stainless steel. This contributes to cleaner handling and slower material degradation — especially in high-use, moisture-heavy environments like the kitchen.
Designed to Stay Sharp Longer
Crafted from high quality Japanese stainless steel and finished with our TITANOX™ coating, each blade is precision-ground to maintain a razor-sharp edge — even through heavy daily use.
The blade geometry has been carefully refined for smooth glide, minimal resistance, and edge retention you’ll feel in every cut. Whether you're slicing vegetables or breaking down proteins, these knives are built to stay sharp, stay balanced, and stay in your hand for years.
Comfort you can Customize
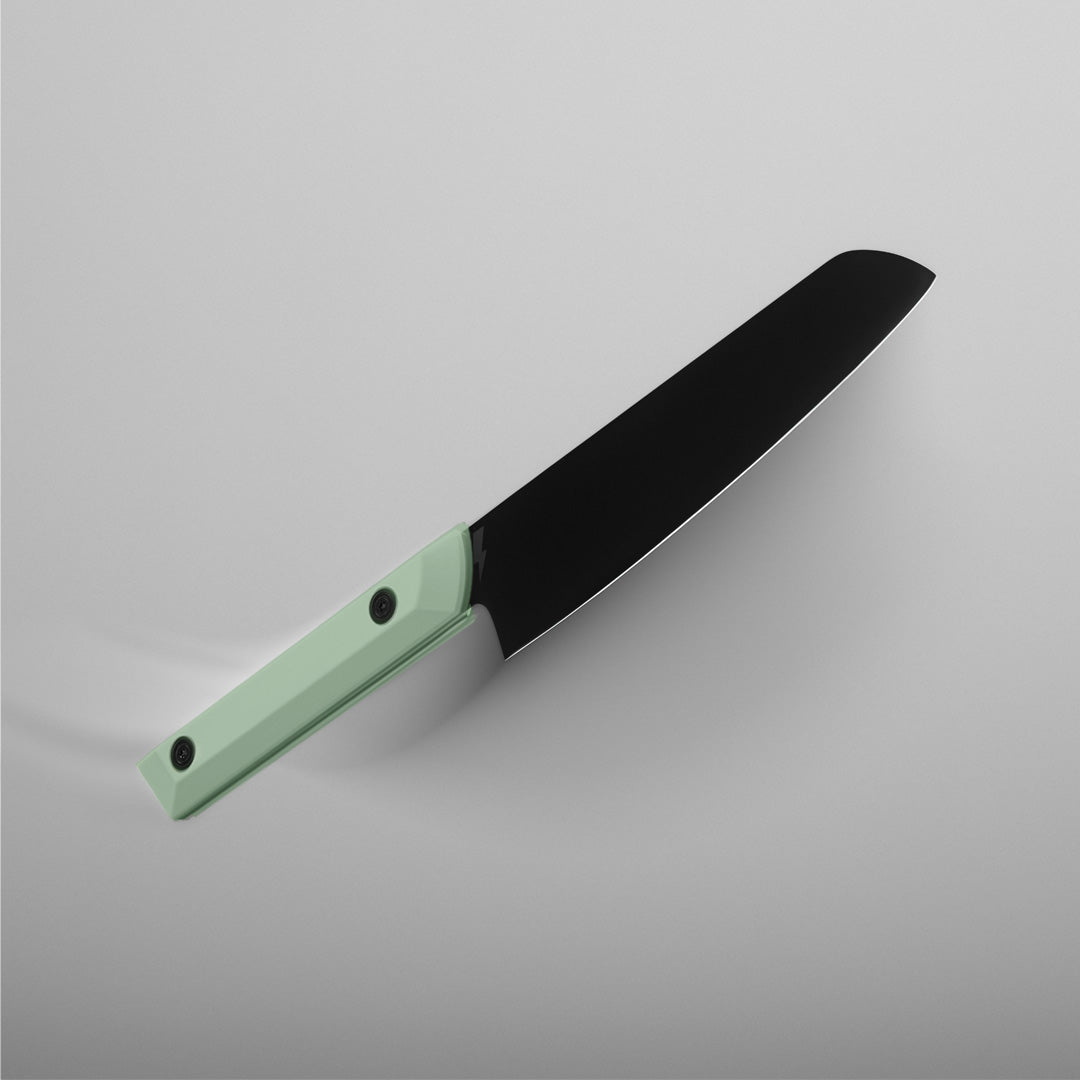
Our removable handle system isn’t just about color — it’s about comfort, balance, and long-term adaptability.
Every handle is secured with a two-screw retention system, making it easy to swap colors, clean hard-to-reach areas, or adjust your grip over time. Paired with our Modular Knife Block, you can shape your knife setup around how you cook — not the other way around.